iRoot | Root your android smartphone with a single click!
Now root your Android smartphone using iRoot application in One click! Unlock the infinite possibilities of customization by gaining the SU (root) access.
 Jatin Kumar Malik First published on
 BitSnapper
Do you want to root your phone with just a click? Well, you just found the right post!
Root your Android Device in just a few minutes using this ultimate Application, iRoot. iRoot also known as vRoot or Root Master is a Windows Application that helps you root any Android Device in a single click. Here I am going to guide you how to use iRoot to root your Android Device. For the sake of example, i am using my Xiaomi Redmi 1S for demonstration. But first!
I am not responsible for bricked devices, dead SD cards, any outbreak of global disease, nuclear war or your hamster dropping dead thermonuclear war, or you getting fired because the alarm app failed. Simply follow this basic flash guide, and you should be fine. YOU are choosing to make these modifications, and if you point the finger at me for messing up your device, I will laugh at you. A lot!
>>How to Root your Android Device Using iRoot:
-
Download and Install iRoot Application on your Windows Computer.
-
Enable USB Debugging on your Android Smartphone.
To enable USB Debugging open Settings > Developer Options > USB Debugging > Enable .
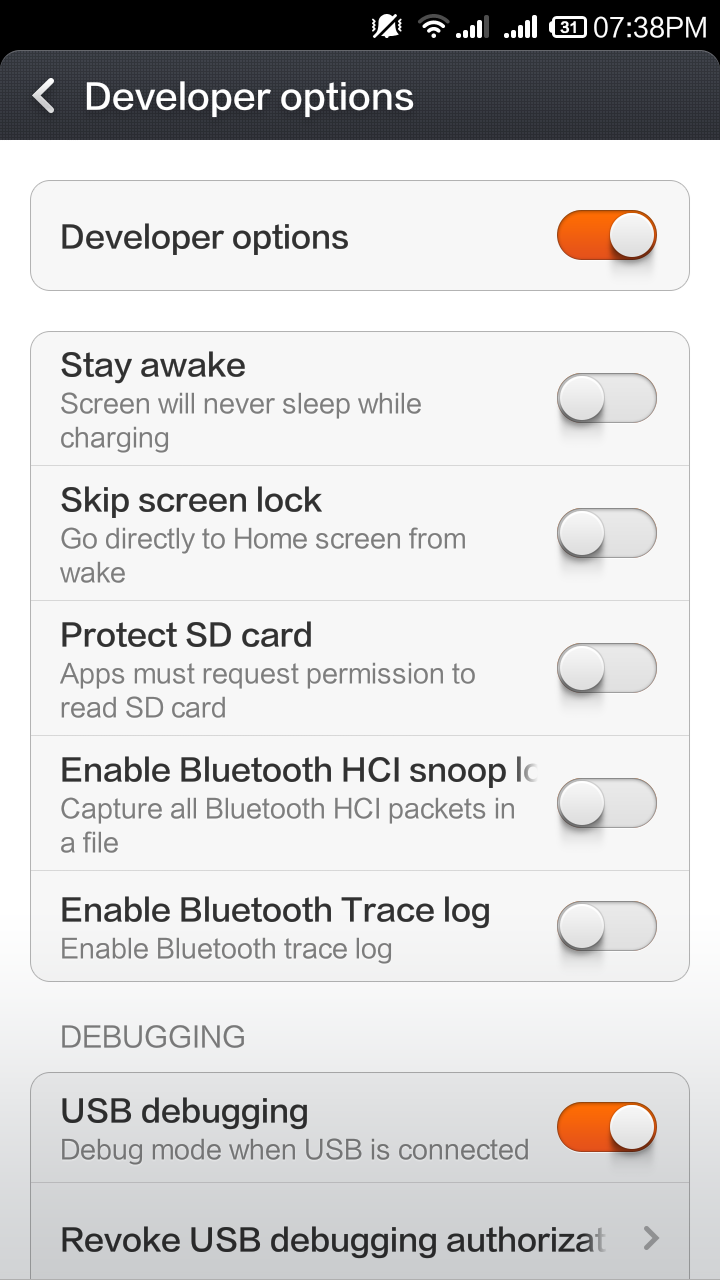
Dev options in AndroidFor Android Devices running on 4.2.2 and above, Developer Options are hidden by default. To unhide go to Settings > About Phone > Build Number (Tap 7 times)
-
Once iRoot is installed in your computer , Open it.
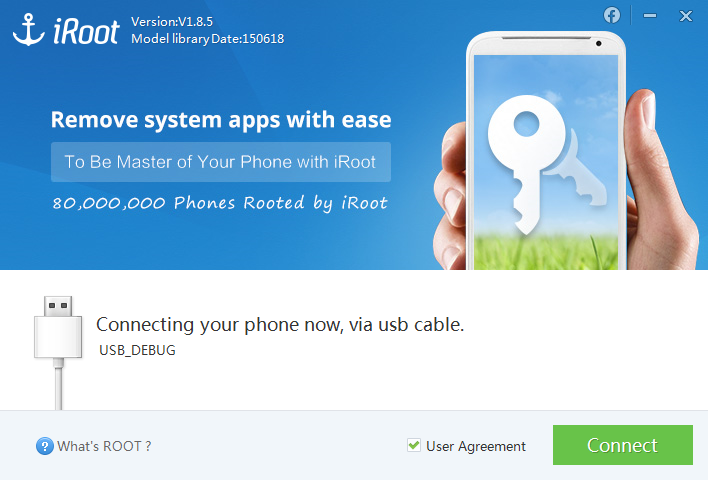
-
Once iRoot is launched, connect your device to the computer.
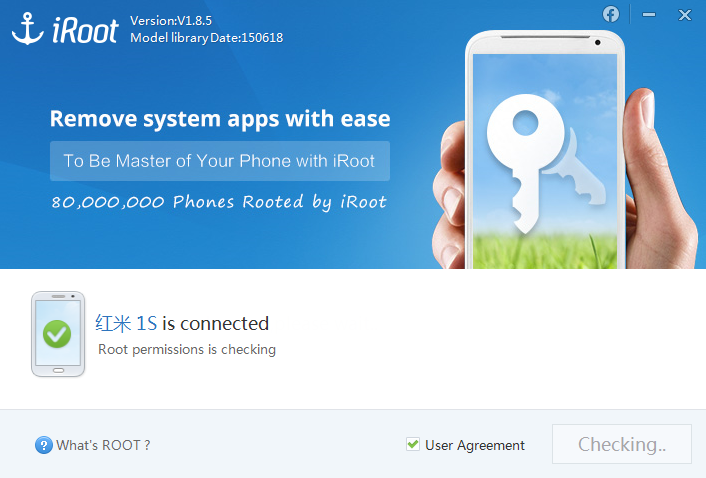
-
iRoot will automatically detect your smartphone and Install the respective USB Drivers for your Device.
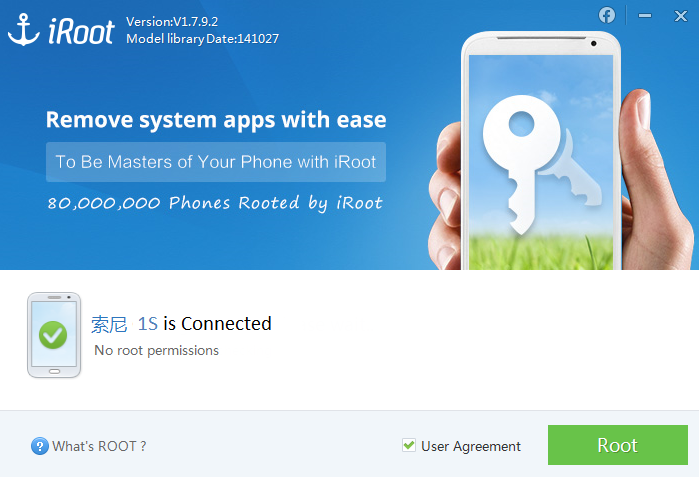
Note : Samsung Users might have to manually download the USB Drivers for their Device or You can download Mobgenie Application in your Windows Computer which will automatically search for Drivers for your Device and download them for you.
-
Now Click on the ROOT button to start the rooting process.
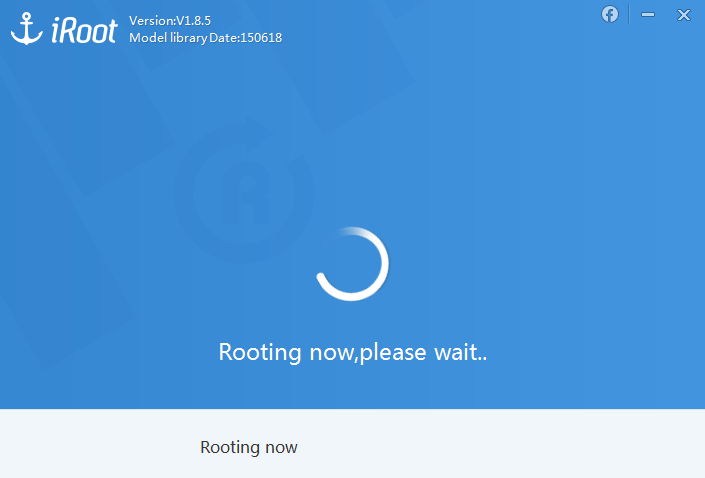
WARNING: Don’t touch USB cable while rooting is being done as any interruptions may cause hard-brick (permanent device failure) to your device!
-
Once Rooted, iRoot will automatically reboot your device and install the SuperSU (or King User) Application.
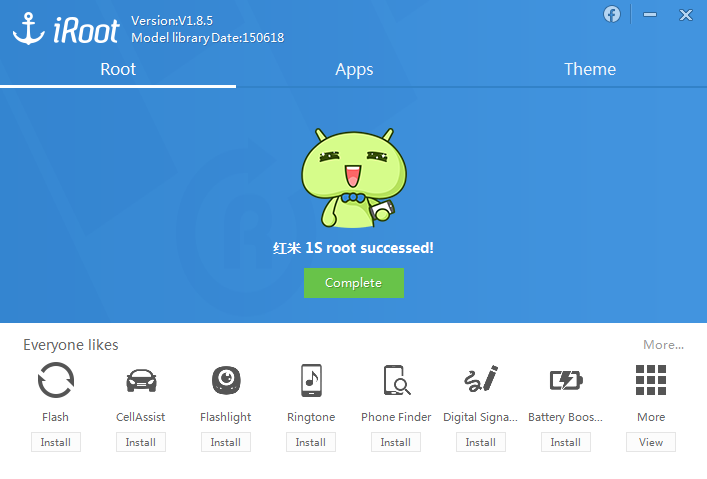
-
DONE!
Your Device is now Successfully rooted! To check whether your Device is successfully rooted or not you can download Root Checker Application from Play Store.
Information Regarding Rooting Your Device That you Should Know !!
- NO DATA LOSS : Your Phone Data like Pictures, music, Contacts etc will not be affected .
- WARRANTY VOID : Your Android Phone warranty may be void after following the above tutorial. Depending upon your phone manufacturer you may be able to Unroot the device and claim warranty!
If you have used the above method for rooting your device, then please let me know how did it work out for you.? I would love to answer any queries or problems that you encountered during your Rooting process. Also share what’s the first thing you do after rooting your smartphone?!
Keep reading
Be an automation-ninja with NFC stickers & Android smartphone!
Discover 25+ ways how you can use your Android device and NFC stickers/tags to automate your day to day life and be uber cool at it. Like a boss.

I Let an AI Agent Debug My Foldable’s Battery Over ADB. Here’s the Playbook It Followed.
60 MB of diagnostics, six weeks of battery history, and a surprise: the “bloat” from restoring my old phone wasn’t the problem.
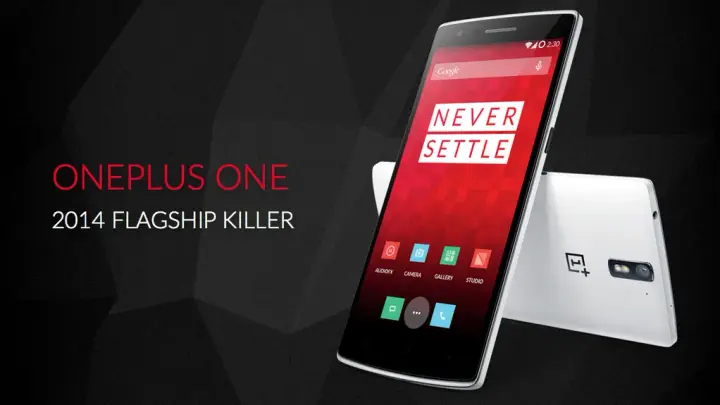
Top 5 Custom roms for Oneplus One
Check out amazing ROMs like CyanogenMod 12.1,Resurrection ROM,Euphoria OS,BlissPop and more. You need TWRP installed.
2 commentsfrom BitSnapper
Carried over from the original post and read-only. Add a new comment below.
My device didn't connect, though enable the debug
What can I do for root please please respond Me???
Which device do you have?
Leave a comment