A year of 3D printing: my giant creative hammer
A Flashforge AD5M, a printed enclosure, a dryer before TPU, a desk mount an LLM helped draft, an STL edited by an AI agent and an NFC tag for my dog.
 Jatin Kumar Malik First published on
 X
I’ve wanted a 3D printer for over 5 years. Finally, in July 2025, I was able to justify it 😁 And like any sane person, I bought the filament before the printer even showed up. “now we just wait for the 3d printer to show up (:”
So here goes: what I bought, what I printed, what I designed myself, where AI agents sneaked in, and what went wrong.
The BlackBox
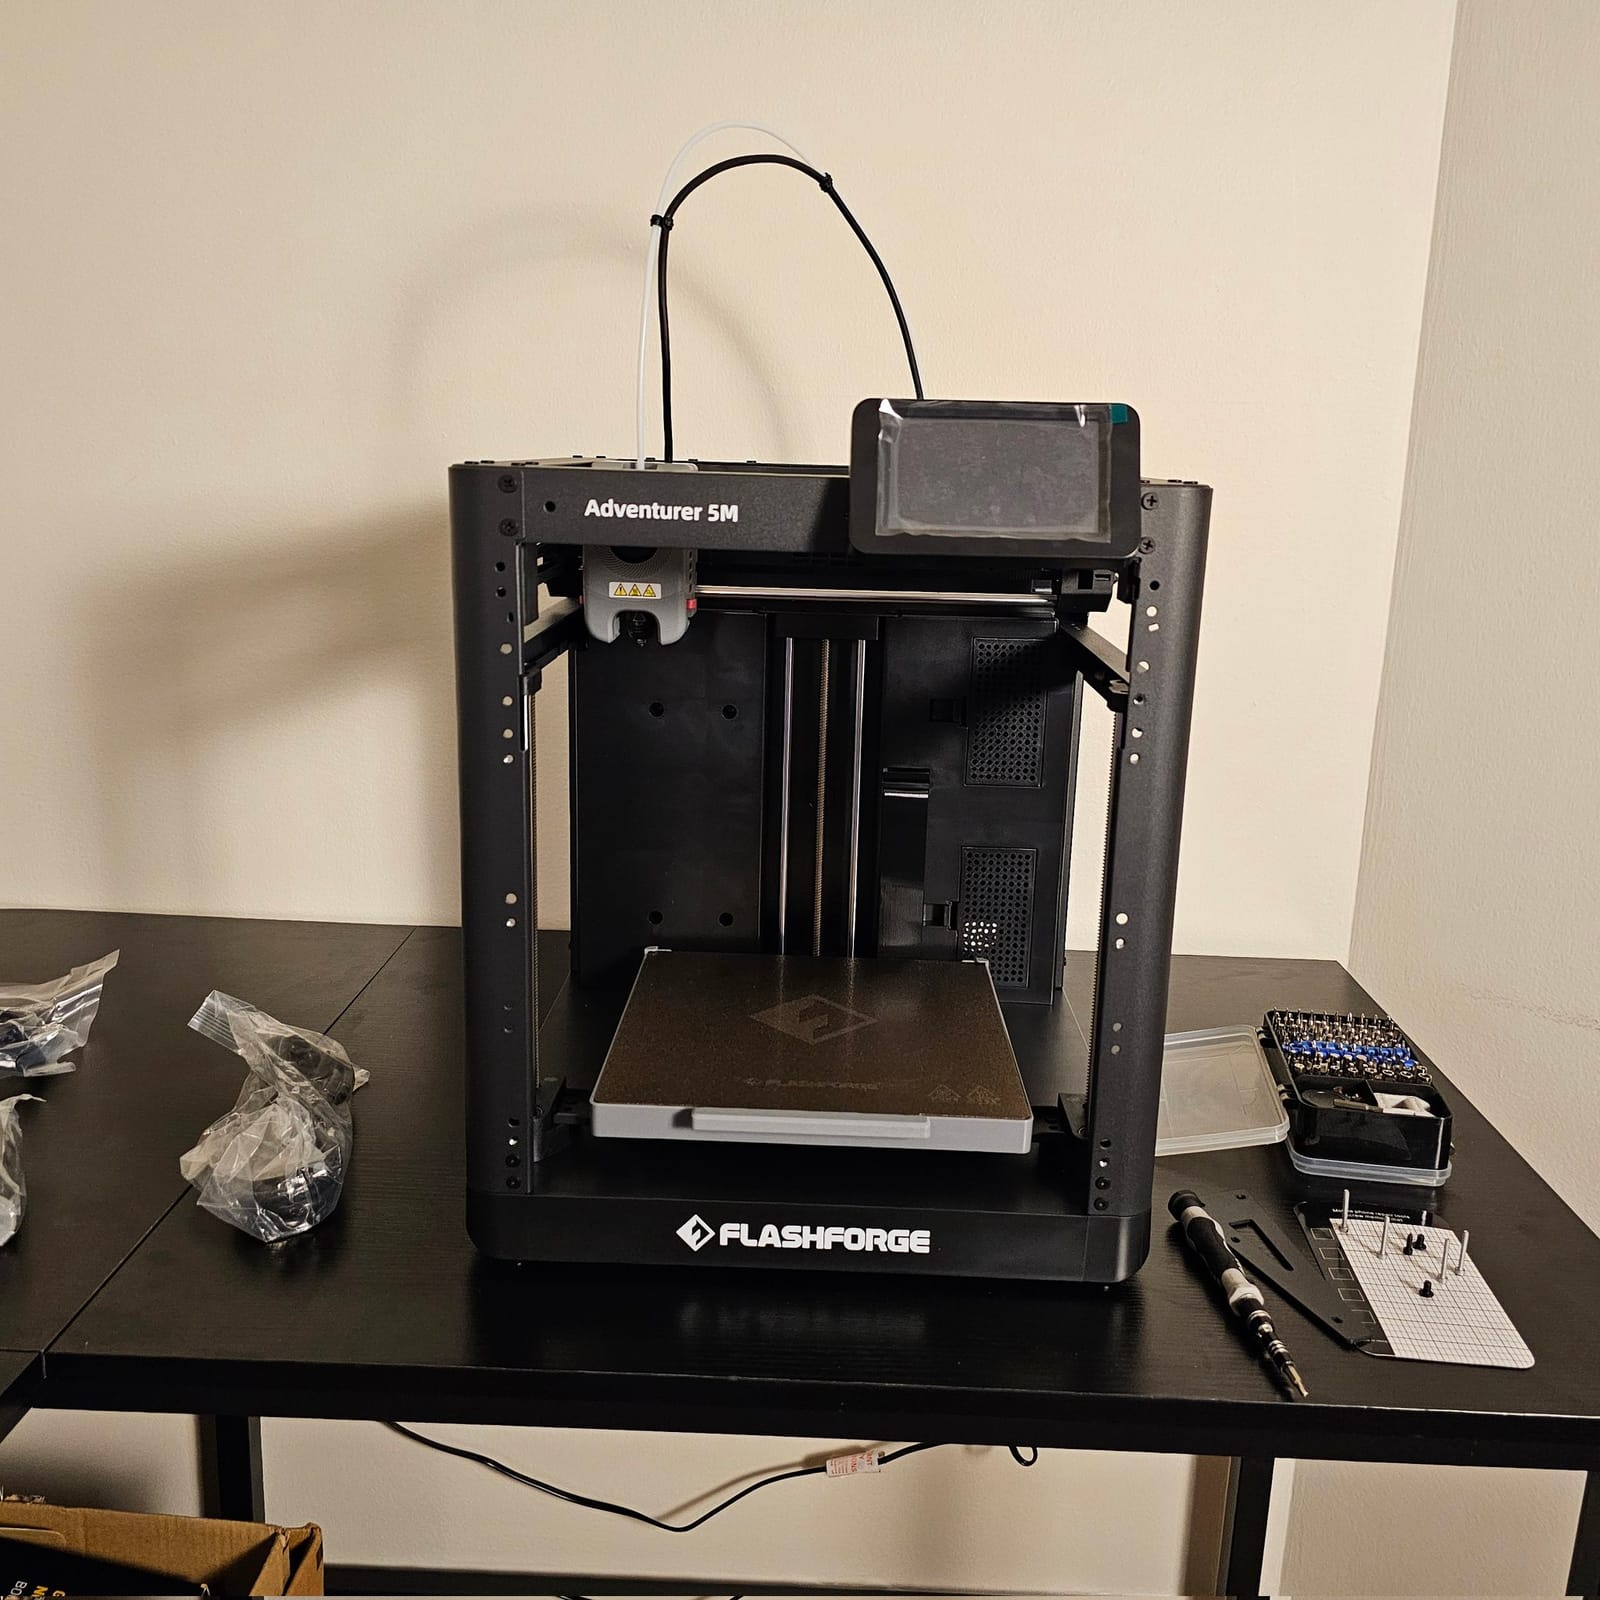
Initial setup done! Let me introduce you to “The BlackBox”, aka the Flashforge Adventurer 5M (AD5M). CoreXY, incredibly fast print speeds and acceleration, auto levelling built in, and a textured PEI bed plate.
I debated going with the Pro model, but couldn’t justify the extra $150 when I can just print an enclosure myself. As a 3D printing newbie, that sounds like fun.
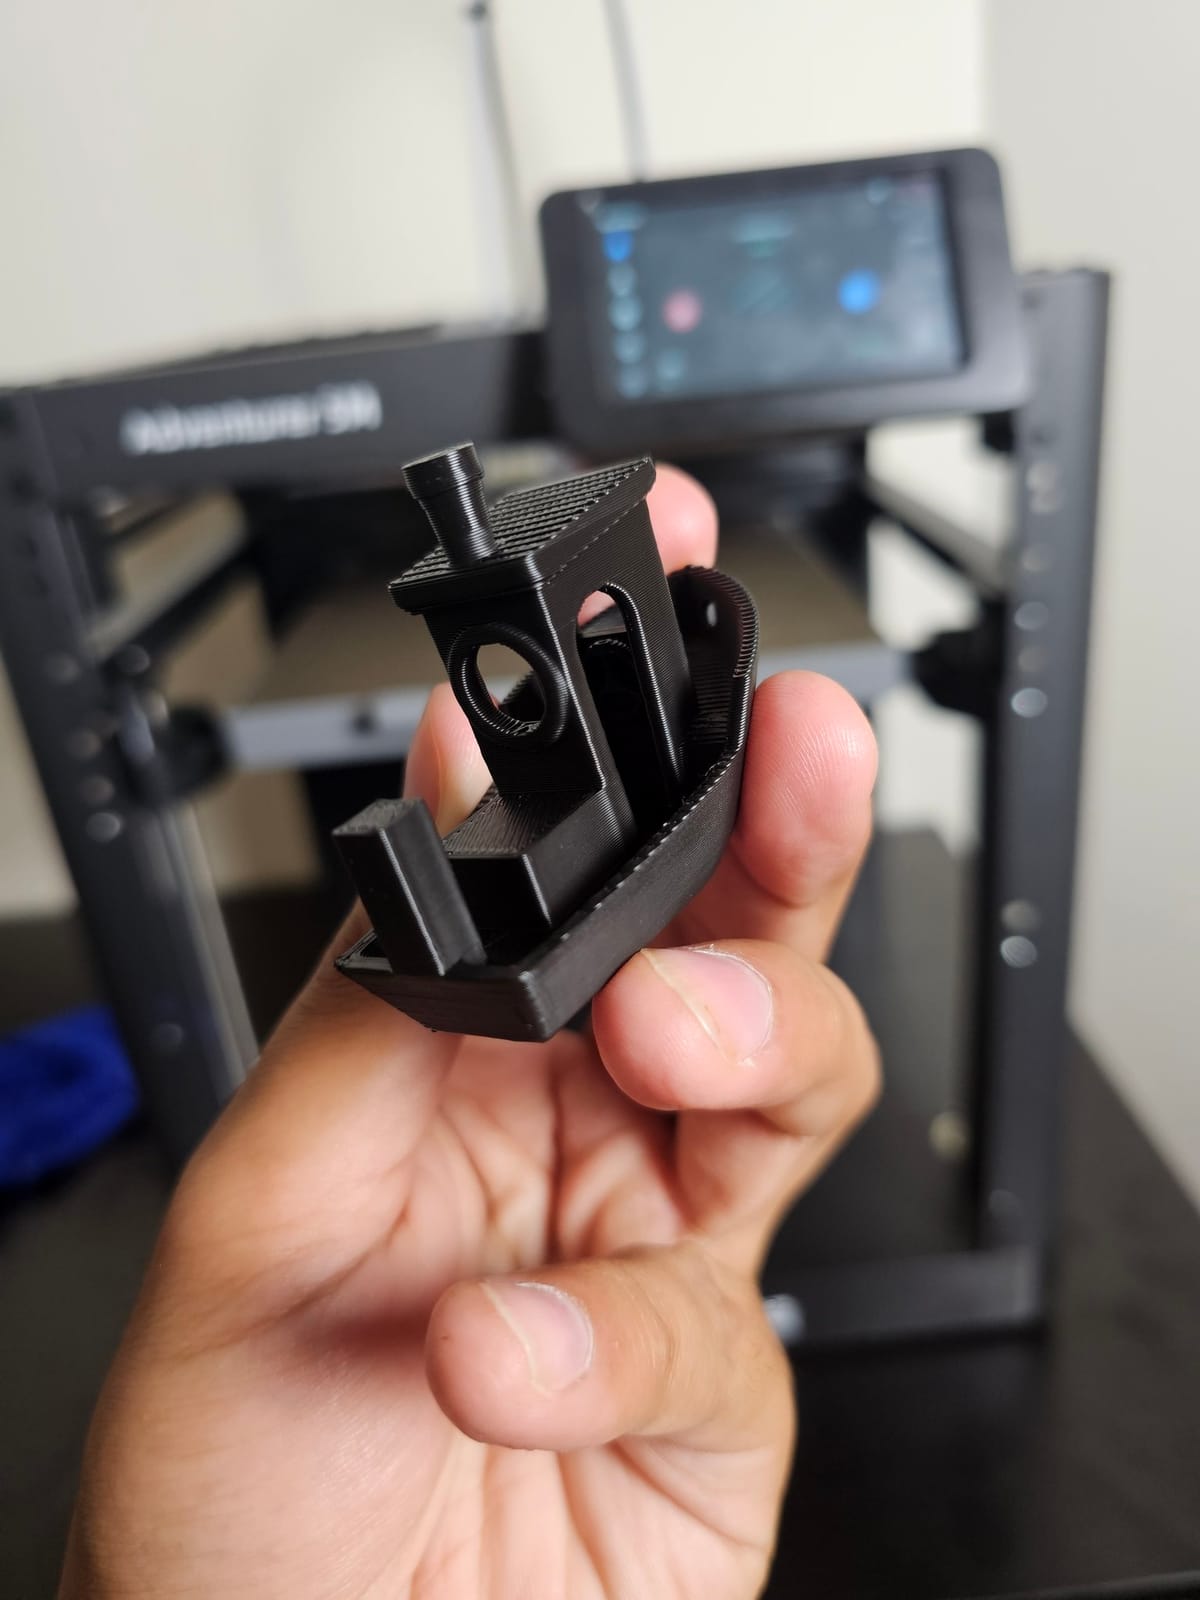
First up, some test prints on a black eSUN PLA Basic spool, and of course that means a Benchy. It came out incredibly detailed! There’s a video on X too.
Why did I think this would be a cheap hobby?
A couple of weeks in: “why did i think 3d printing would be a cheap and easy hobby lol”. The alt text on that photo was “How much filament is too much filament?”, so yeah, you know where my head is at.
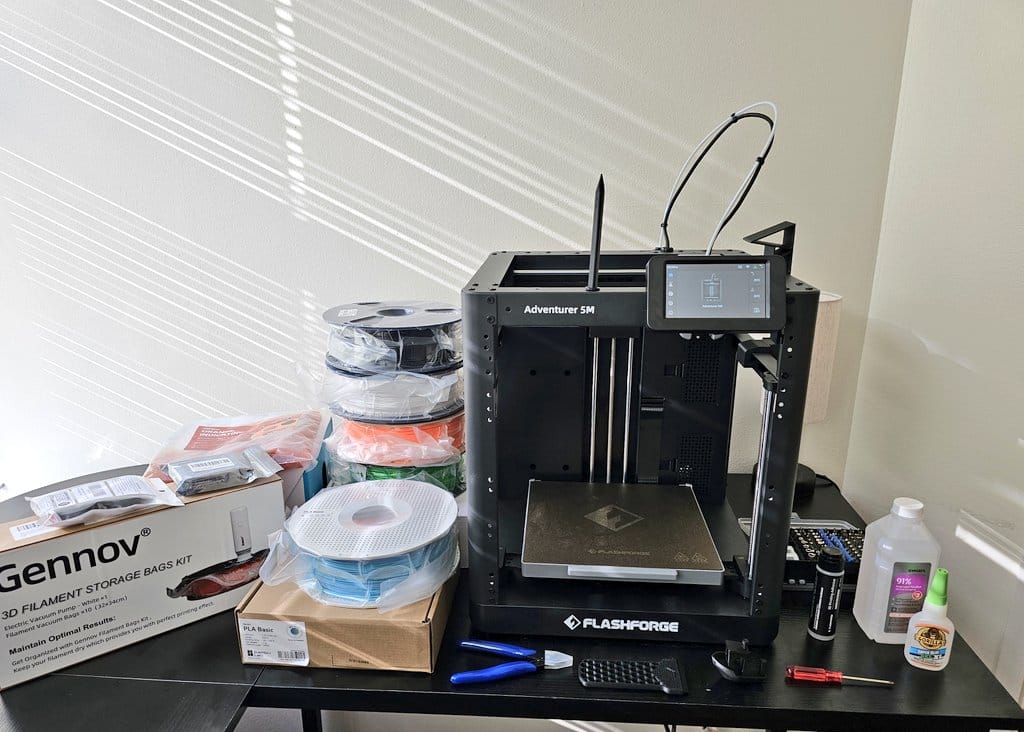
The printer is the planned expense. Then come the spools, a storage bag kit to keep them dry, tools, and eventually a dryer (more on that below).
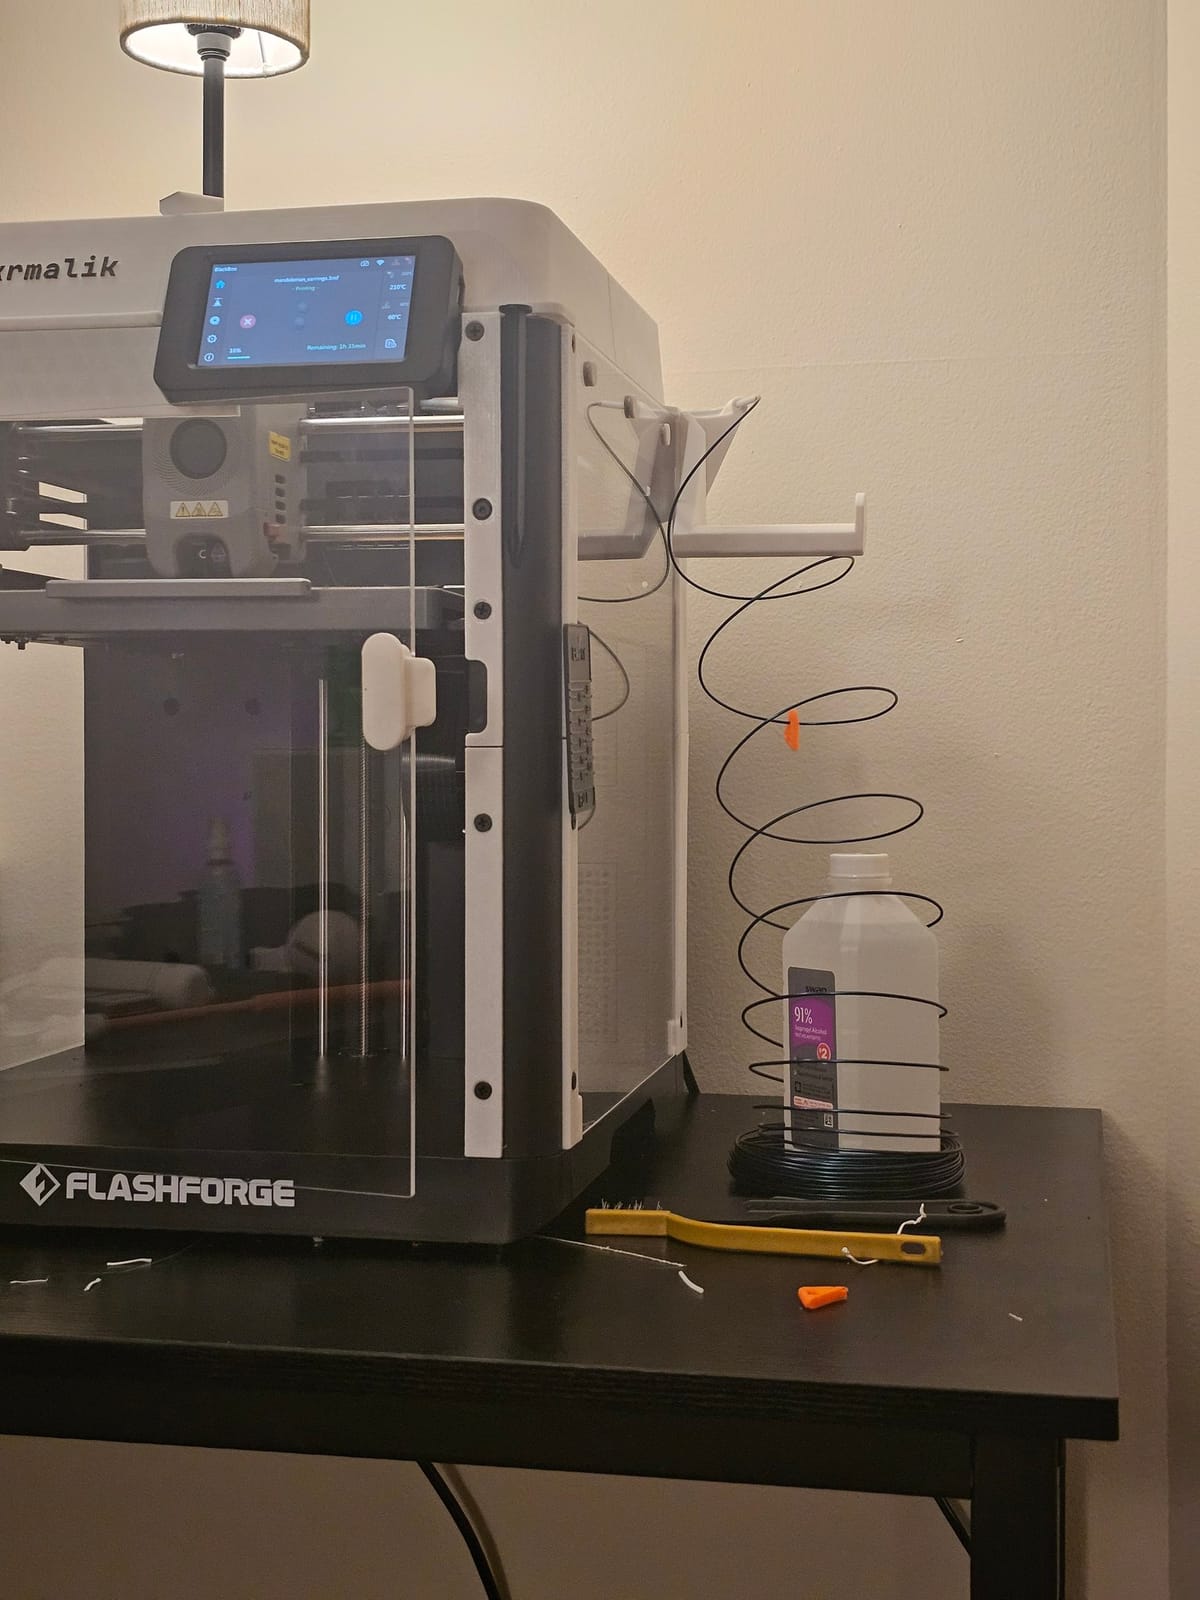
Even the small stuff sneaks up on you. Sample filament comes as a loose coil and I didn’t have a spare spool for it, so it got wrapped around a bottle. Jugaad ftw.
On the software side, I’m learning FreeCAD (open source) and Fusion 360 (the community version).
Printing stuff for the printer
So far I’ve mostly been printing small stuff for the printer itself. Next step: the enclosure I skipped the Pro model for. Spent my whole weekend printing and building it. Before and after:
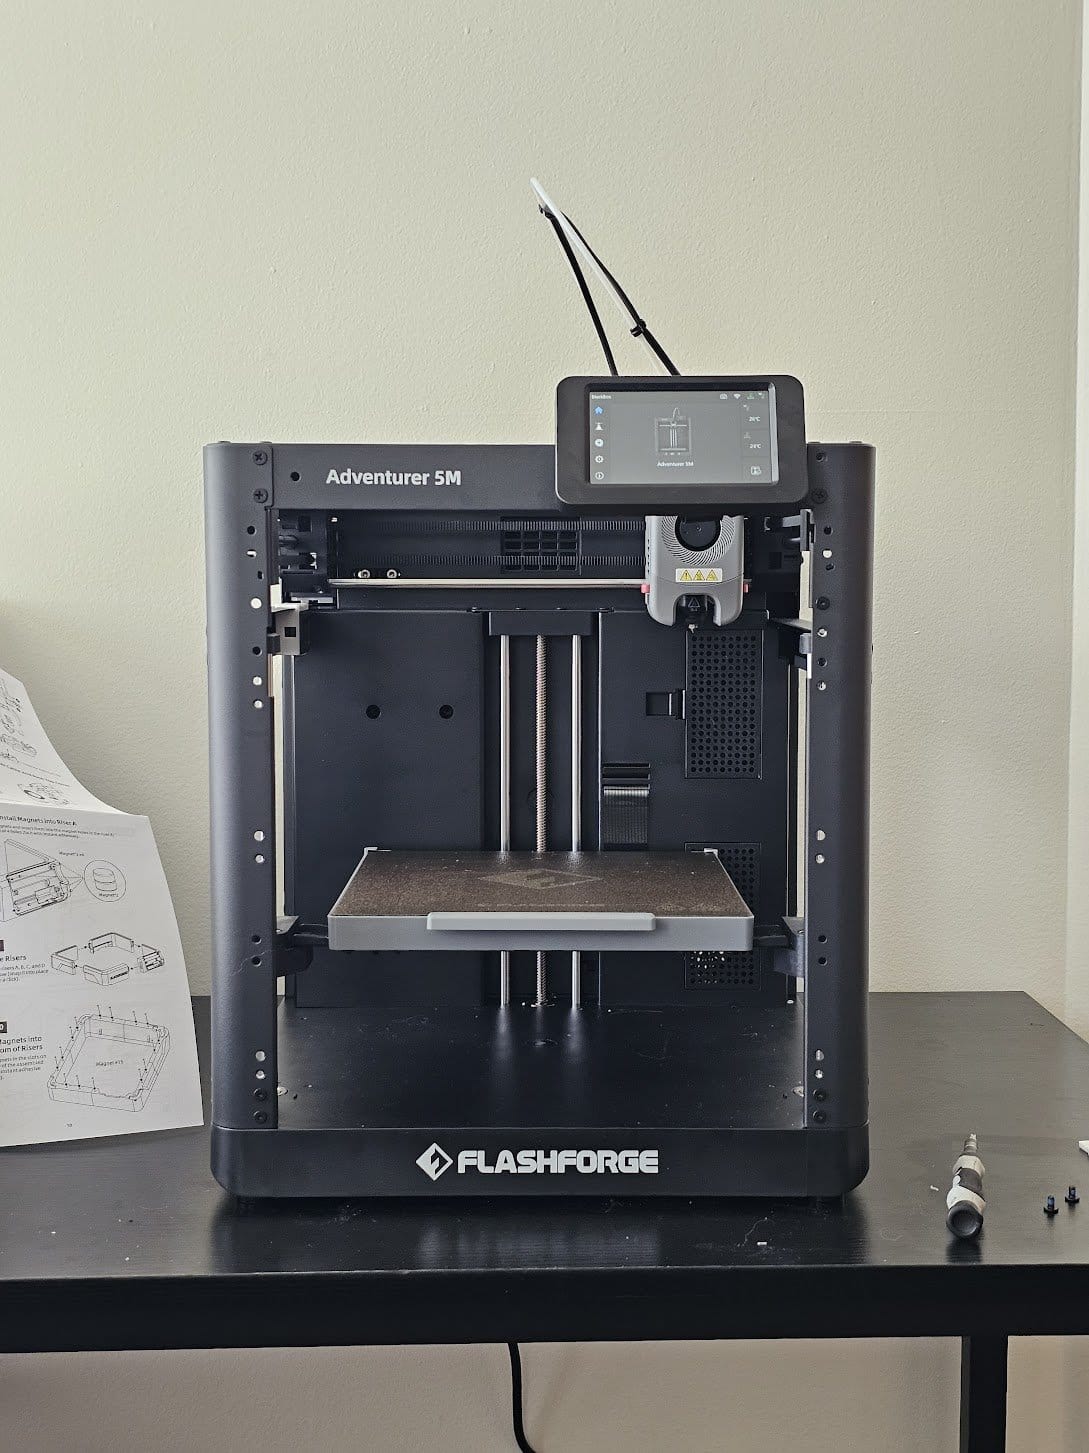
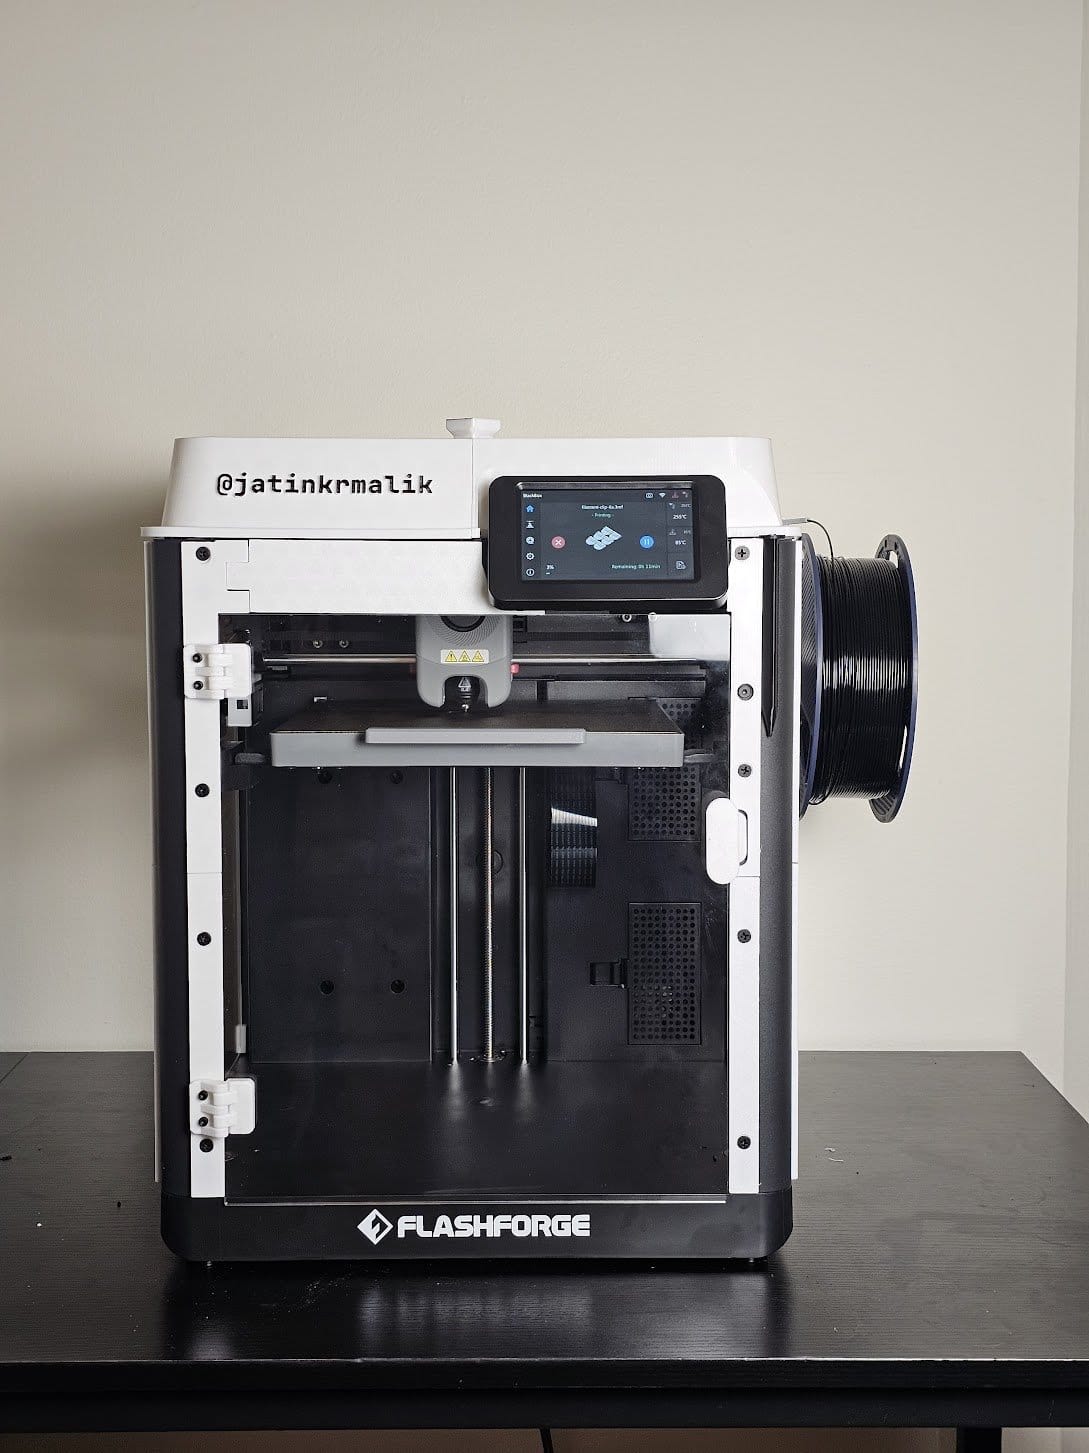
Someone said it looks clean. Thanks! I call it The StormTrooper. I know it’s kinda meta, printing stuff for your 3D printer, on your 3D printer. Pretty cool eh?
Looks aside, I want it so I can experiment with TPU, ABS and the like.
Printing someone else’s model
Do you need a AA and AAA battery dispenser? No. Should you print one? YES.
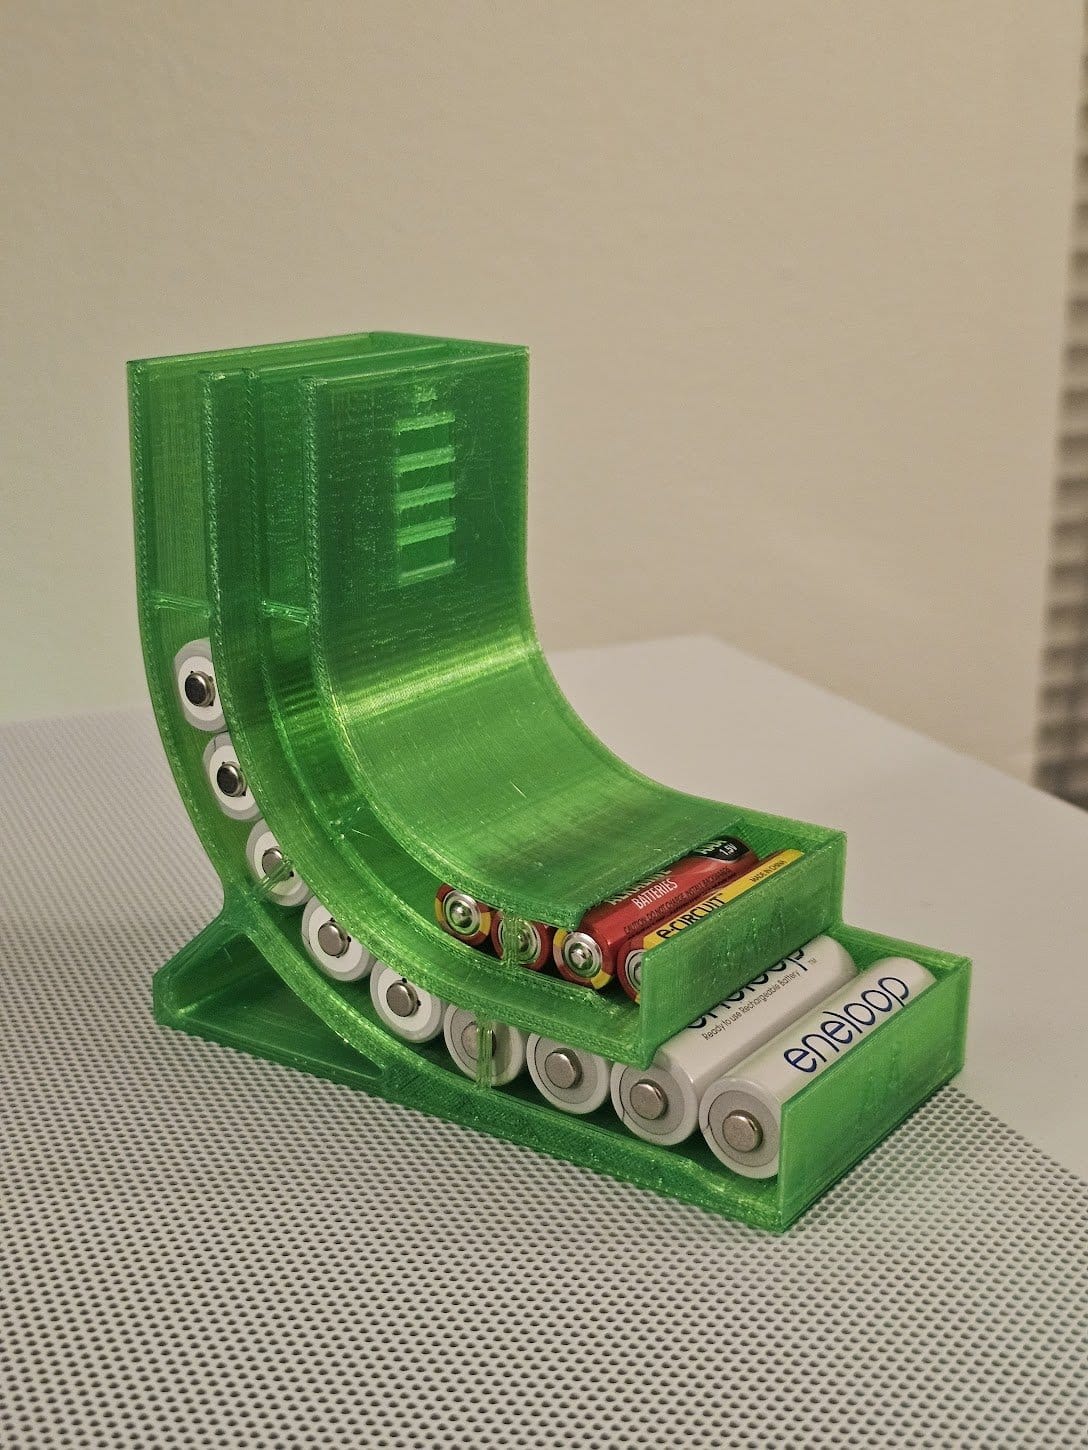
This is the Multi Battery Dispenser from Printables, not my design. It took just under 2 hours on a 0.6 mm nozzle with 0.3 mm layer height, and used 87 grams of PETG Pro. Someone in the replies said it looks like a box magazine, and now that they mention it, it kinda does lol.
TPU, step 0: buy a filament dryer
November 2025, and I’m ready to try TPU. My entire tutorial is two lines:
how to 3d-print tpu in your fdm 3d printer? step 0 / buy a filament dryer
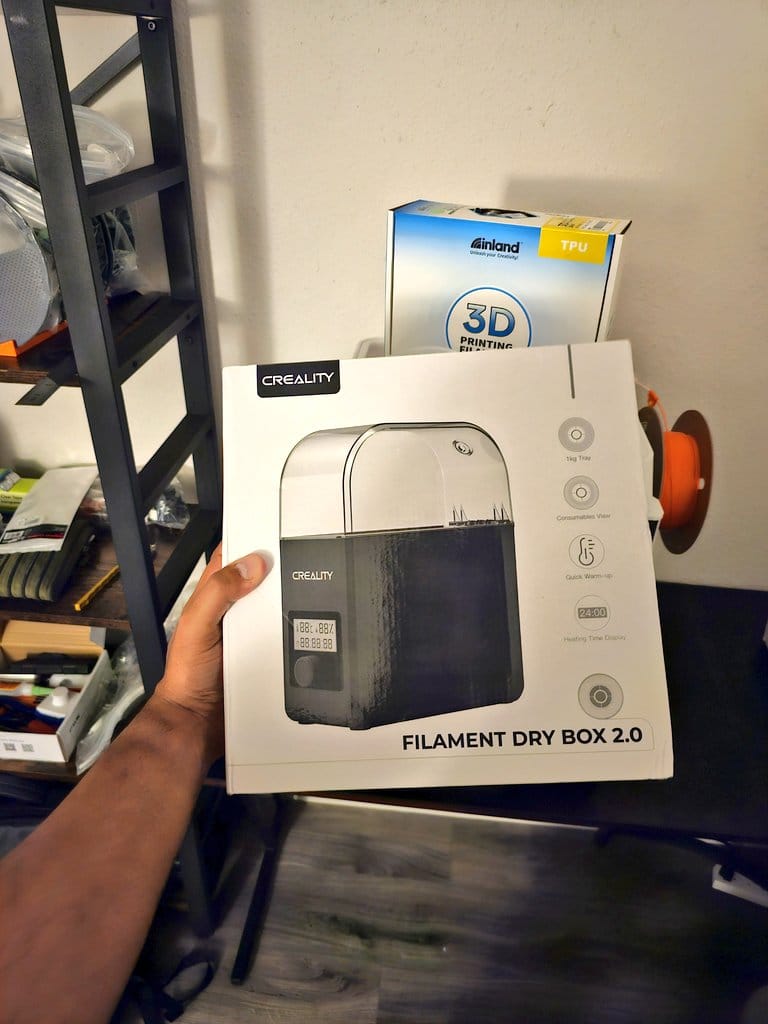
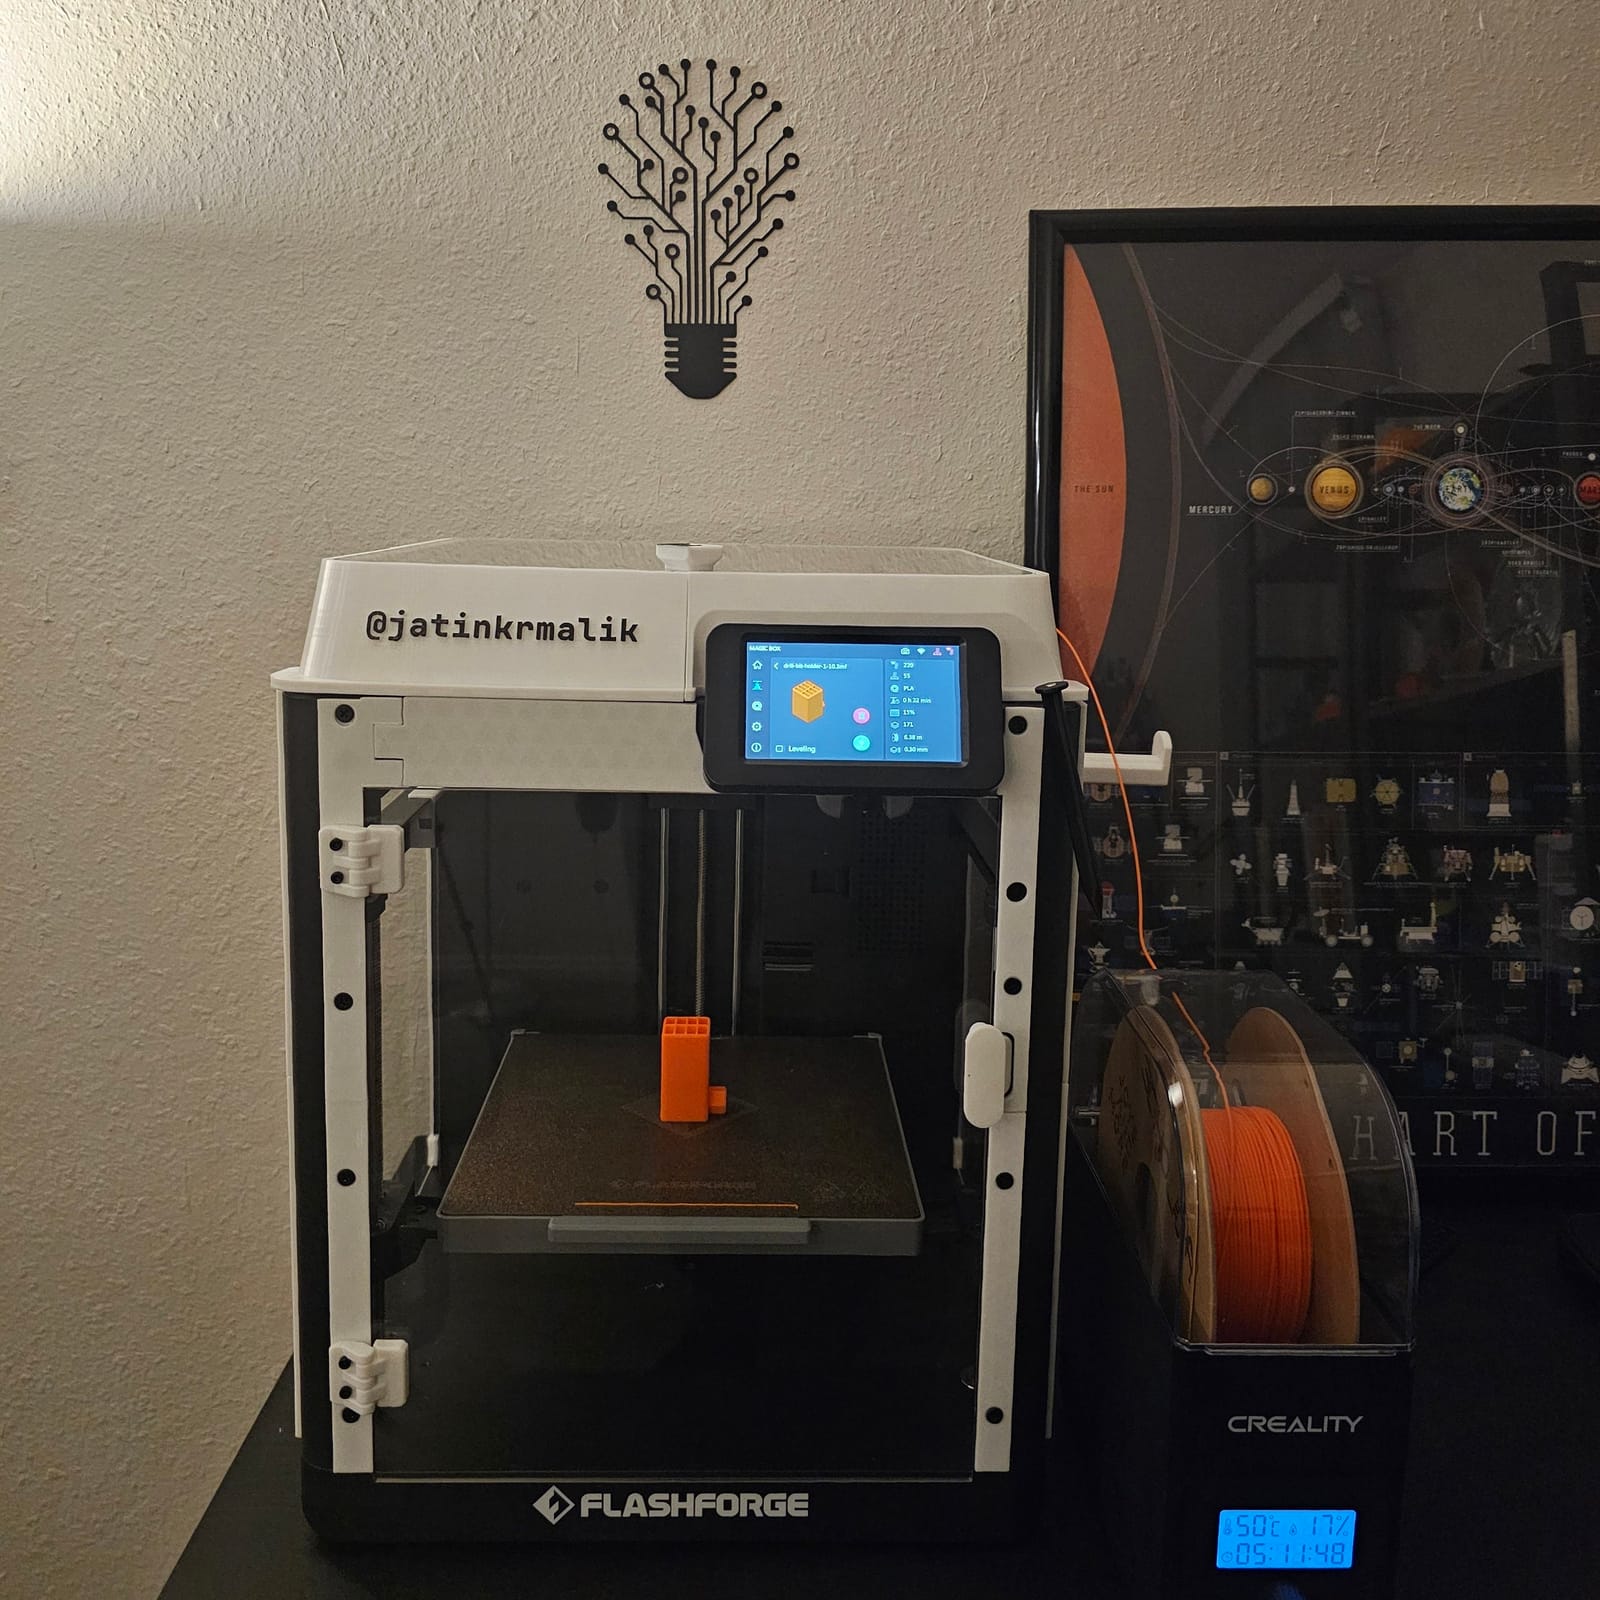
I went with the Creality Filament Dry Box 2.0. By the end of November it’s sitting right next to the printer, feeding filament straight in. That’s the photo at the top of this post.
The giant creative hammer
End of November, and this is how I’d describe it:
owning a 3D printer is like having this giant creative hammer where you go around the house to find problems and then solve them, would recommend buying 10/10!
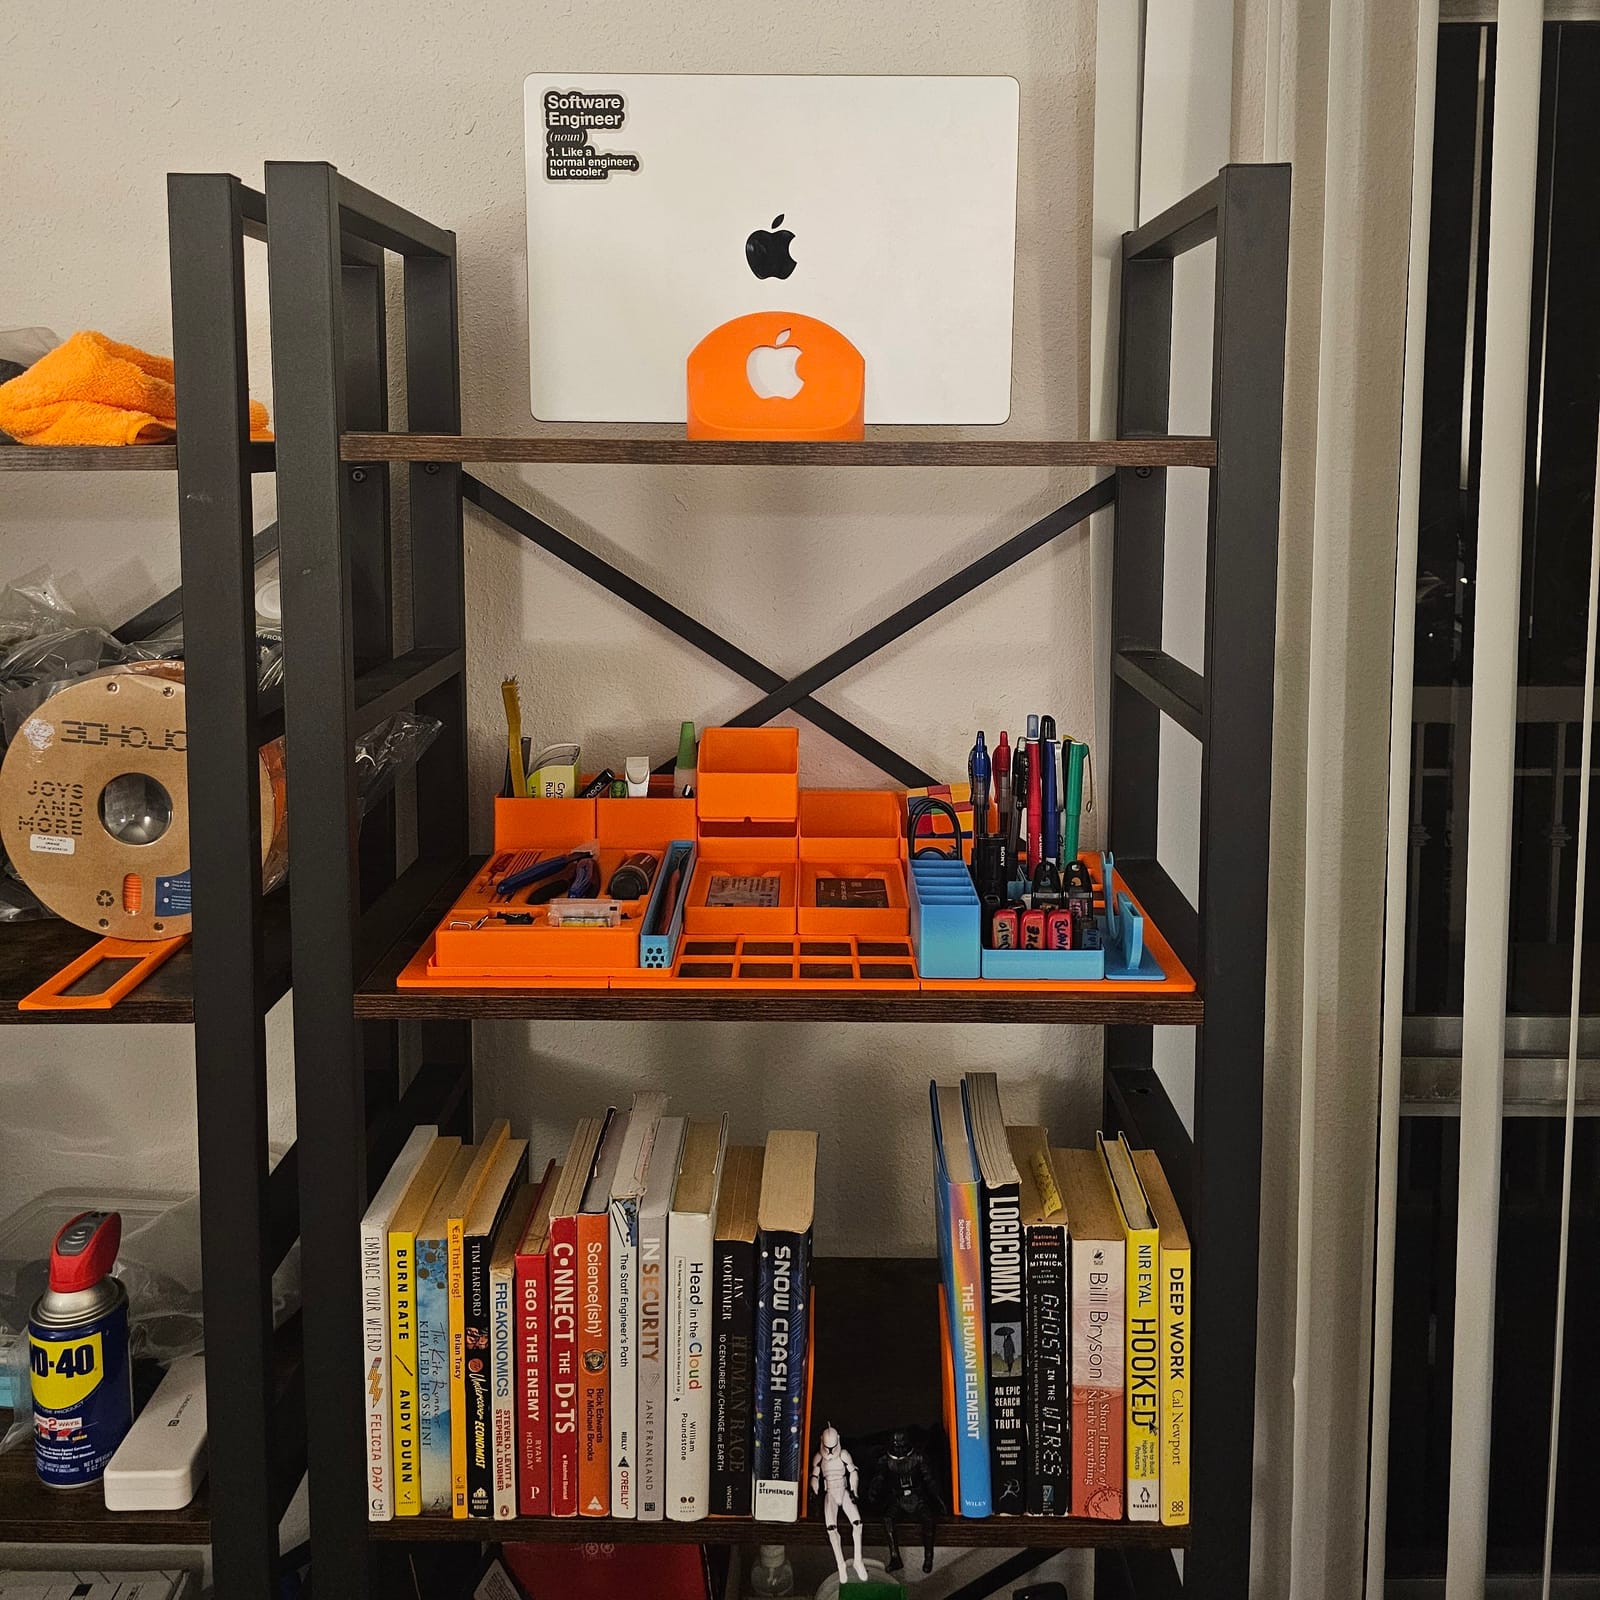
That’s “The Art”. The printer is “The Artist”.
Someone asked what software I use to model these. Honestly, it depends on your skill level and the problem. For basic stuff, Tinkercad is enough. For advanced stuff, Blender or Fusion is pretty good. And you can find a lot of models on Yeggi and just print them.
Sketch, LLM, OpenSCAD: the under-desk mount
New Year 2026! I drew a rough sketch of an under-desk power brick mount with the S-Pen on my S23 Ultra, and gave it to an LLM to help generate a parametric 3D model in OpenSCAD. Use case #431 for the S-Pen.
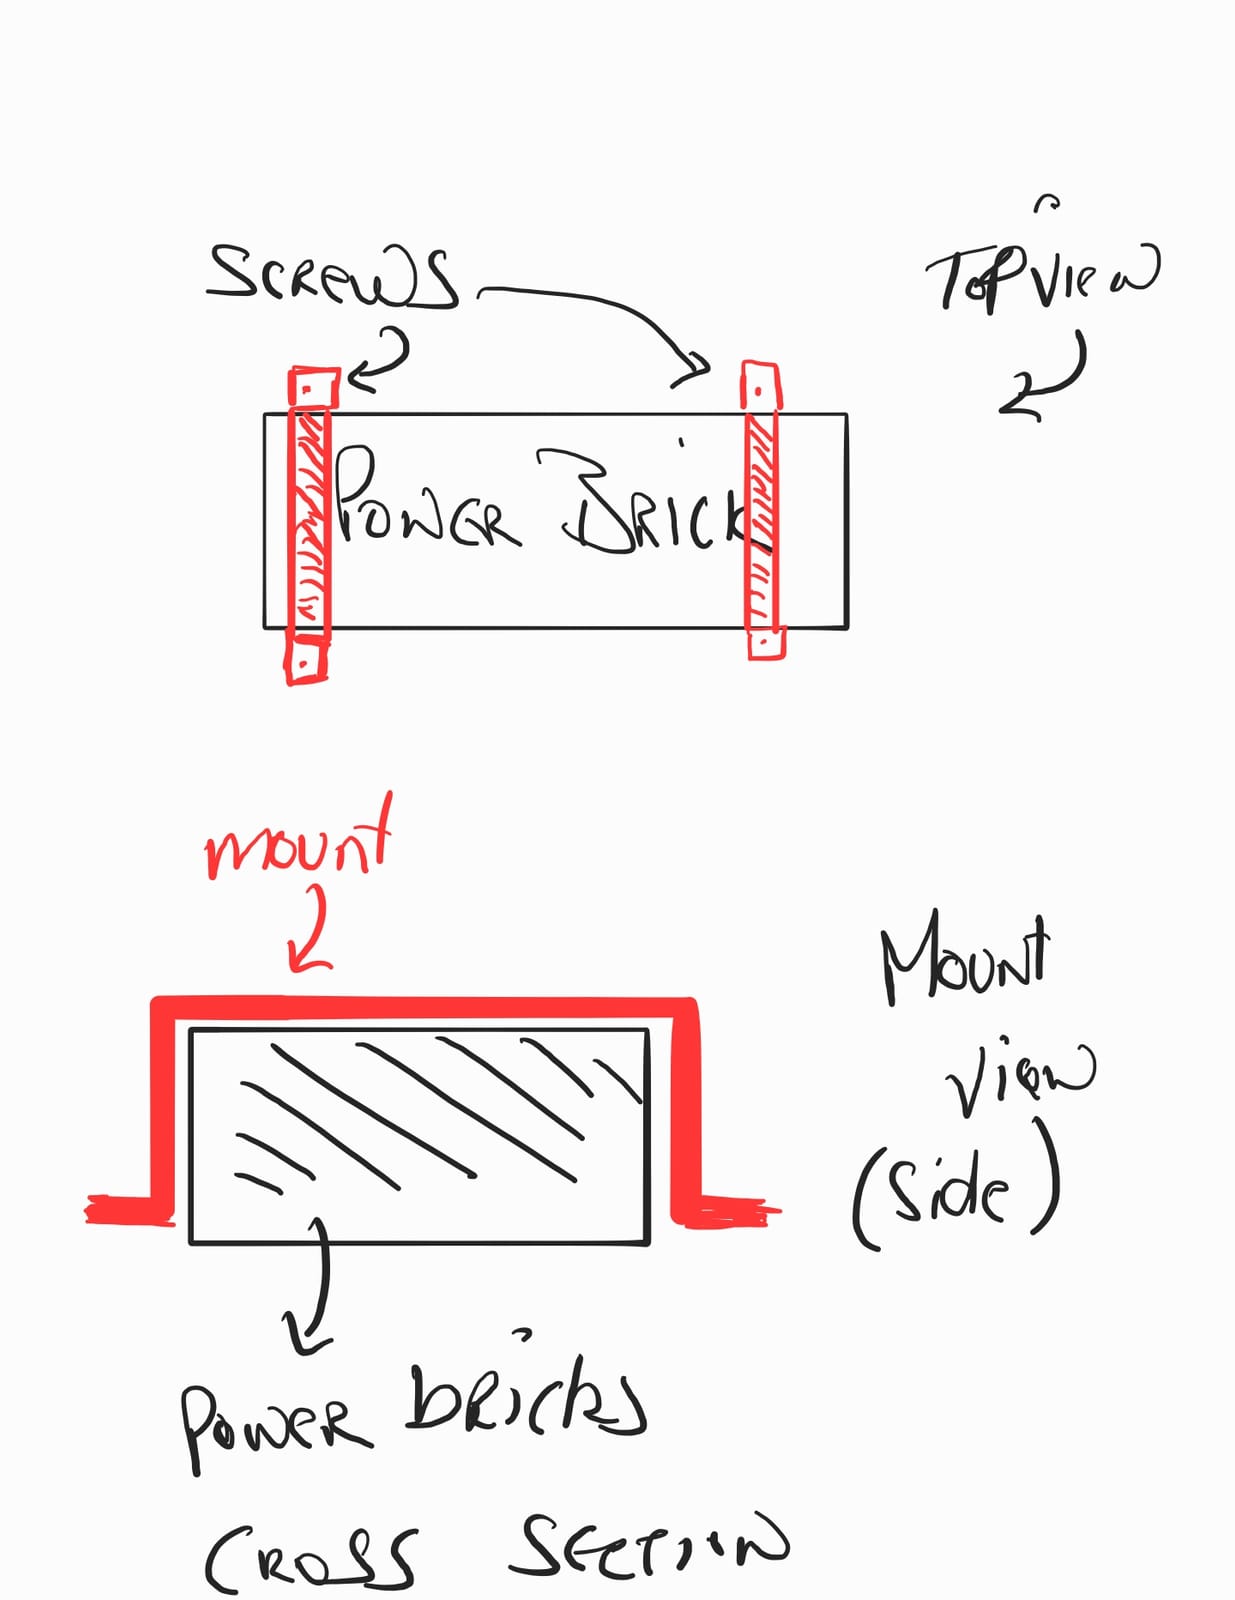
The render, not bad tbh:
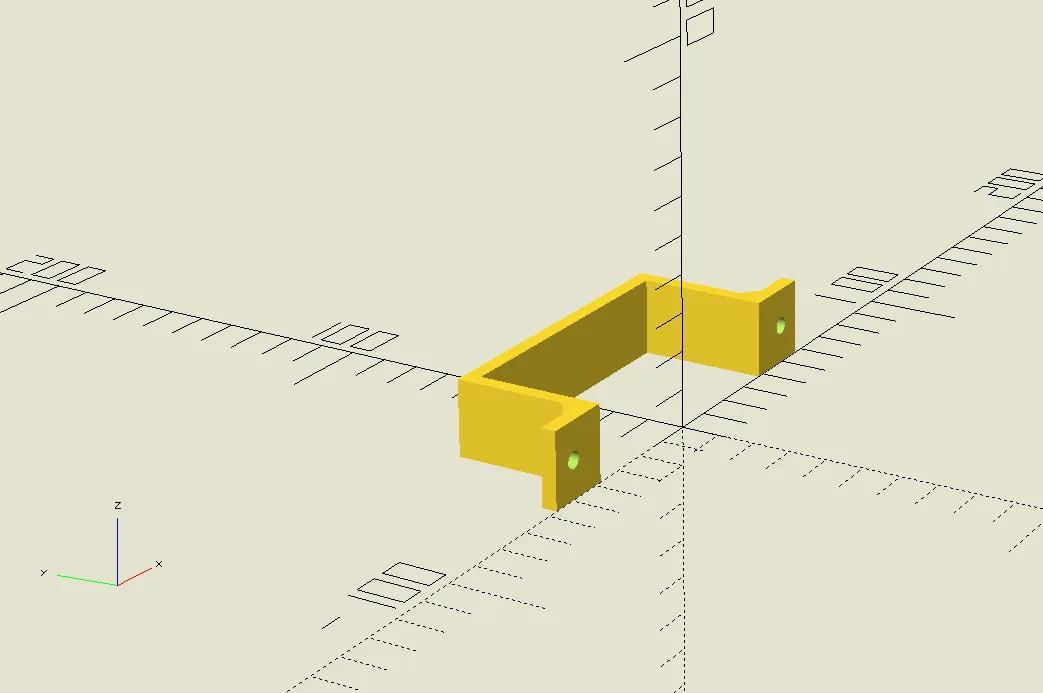
The slicer said about 41 minutes and 27 grams. The prints came out really well, so the power bricks are now mounted under my desk.
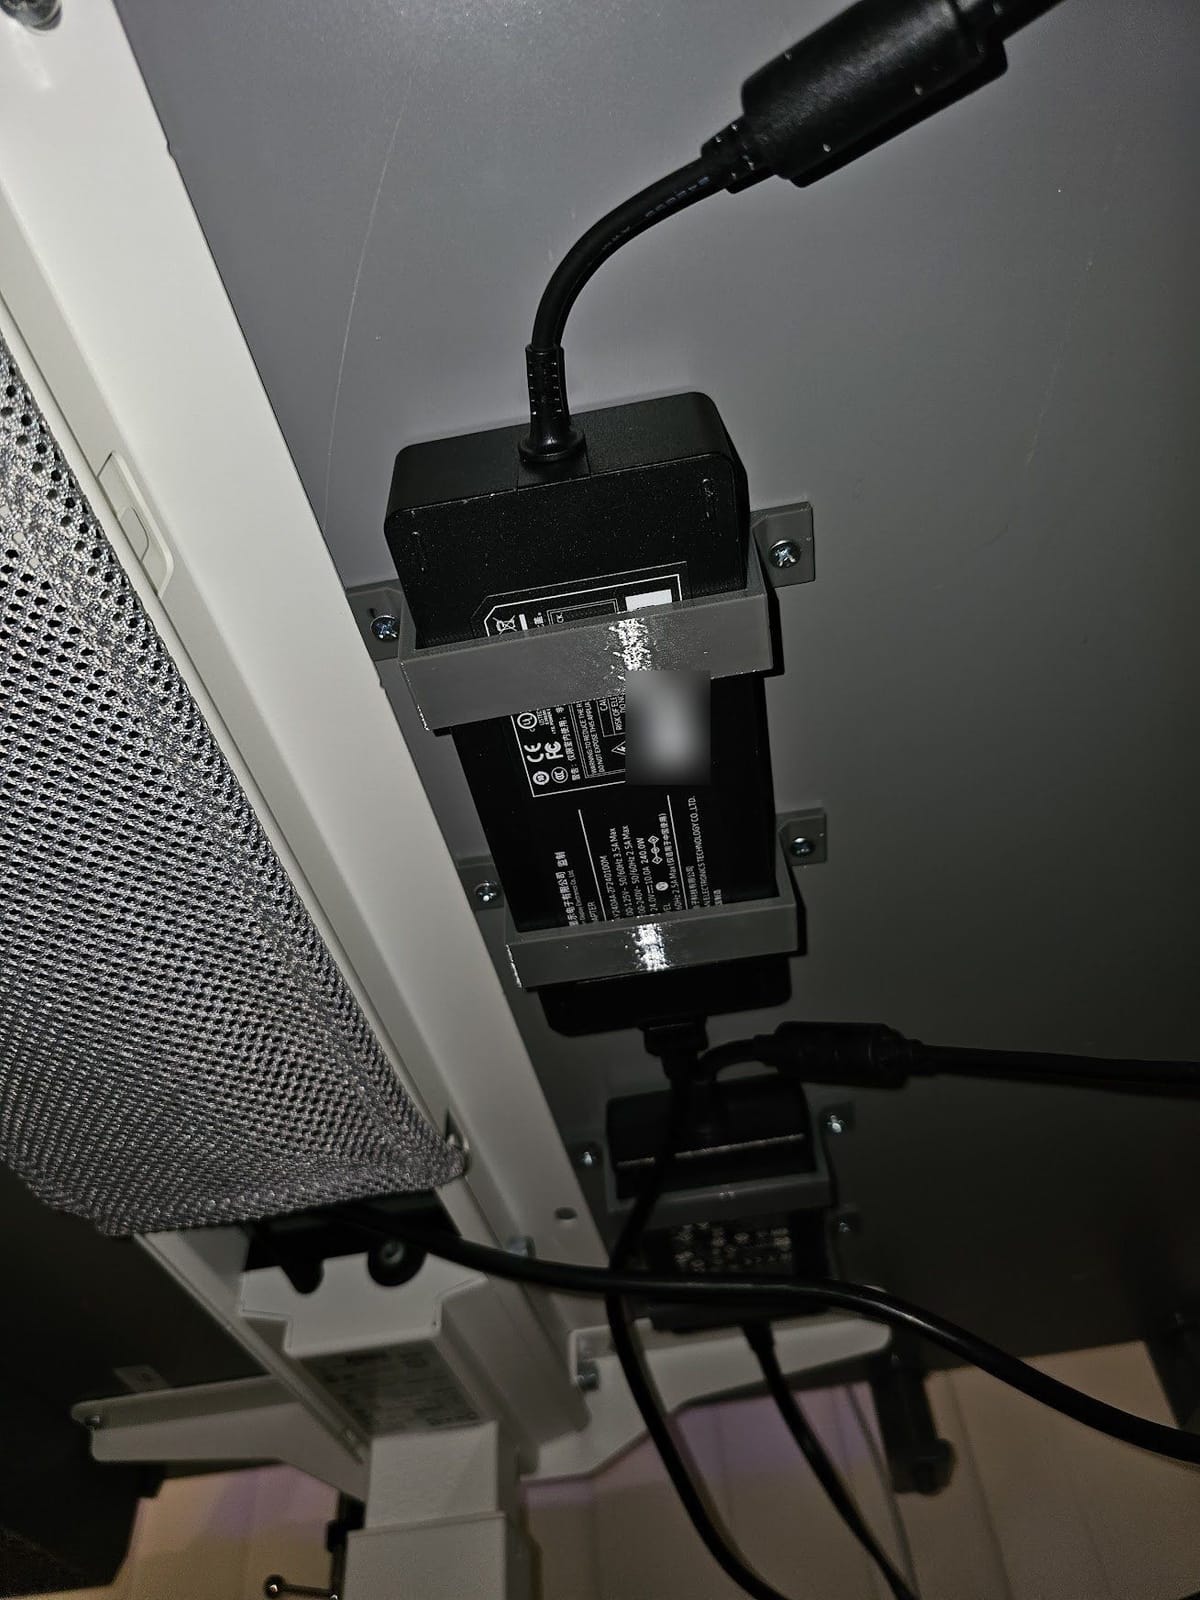
It’s modular enough to take a brick in and out. Bonus points: it keeps the floor clean. Happy wife, happy life!
I made it open source too: Open Source Universal Parametric Under-Desk Mount on Printables, with the SCAD file included. The walls are 4 mm thick with triangular fillets, it prints lying flat on its side so the layer lines run along the strap (no snapping), and it’s sized for #8 wood screws or M4 screws. Change the dimensions at the top of the file and you get a bracket for whatever you want under your desk.
Small fixes around the house (and the car)
A lot of it is small stuff. I made a quick model to mount my multimeter in style on my honeycomb storage wall. It’s a remix of a community model, and it’s up as the HSW Multimeter Holder v2 on Printables.
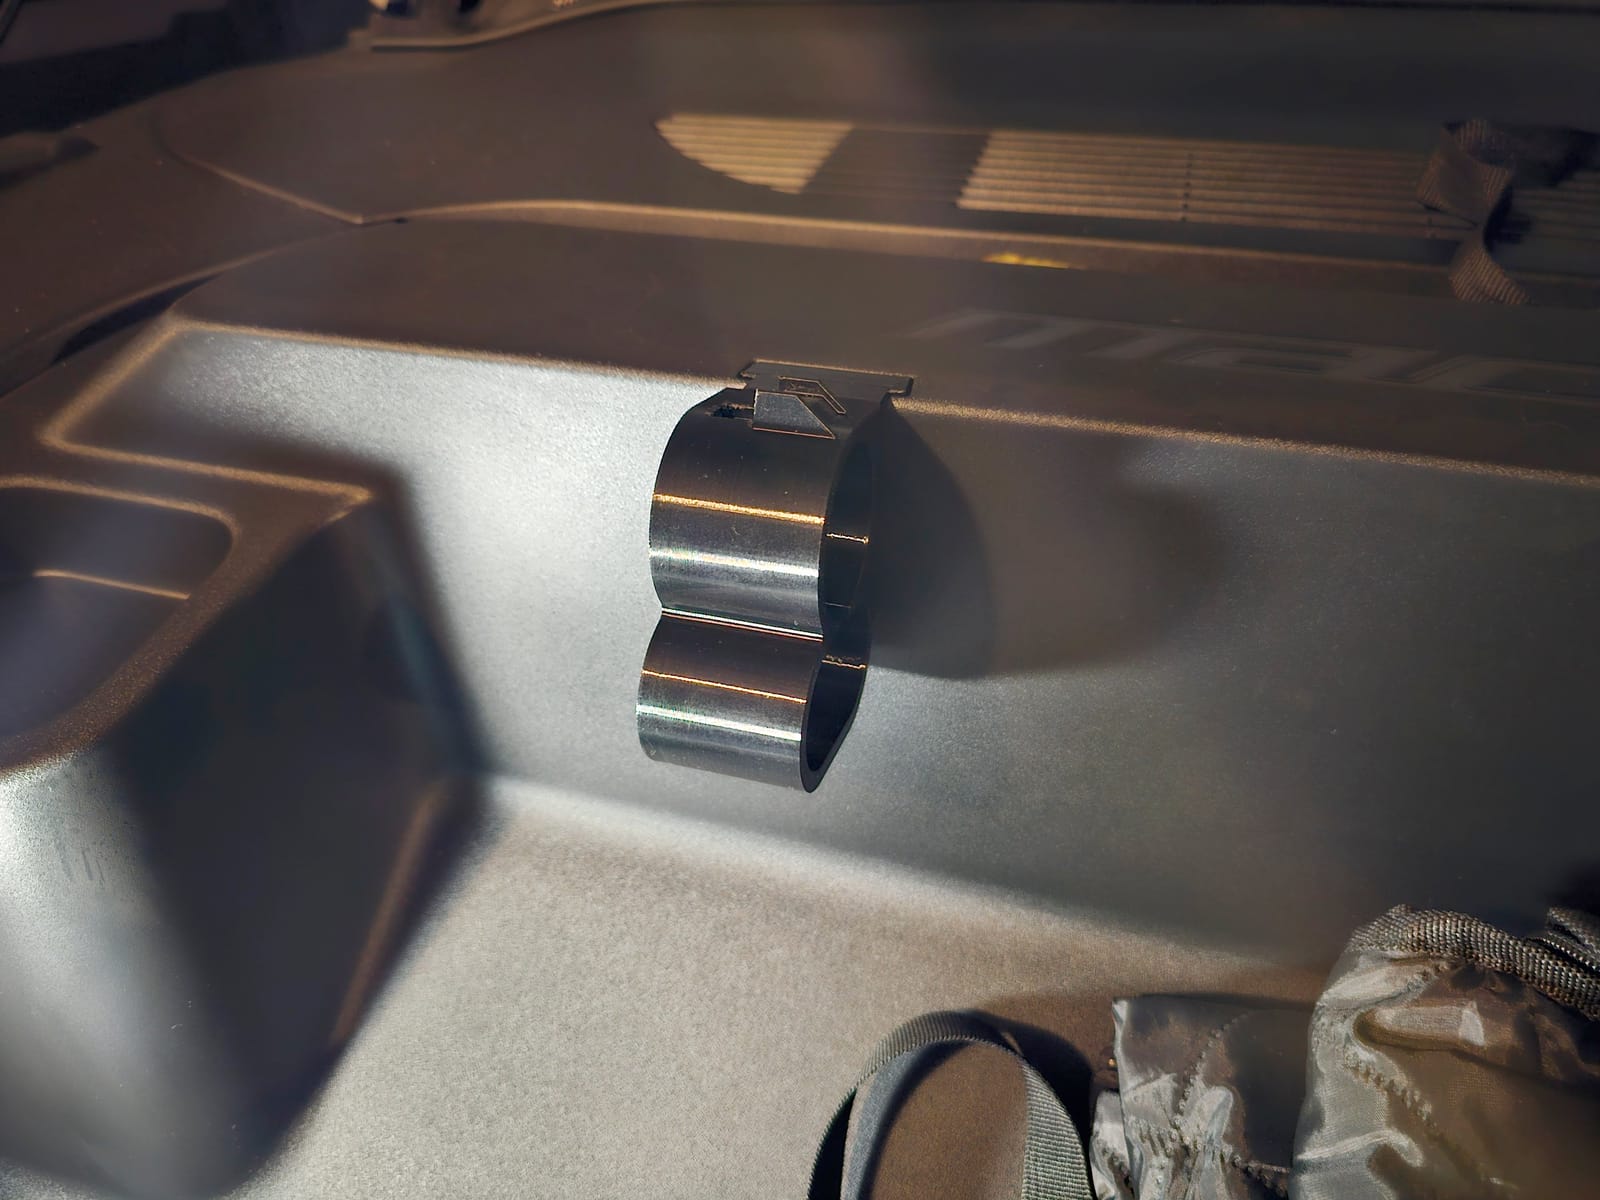
Then there’s the car. I printed a clip to hold the NACS <-> CCS charging adapter. Someone in the replies thought I was mounting a high-powered laser on my car. No bud, it’s just a NACS <-> CCS adapter for charging the car :D
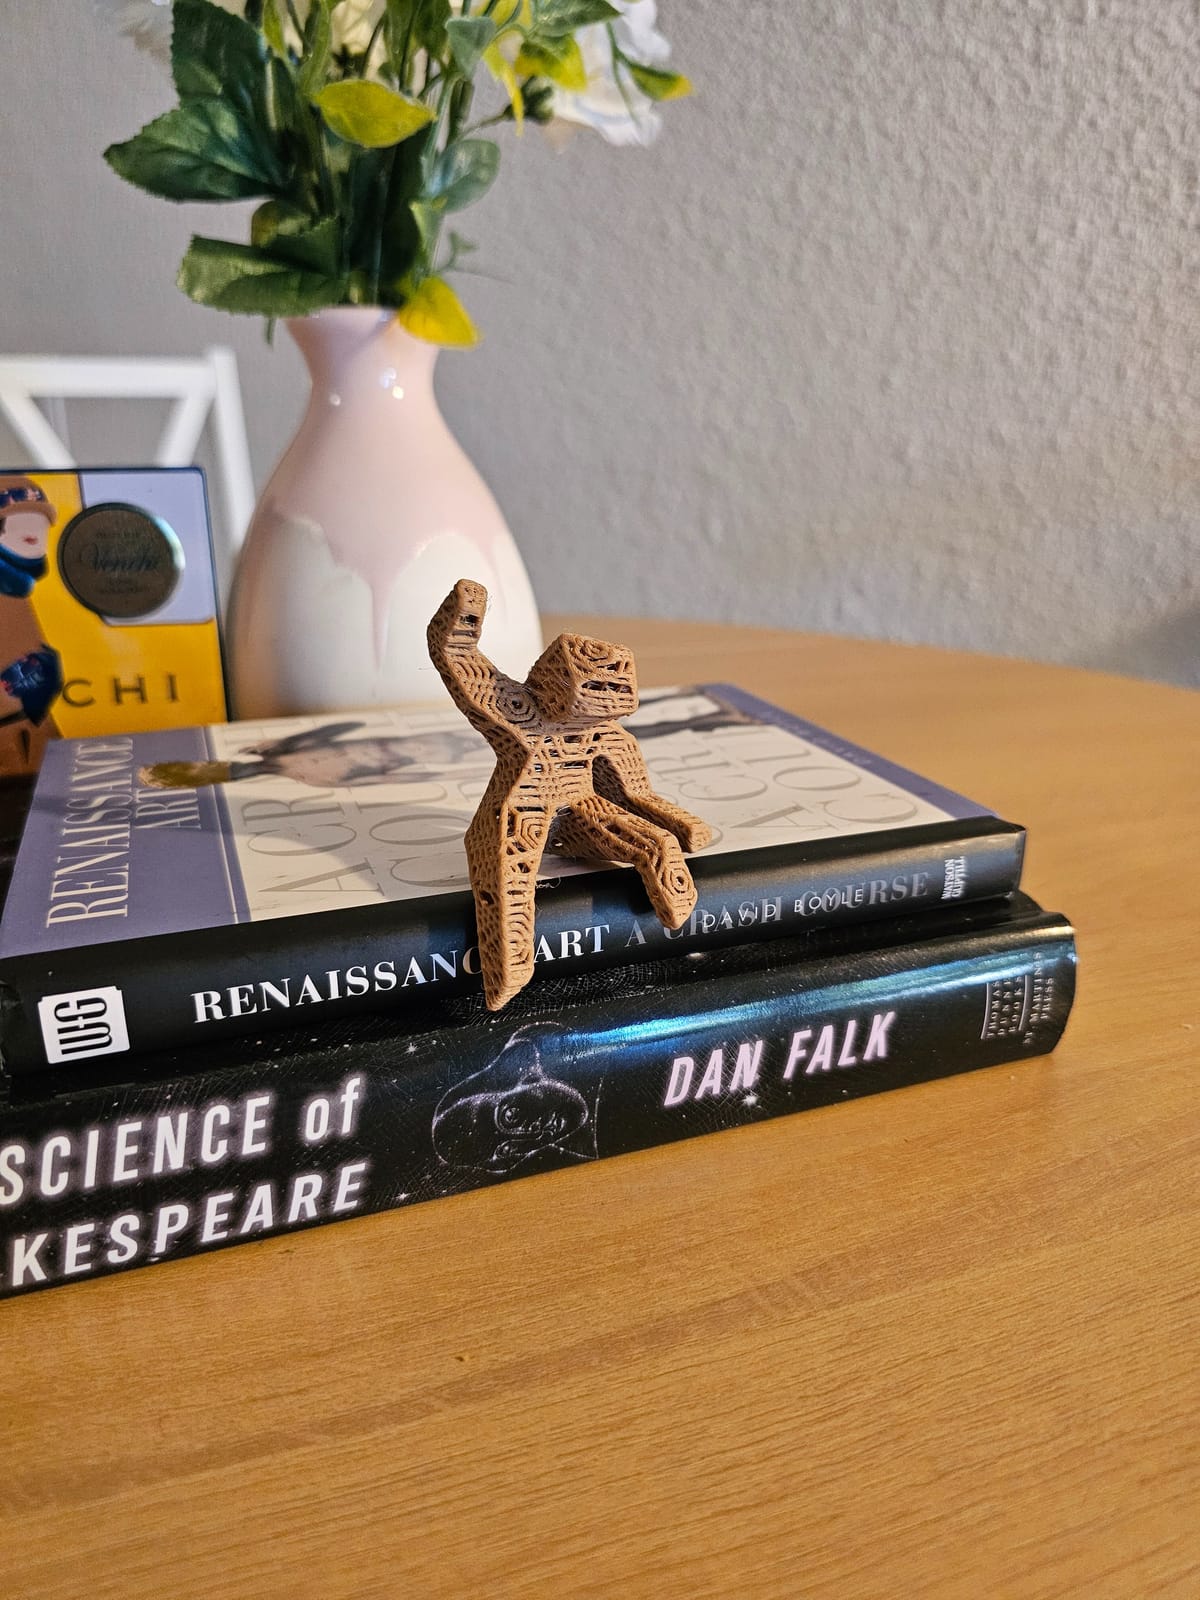
Not everything has to be useful. Finally watched Project Hail Mary (10/10, would recommend!), so I printed this Grace model for my wife.
A $15 Pi Zero to babysit the printer
February 2026: just picked up a Raspberry Pi Zero 2 W from Micro Center to manage the printer remotely. It’s mind blowing how much compute you get for just $15! A quad-core 64-bit A53 ARM CPU, 512 MB of SDRAM, and built-in Wi-Fi and Bluetooth 4.2.
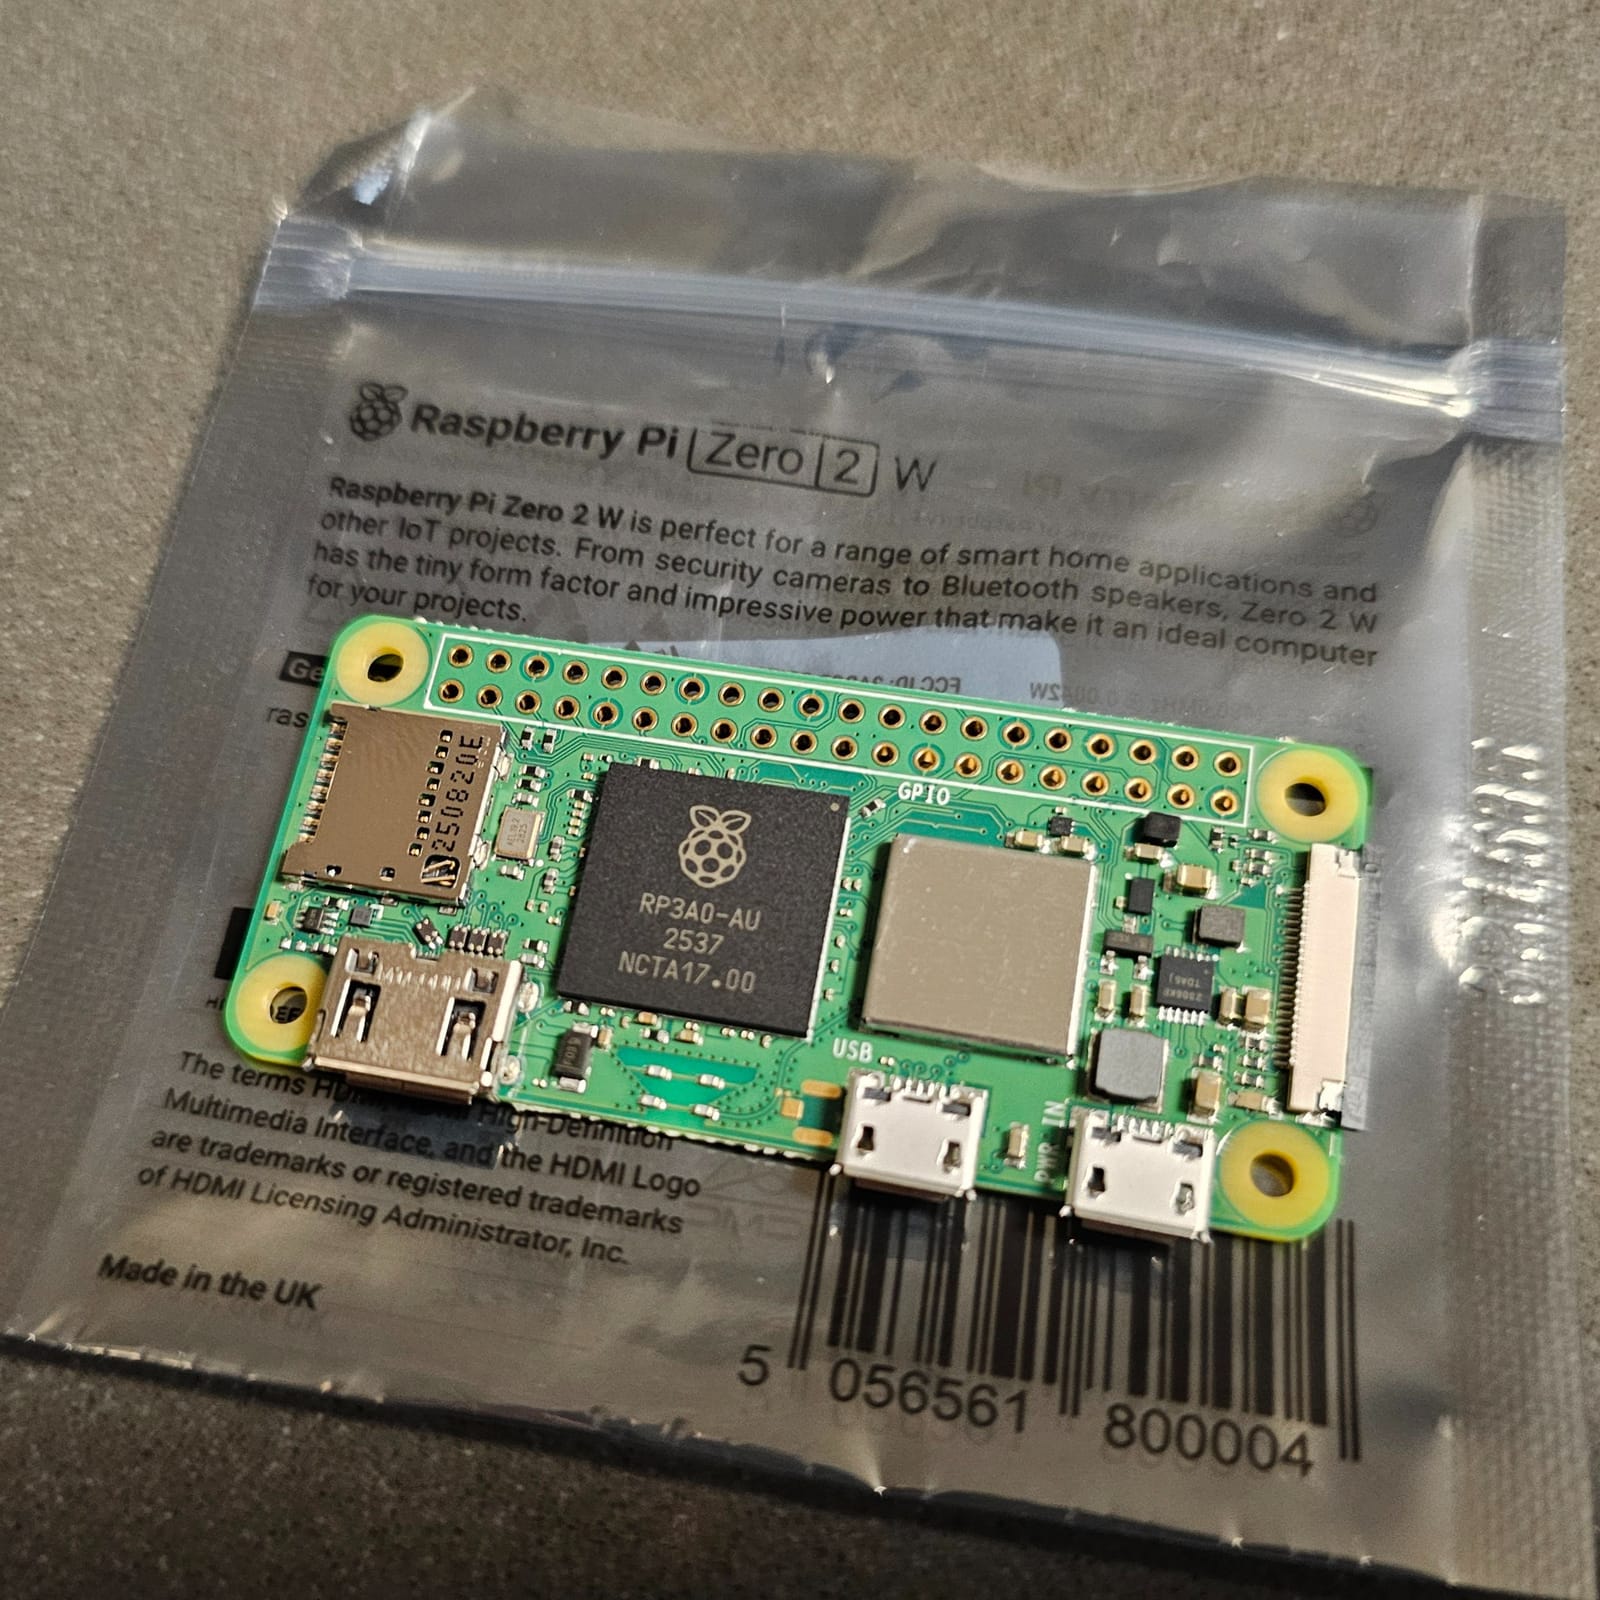
Raspberry Pis and I go back a long way, from the Pi 2 guides in 2015 to Pi-hole. When someone asked about Pi-hole under the tweet, yep, I already run Pi-hole and PiVPN on my RPi4.
I edited an STL with an AI agent, no CAD
My wife has an Xteink X4, a tiny e-reader that sticks to the back of your phone. I call it the antidote to doomscrolling. I wanted a better case for it.
I started with a community model of the case, but I didn’t like its textured back:
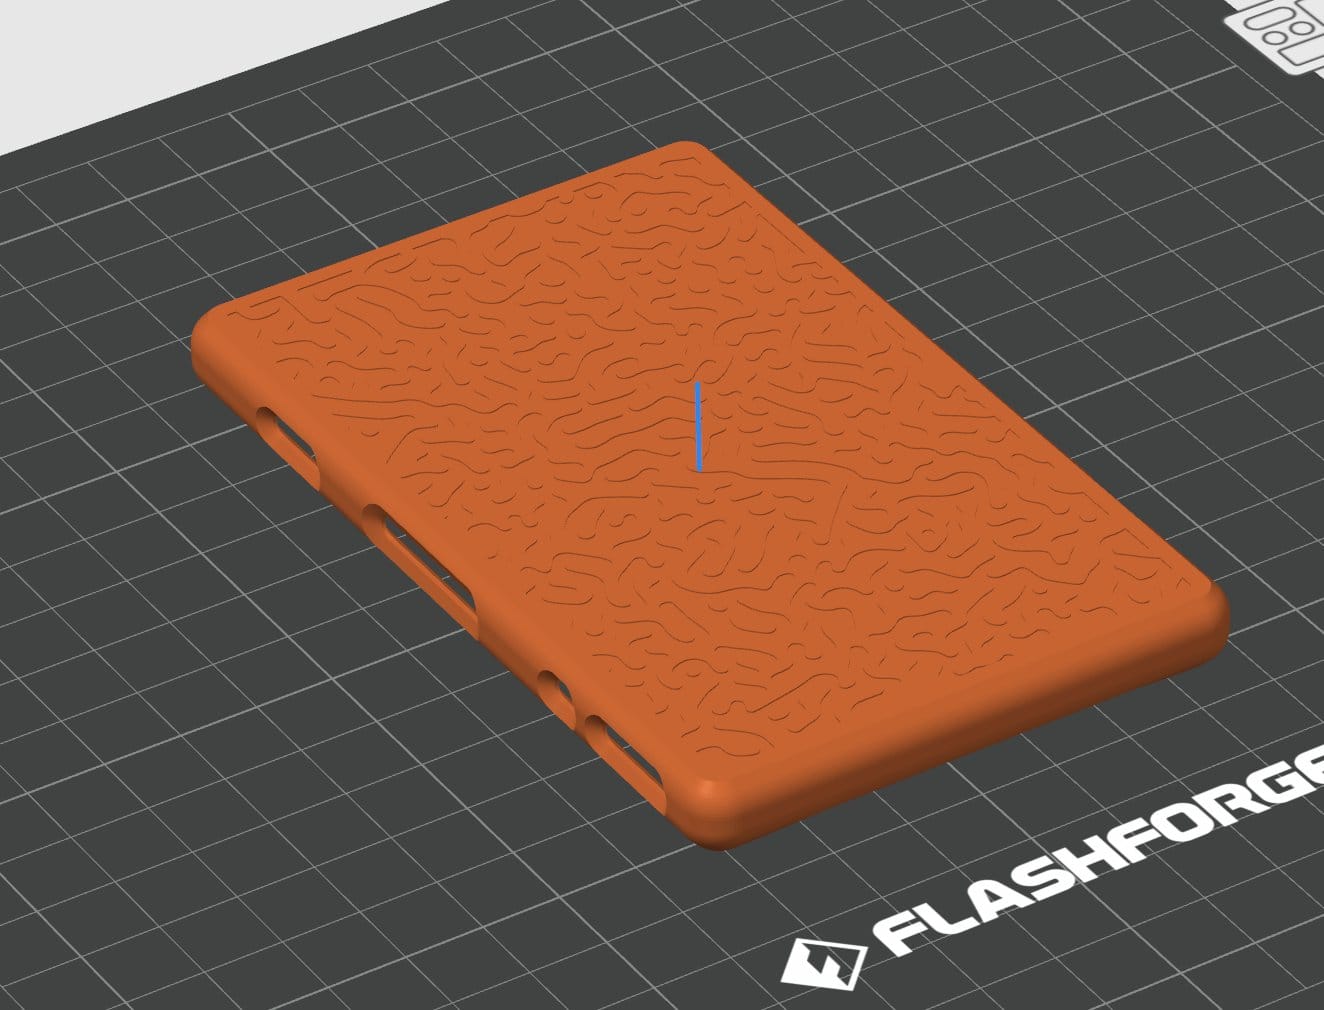
So I asked my AI agent to flatten it, then add a MagSafe ring recess, perfectly positioned for the camera bump on her Pixel 10 so it fits nicely.
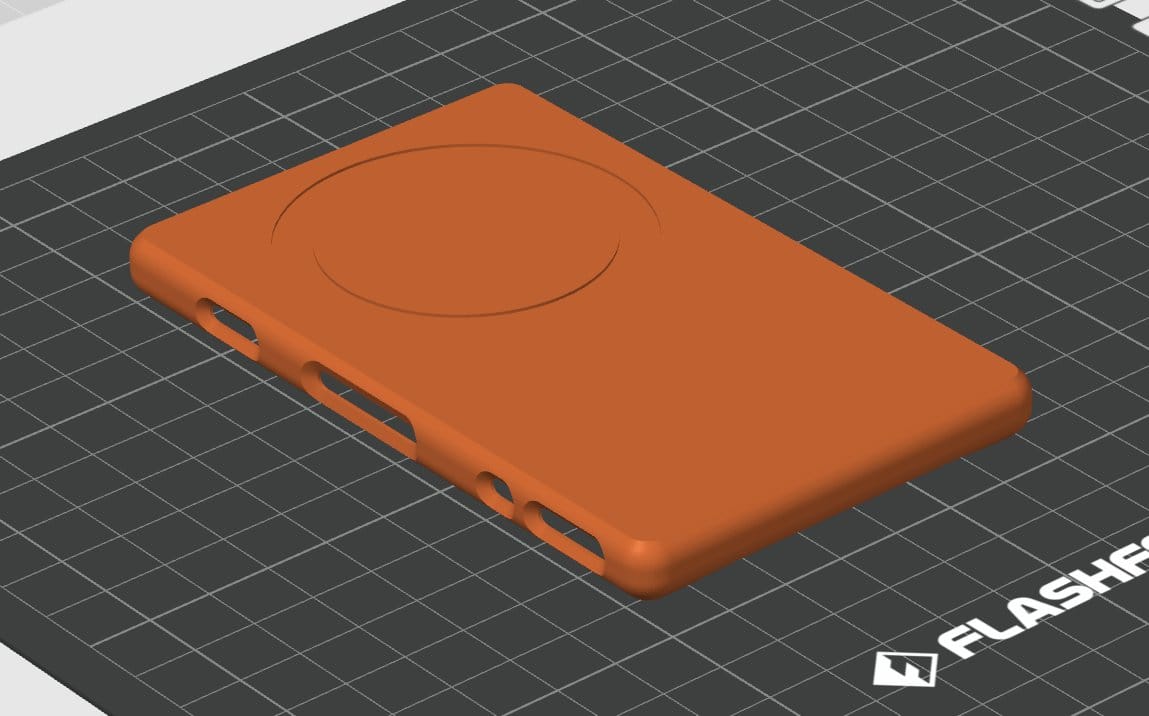
Zero manual CAD work. I just described what I wanted, and Qwen 3.7 Max handled the Python and trimesh magic through OpenCode.
The final print is TPU 95A on a 0.4 mm nozzle, and it took 1h44m. The MagSafe ring is there because her Pixel 10 comes with Qi2 built in.
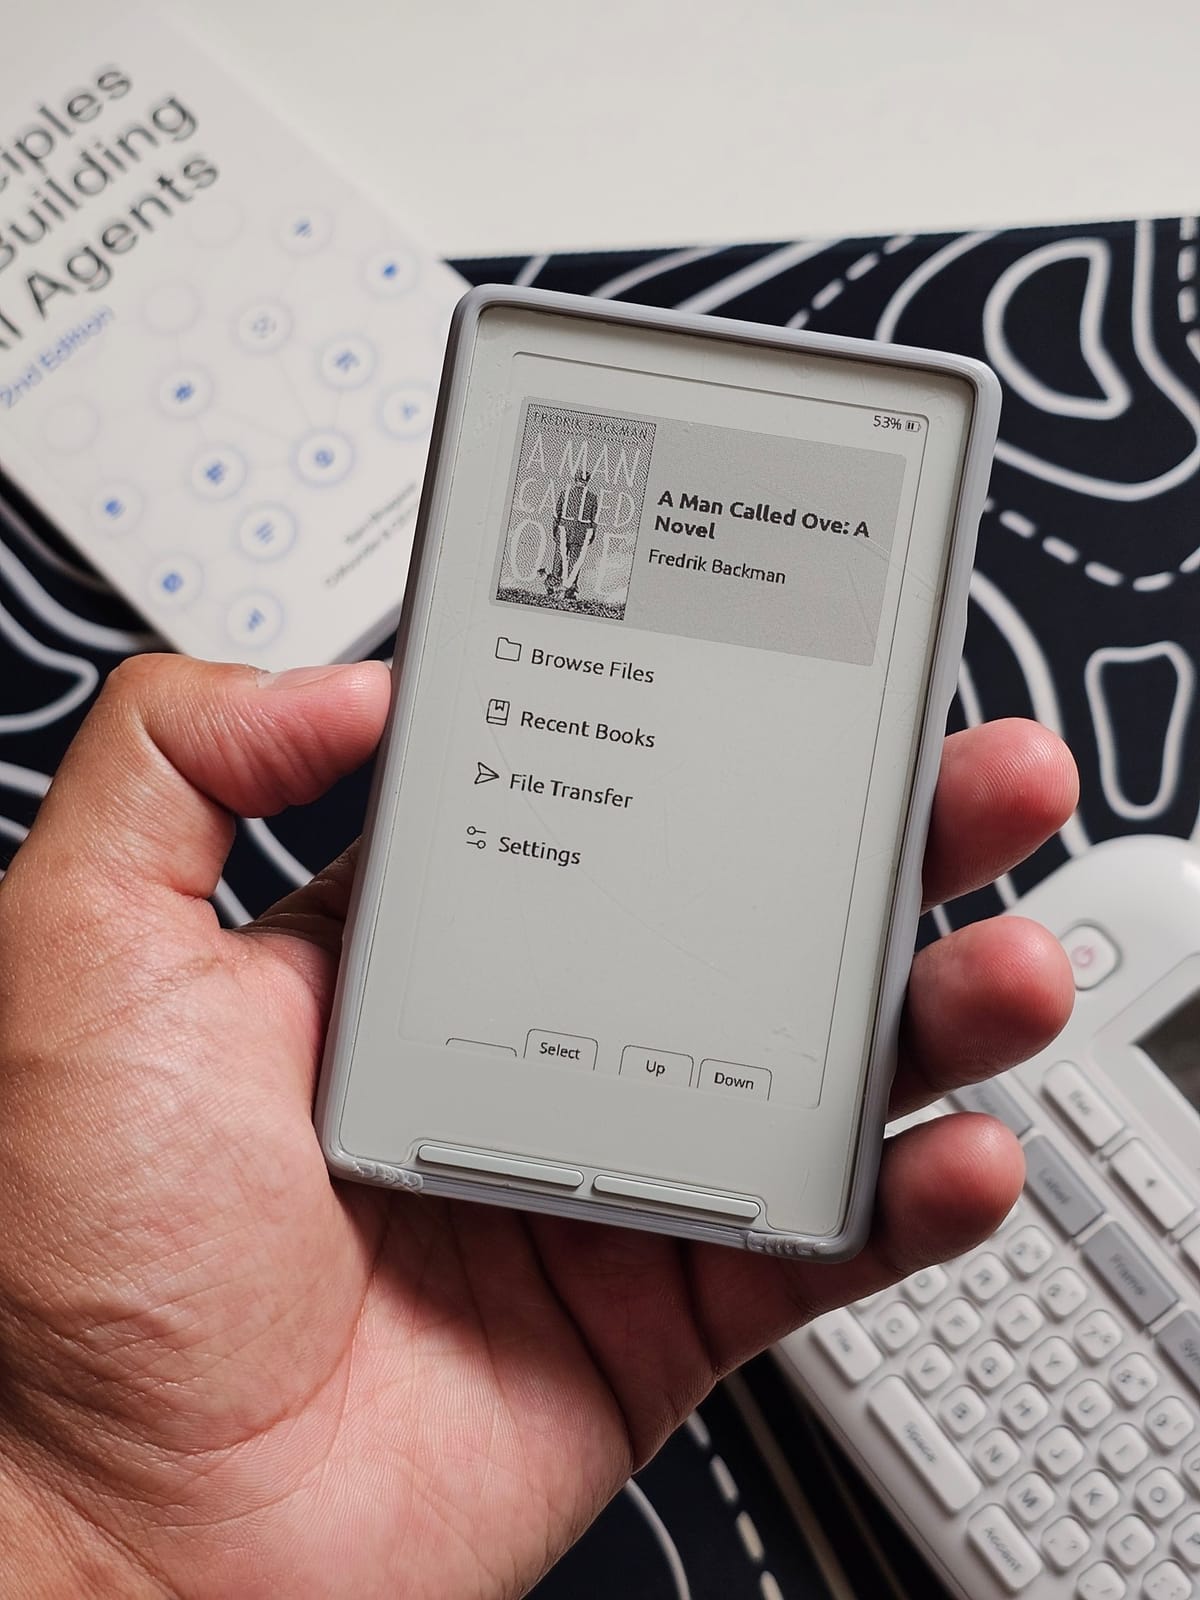
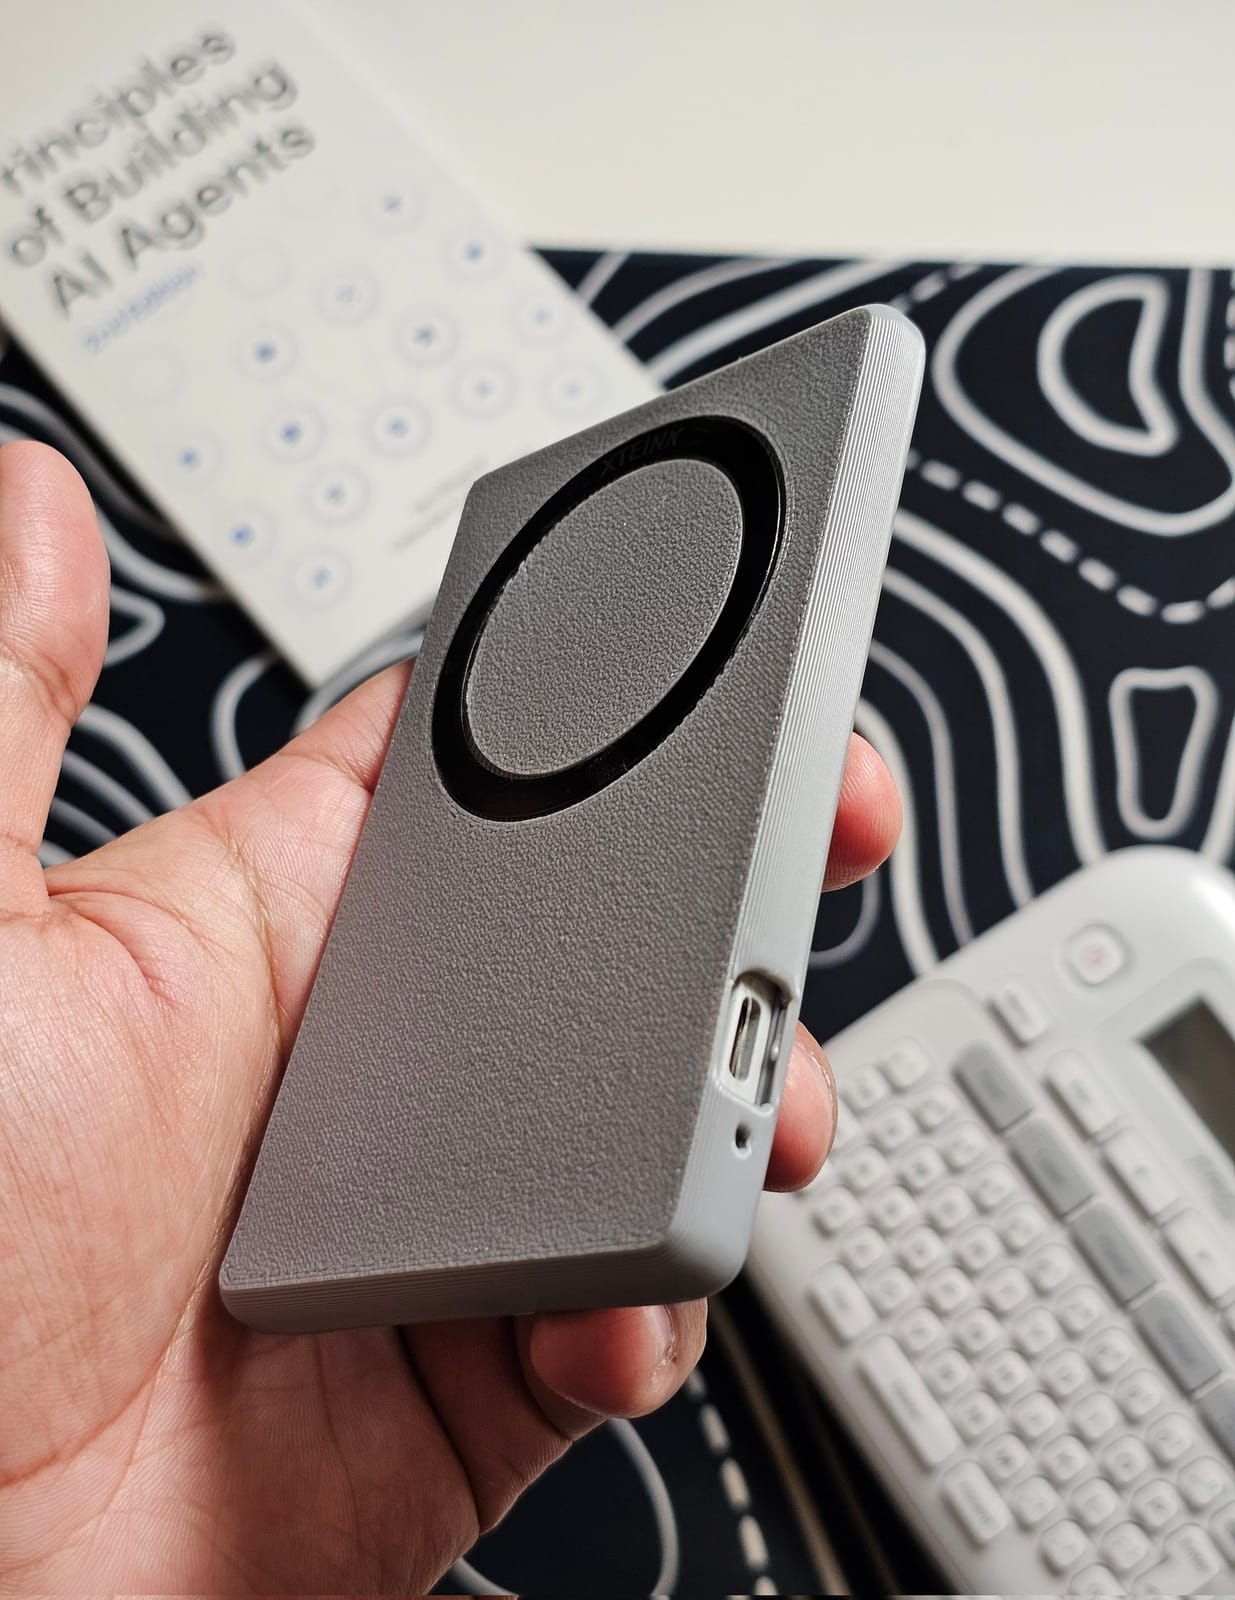
Someone asked if the design is open source, so a little late, but as promised, here it is: Xteink X4 E-reader TPU Flex Case with Flat Back and MagSafe versions on Printables.
Oh, and the AD5M is running open source firmware now.
An NFC tag for my dog
The latest one! I printed a tag for my dog Kylo’s collar, with an NFC tag inside that points to his page at j47.in/kylo, in case he ever gets lost. (NFC stickers and I go back a while too, all the way to 2016.)
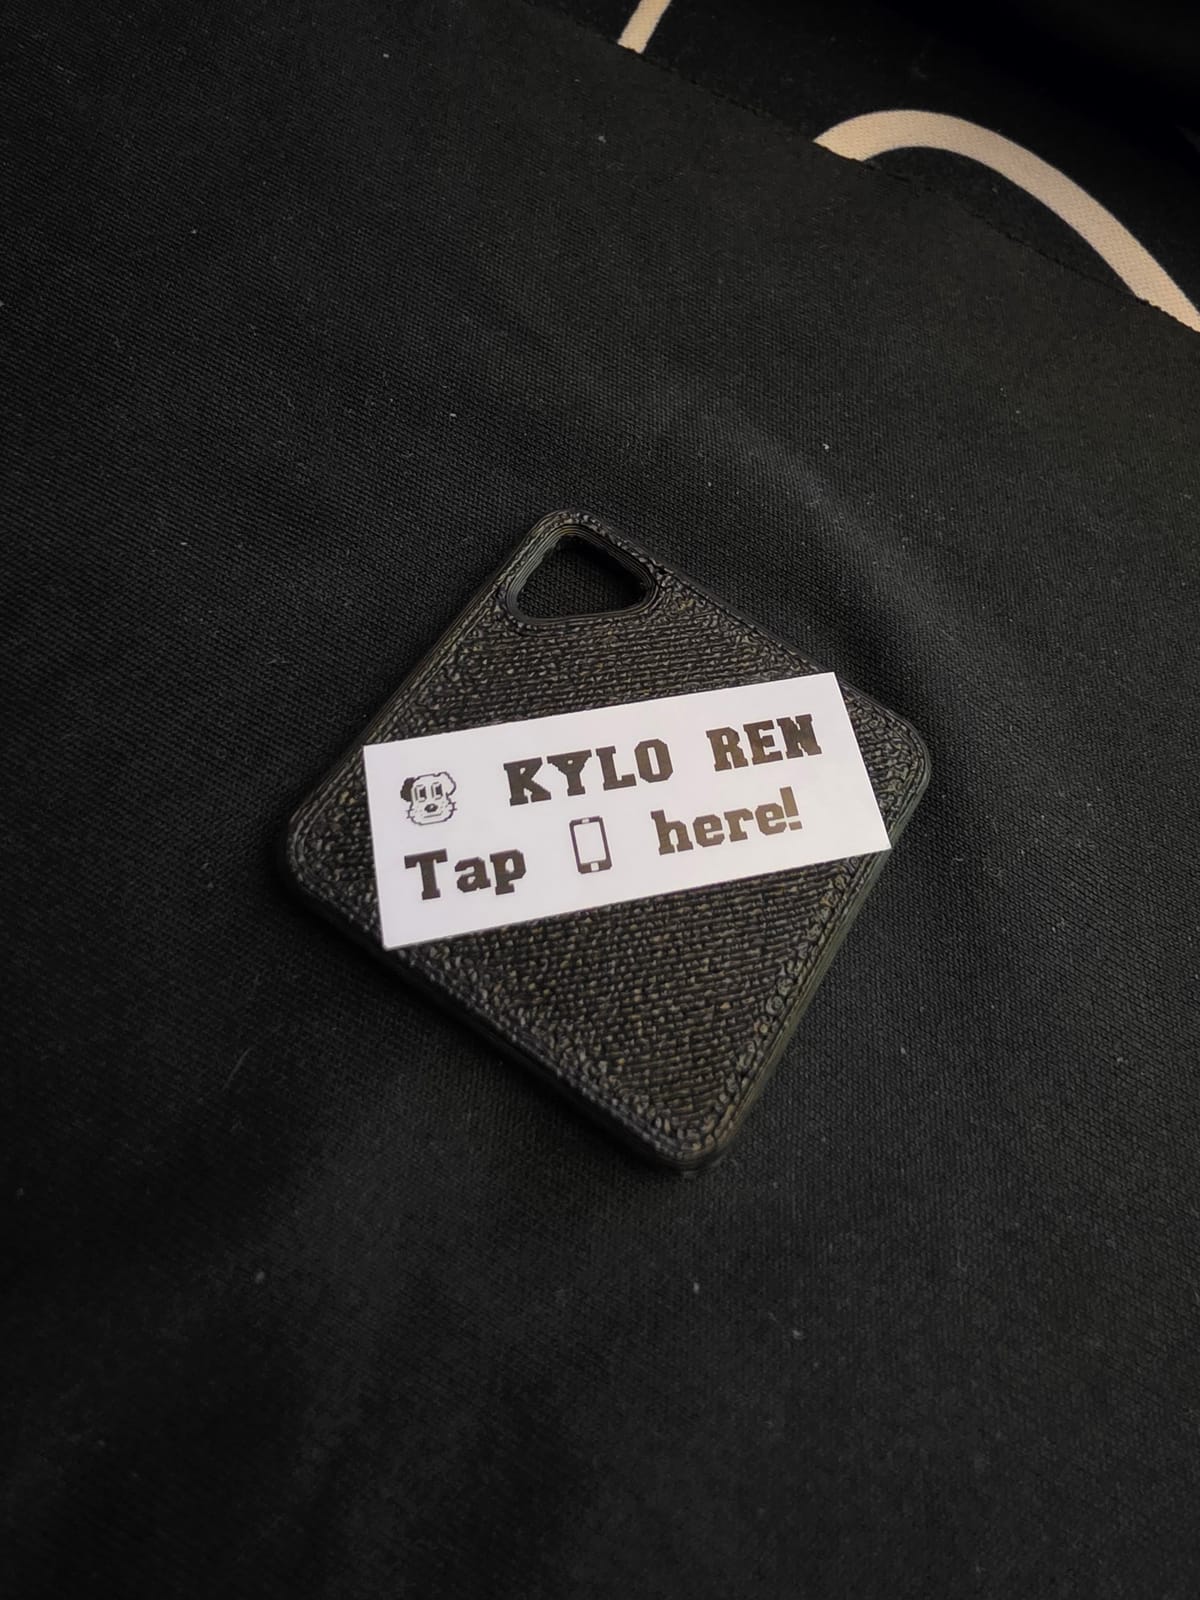
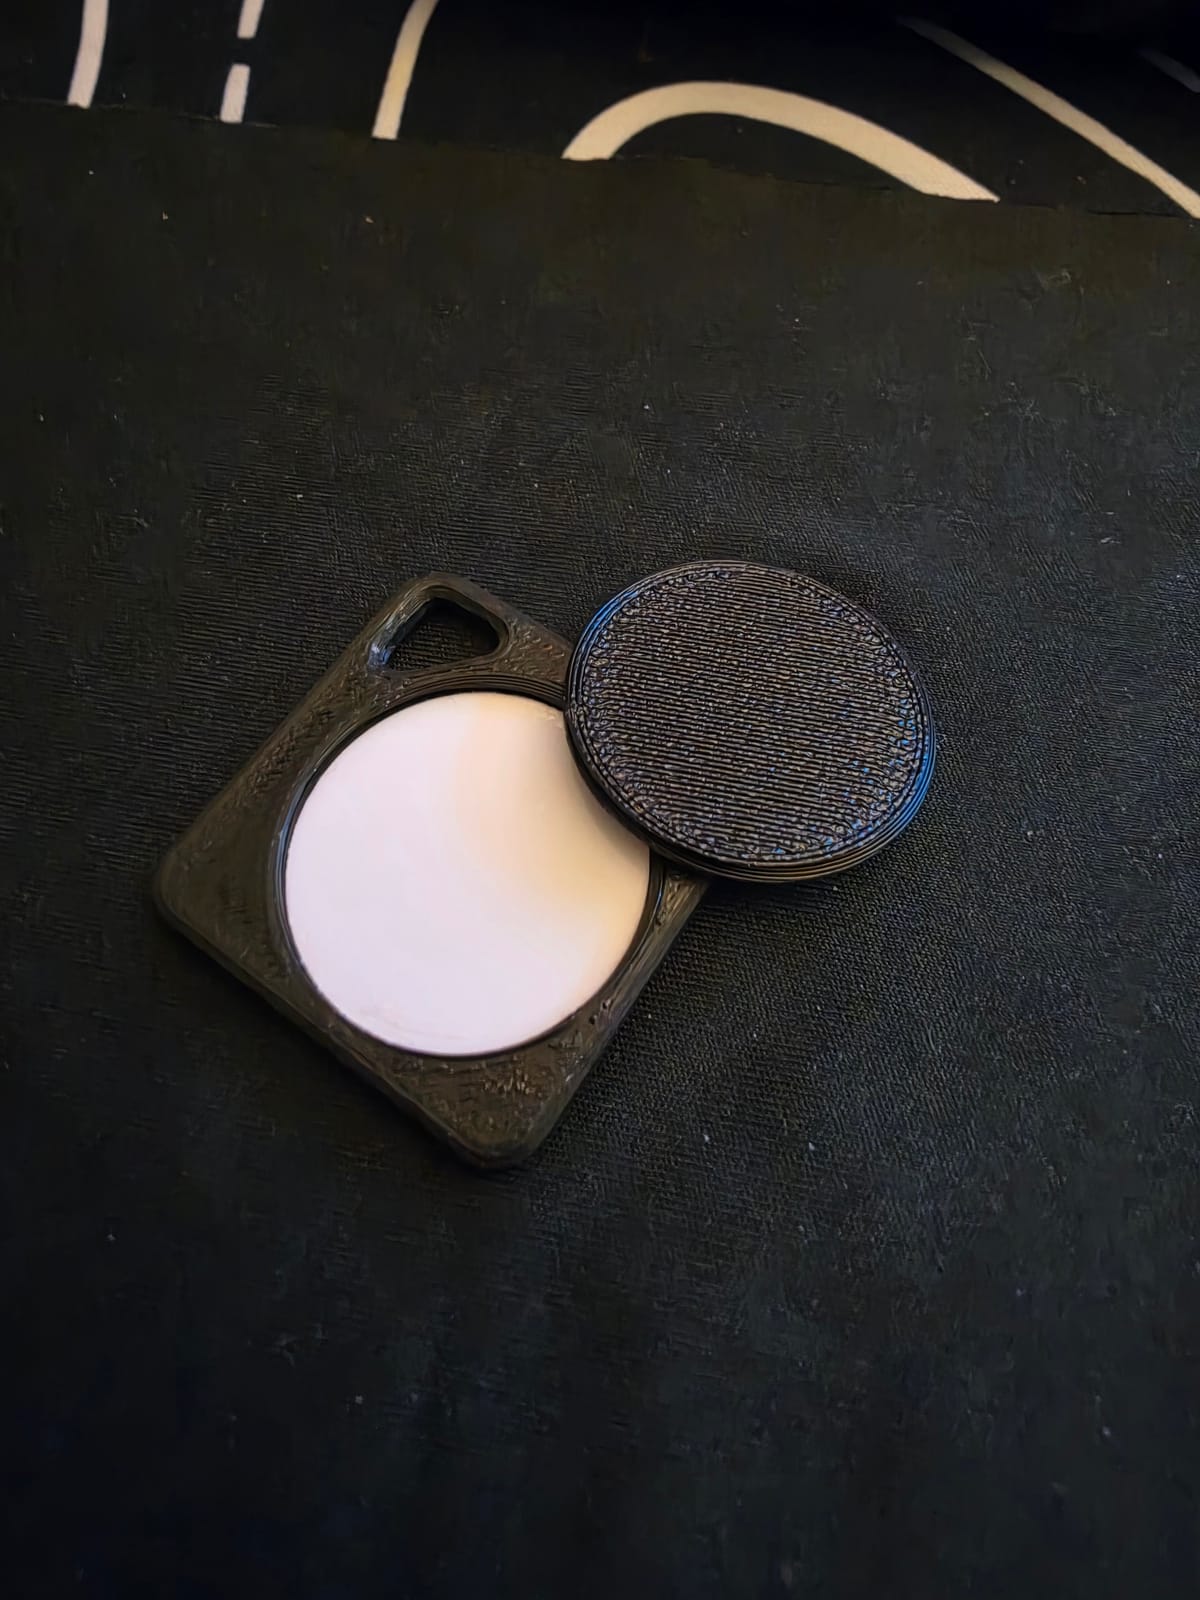
Someone pointed out that whoever finds him lands on a page without my contact details up front. Fair point, but I don’t want to put my email and phone number up front on a public page and then get spammed till the end of time. (:
The Pointer Case Files
I’m also making a YouTube shorts series out of this, called Pointer Case Files. A simple pointer (my finger) points out life’s annoying little problems, like a wobbly table, messy cables or a misplaced remote, and then solves them with creative thinking and 3D printing. Each short is a new case. Basically the giant creative hammer idea, just on camera.
There are 10 so far. It starts with The Birth of The Pointer, and then there’s The Battery Chaos, The Frustrating Galaxy Watch Charger, The Humidity Horror and The Finishing Touch.
If you’re on the fence
It’s not a cheap hobby, so budget for filament and the bits around it, not just the printer.
You don’t need to design anything on day one. My battery dispenser was someone else’s model, and you can find a lot of models on Yeggi and print them directly. When you do want to design, Tinkercad is enough for basic stuff, and Blender or Fusion for advanced. For my under-desk mount, a rough sketch plus an LLM plus OpenSCAD came out really well, and because it’s parametric, one file can make a bracket for whatever you want under your desk.
Buy a dryer before you try TPU. Printing upgrades for the printer itself is kinda meta, but pretty cool, so go for it.
Once you have one, you start seeing problems everywhere, and every one of them looks like a nail. So yeah, this is your sign to buy that 3D printer!
Keep reading
Labelarium: I kept losing one sheet of paper, so I built an app
My Brother P-touch has 649 symbols indexed on one paper sheet I kept losing. Labelarium is the offline, open-source companion app I built instead, now on Product Hunt and Peerlist.
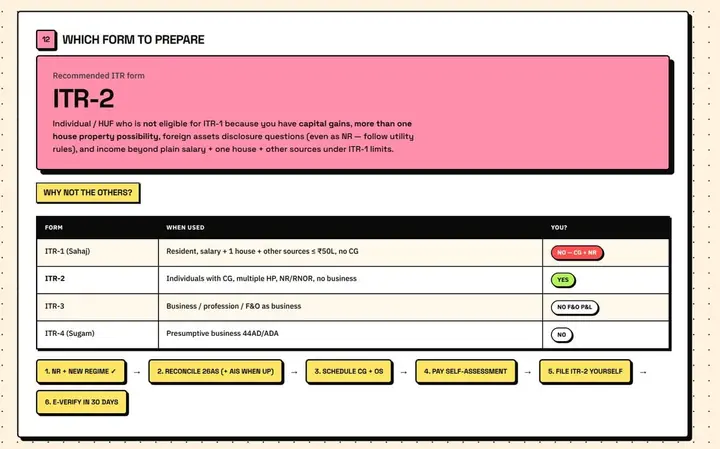
I filed my Indian taxes as an NRI with AI agents
My first time self-filing an ITR, done end to end with Grok 4.5 in the grok build CLI. I built a neo-brutalist dashboard and a 158-page audit packet, and still overpaid by ₹5,550.
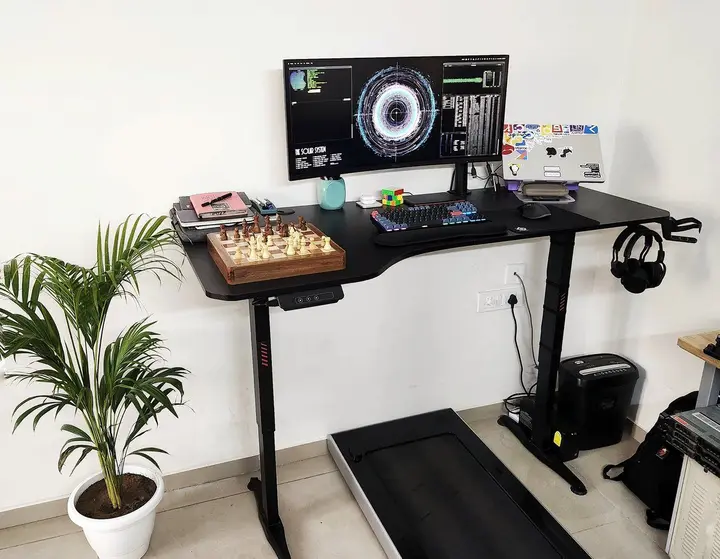
My desks, 2018 to 2026: Cherry MX Blues, an ultrawide and an Airbnb table
Eight years of desk tweets: a 4K Dell and MX Blues, a 34-inch ultrawide over a walking pad, a vertical monitor, a dog crate desk and a G502 with weights.
Leave a comment