Pi-hole on a 4-year-old Raspberry Pi 2: no ads on the whole network
I finally set up Pi-hole on my old Raspberry Pi 2, powered off the modem's USB port. A month later, 24% of the DNS queries on my network were ad-related.
 Jatin Kumar Malik First published on
 X
Ahan! So after years (literally, years) of procrastination, I finally set up Pi-hole last month. About three hours in, I was so happy that I had to tweet about it:
Just setup #Pihole after years of procrastination. Blocked all pesky ads at the router level. Happiest last 3 hours of my Bangalore digital life yet. 10/10 would recommend.
A month later, I was still super impressed and posted a follow-up:
Super impressed with #PiHole. Running it reliably on a 4-year-old #RaspberryPi 2 powered by modem’s USB port. Haven’t seen a single ad anywhere on the network.
So here’s how the setup goes, and what the dashboard is showing me.
What does Pi-hole do?
Pi-hole is basically a DNS server for your home network. Before any device on the network connects to a domain, it asks Pi-hole where that domain lives. If the domain is on a blocklist (ad networks, trackers, telemetry), Pi-hole doesn’t give a real answer and the ad never loads. Simple! Everything else goes to a normal upstream resolver.
Since it sits at the DNS level, it covers every single device on the network (phones, laptops, smart TVs, IoT gadgets), and you don’t need a browser extension or an app on each phone. That’s what I meant by blocking “at the router level”.
The hardware: a 4-year-old Pi 2
This is the same Raspberry Pi 2 Model B (1GB) I wrote a bunch of guides on back in 2015, starting with the Raspberry Pi 2 walkthrough. Over the years, this little fellow has been a LAMP server, a NAS and a PirateBox, and now it does DNS.
The fun bit? It doesn’t even have its own power adapter! It runs off the USB port on my modem, and Pi-hole is so light that the Pi barely notices. In the one-month screenshot below, the load average is 0 0 0, memory usage is 8.5% and the Pi sits at about 40 °C. Chill.
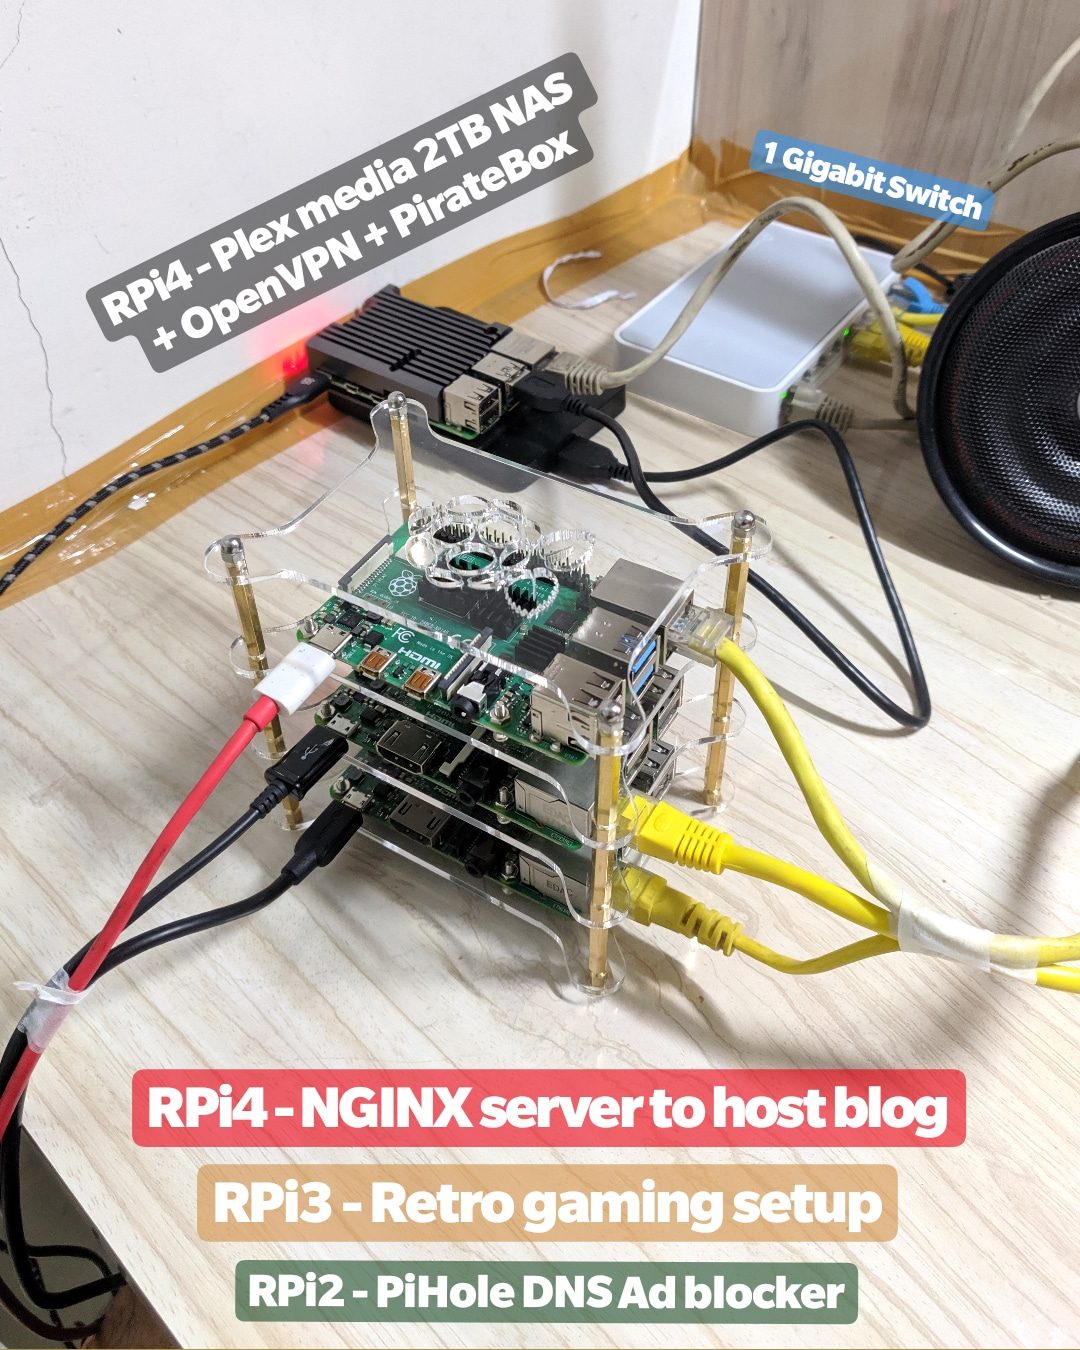 10 November 2019, the day of the follow-up tweet: the Pi 2 doing Pi-hole has company now, stacked with a Pi 3 and a Pi 4.
Let’s set it up
These are the standard Pi-hole install steps, roughly:
-
Get Raspbian on an SD card and boot the Pi. If you’ve never done this, the 2015 walkthrough covers it.
-
Give the Pi a fixed IP address on your LAN, either a static IP on the Pi or a DHCP reservation on the router. Every device will use this address for DNS, so it can’t change.
-
Run the official installer:
curl -sSL https://install.pi-hole.net | bashIt takes you through a few screens. Pick an upstream DNS provider (I went with OpenDNS, which is why
resolver1.opendns.comandresolver2.opendns.comshow up on the dashboard), keep the default blocklists, and say yes to the web admin interface. -
Set a password for the web interface with
pihole -a -p. -
Log in to your router and set the DNS server it hands out over DHCP to the Pi’s IP address. From then on, every device that joins the network uses Pi-hole without you touching it.
-
Open
http://pi.hole/admin(orhttp://<pi-ip>/admin) and watch the numbers climb.
I did step 5 and left DHCP on the router, so the router still hands out the IP addresses and just tells every device to use the Pi for DNS. Pi-hole can run DHCP for the whole network too, but I left that off.
Show me the numbers!
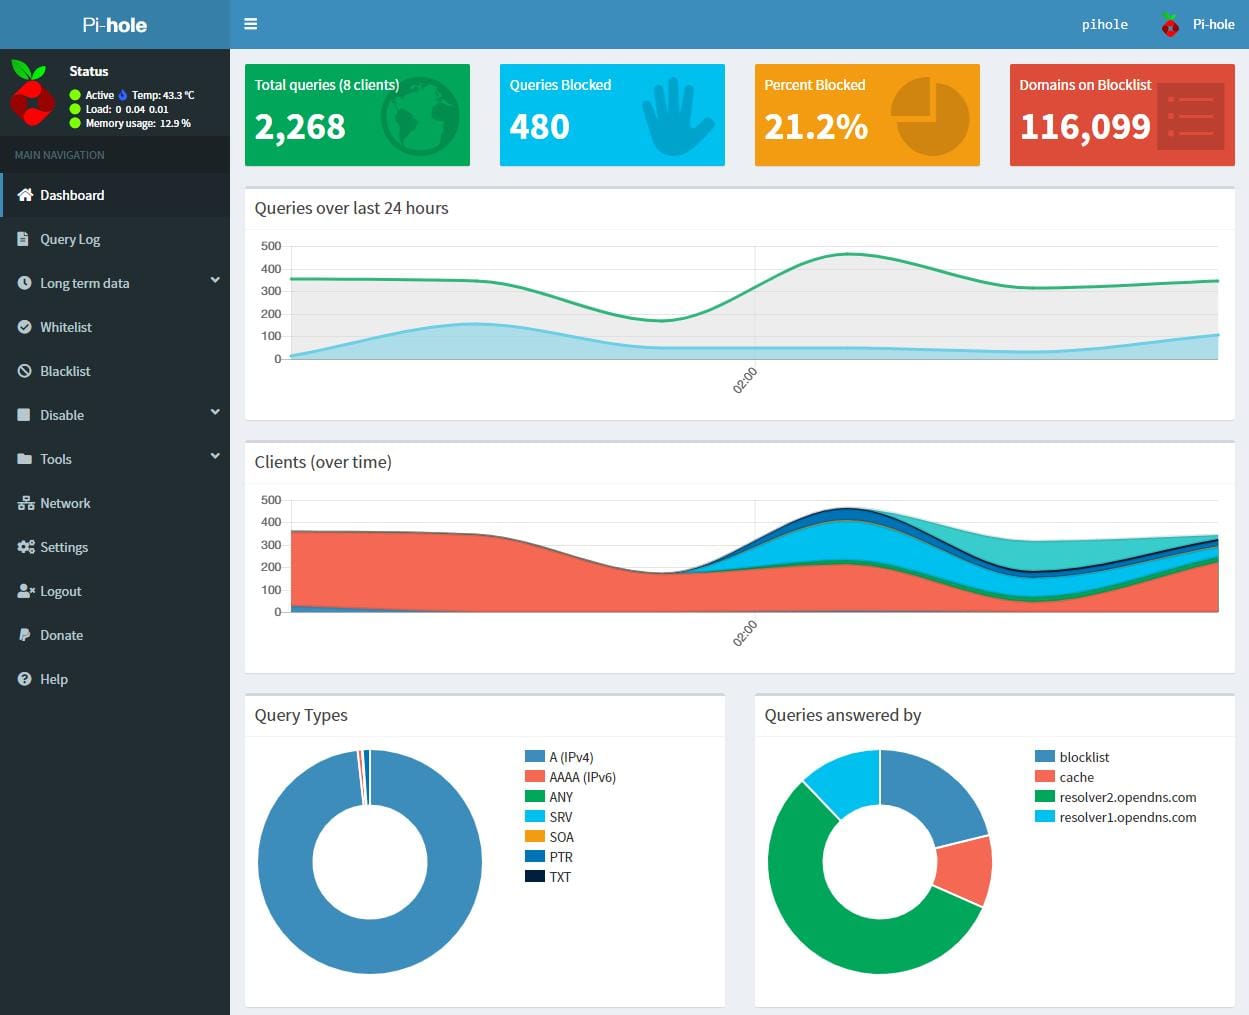
Three hours after setup, the dashboard showed 2,268 queries from 8 clients, with 480 of them (21.2%) blocked.
A month later, it was 22,679 queries in 24 hours from 17 clients, and 5,466 of those (24.1%) were blocked.
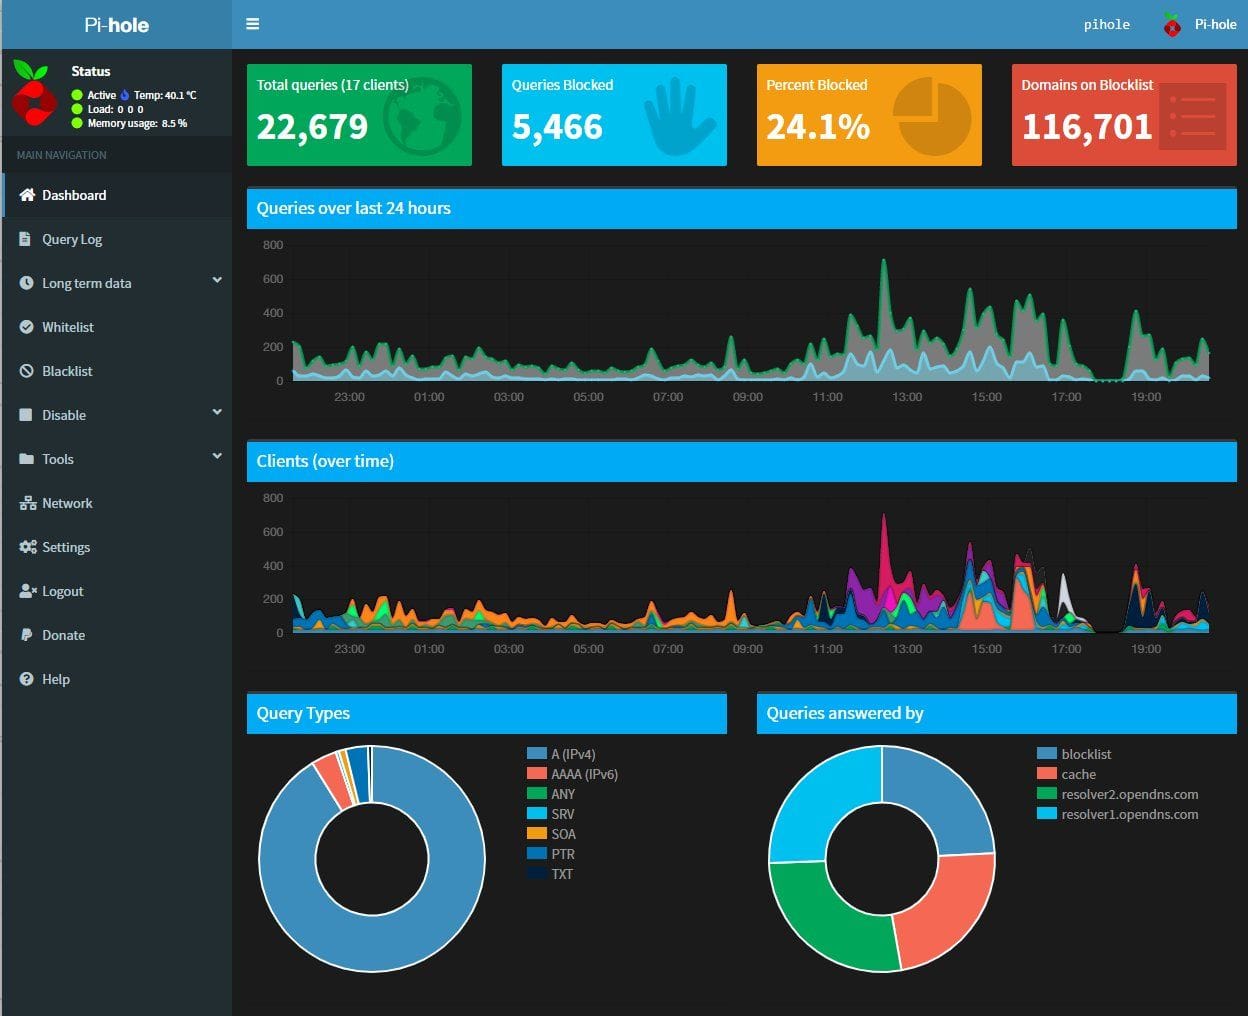
In the tweet I said “24% of traffic on the node is ad-related”. Strictly speaking, that’s 24% of DNS lookups, not of bytes. Still, it means almost one in four times a device on my network wanted to talk to the internet, it was trying to reach an ad or tracking server. Crazy!
The blocklist is about 116k domains, all defaults from the installer. The top blocked domains are the usual suspects, with graph.instagram.com way ahead of everything else, then ssl.google-analytics.com, mobile.pipe.aria.microsoft.com, three different Crashlytics endpoints, app-measurement.com, googleads.g.doubleclick.net and events.appsflyer.com. So a big chunk of what gets blocked is apps phoning home all day, on top of the banner ads.
Verdict
A month in, I haven’t seen a single ad anywhere on the network, and all of it is running on a 4-year-old Pi powered off the modem’s USB port. 10/10, highly recommended!
Keep reading
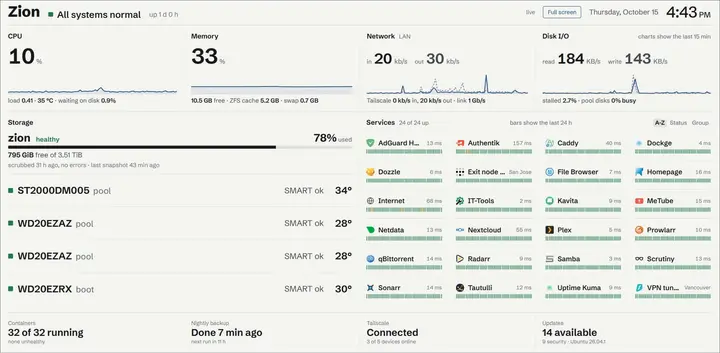
Zion, part 2: about 40 containers and nothing exposed to the internet
The software on my trash-rescued homelab: ZFS, Docker Compose, Tailscale-only access with real HTTPS, a VPN'd download stack, Immich and the boring backup bits.

Project #3: Create a PirateBox (BitTorrent) | Raspberry Pi 2
Create your own low-powered always-on PirateBox using your Raspberry Pi. Let storm over the bits & bytes of BitTorrent as we know it. #KeepSeeding
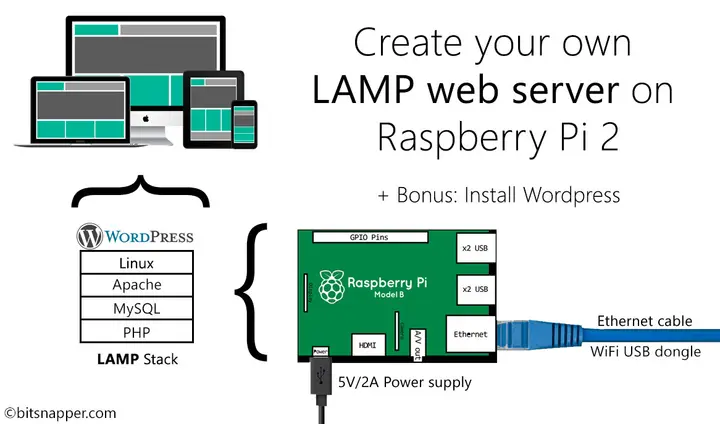
Project #2: Create your own LAMP web server | Raspberry Pi 2
Discover how can you setup your own LAMP stack on your Raspberry Pi 2 & host your personal website or blog for the world to marvel at? Just dive in!
Leave a comment