My MX Master 3S started double-clicking, so I opened it up
A teardown of the Logitech MX Master 3S to fix its misclicks. Inside: a 500mAh battery, an electromagnetic scroll wheel and some of my pet's hair.
 Jatin Kumar Malik First published on
 X
Have you ever seen the insides of the mighty Logitech MX Master 3S? This is the best mouse I have used in my 2 decades of computing, and it’s my daily driver. So when it started acting up with the double click issue, I did what any curious engineer would do. I opened it up!
I did the whole thing live as a thread on X this Monday morning, about 40 minutes from the first tweet to the last. This post is that thread, cleaned up a bit, so come troubleshoot with me.
What you need
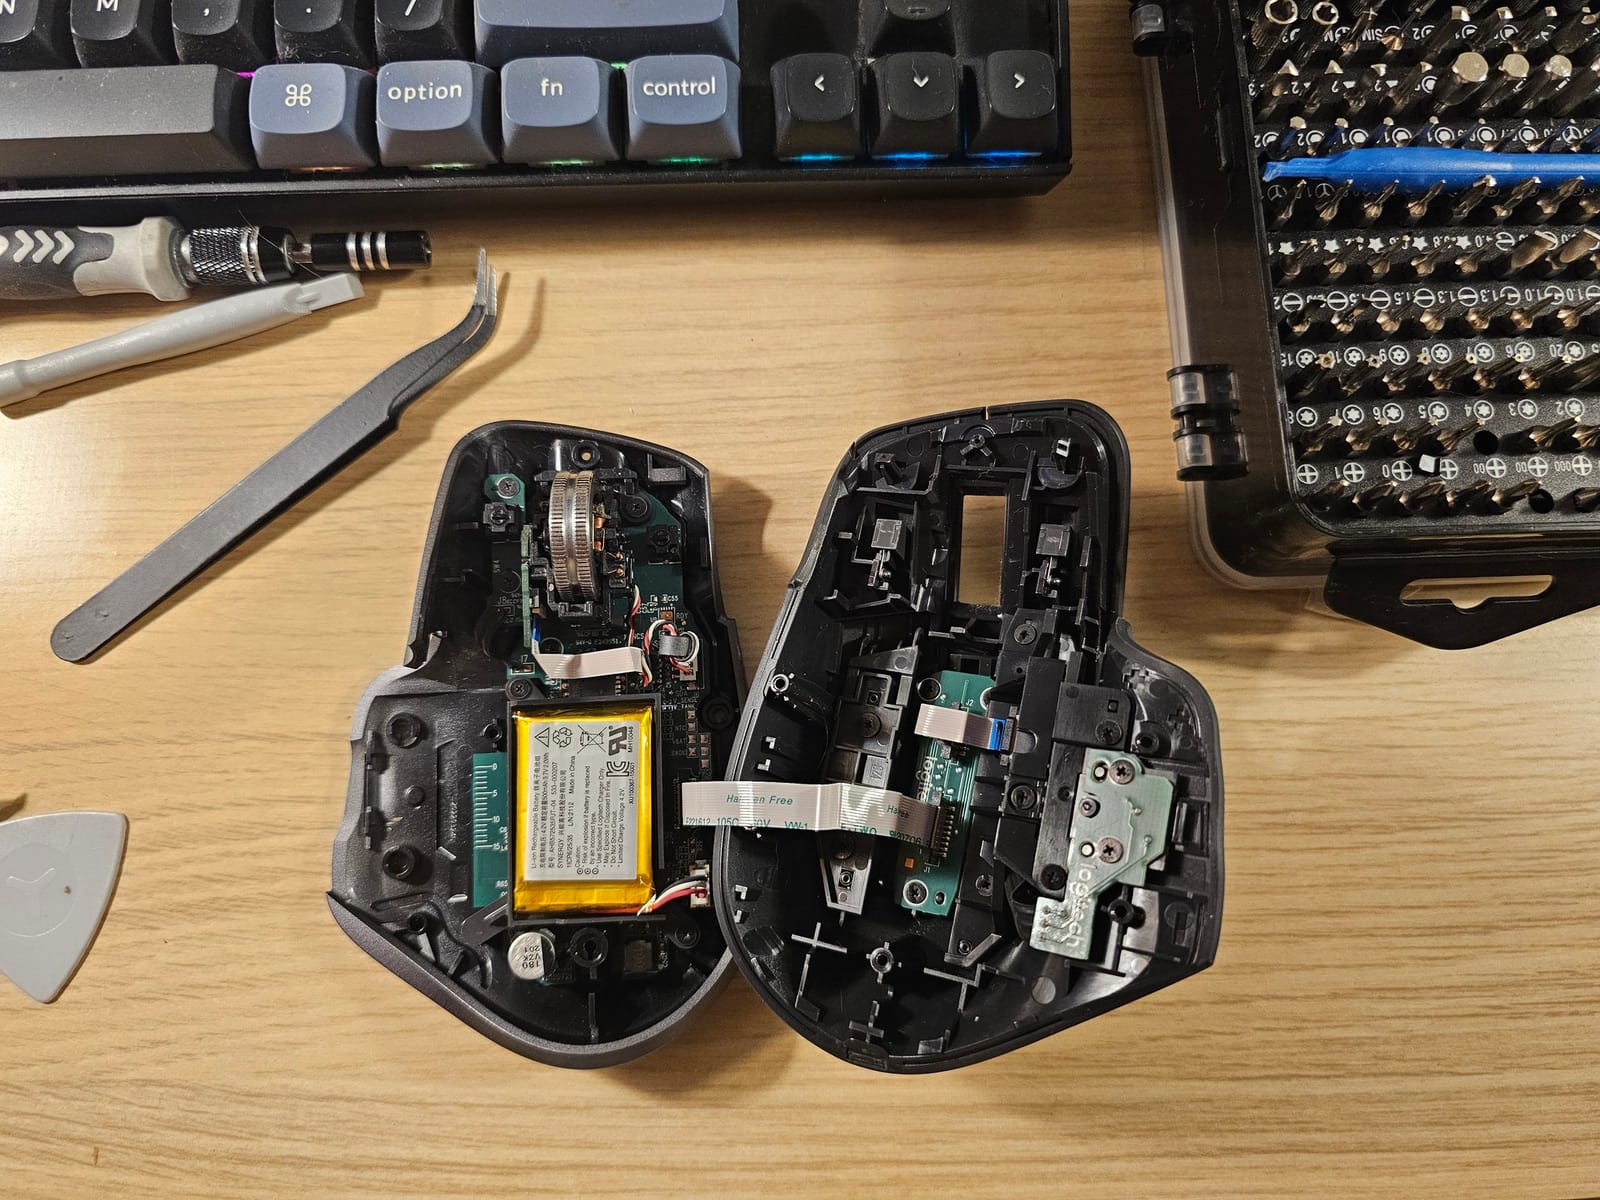
A T5 Torx bit, a small Phillips bit, a plastic opening pick, a spudger, tweezers and some isopropyl alcohol for cleaning. I kept the screws and bits on a magnetic mat.
Opening it up
This mouse uses 1 T5 Torx screw on top and 4 small Phillips head screws, hence the 2 bits. The gliding stickers (the feet on the bottom) have to come off to get at the screws, and they go back on at the end.
Once it’s open, the two halves stay connected by a ribbon cable, as you can see in the first photo.
The battery looks fine
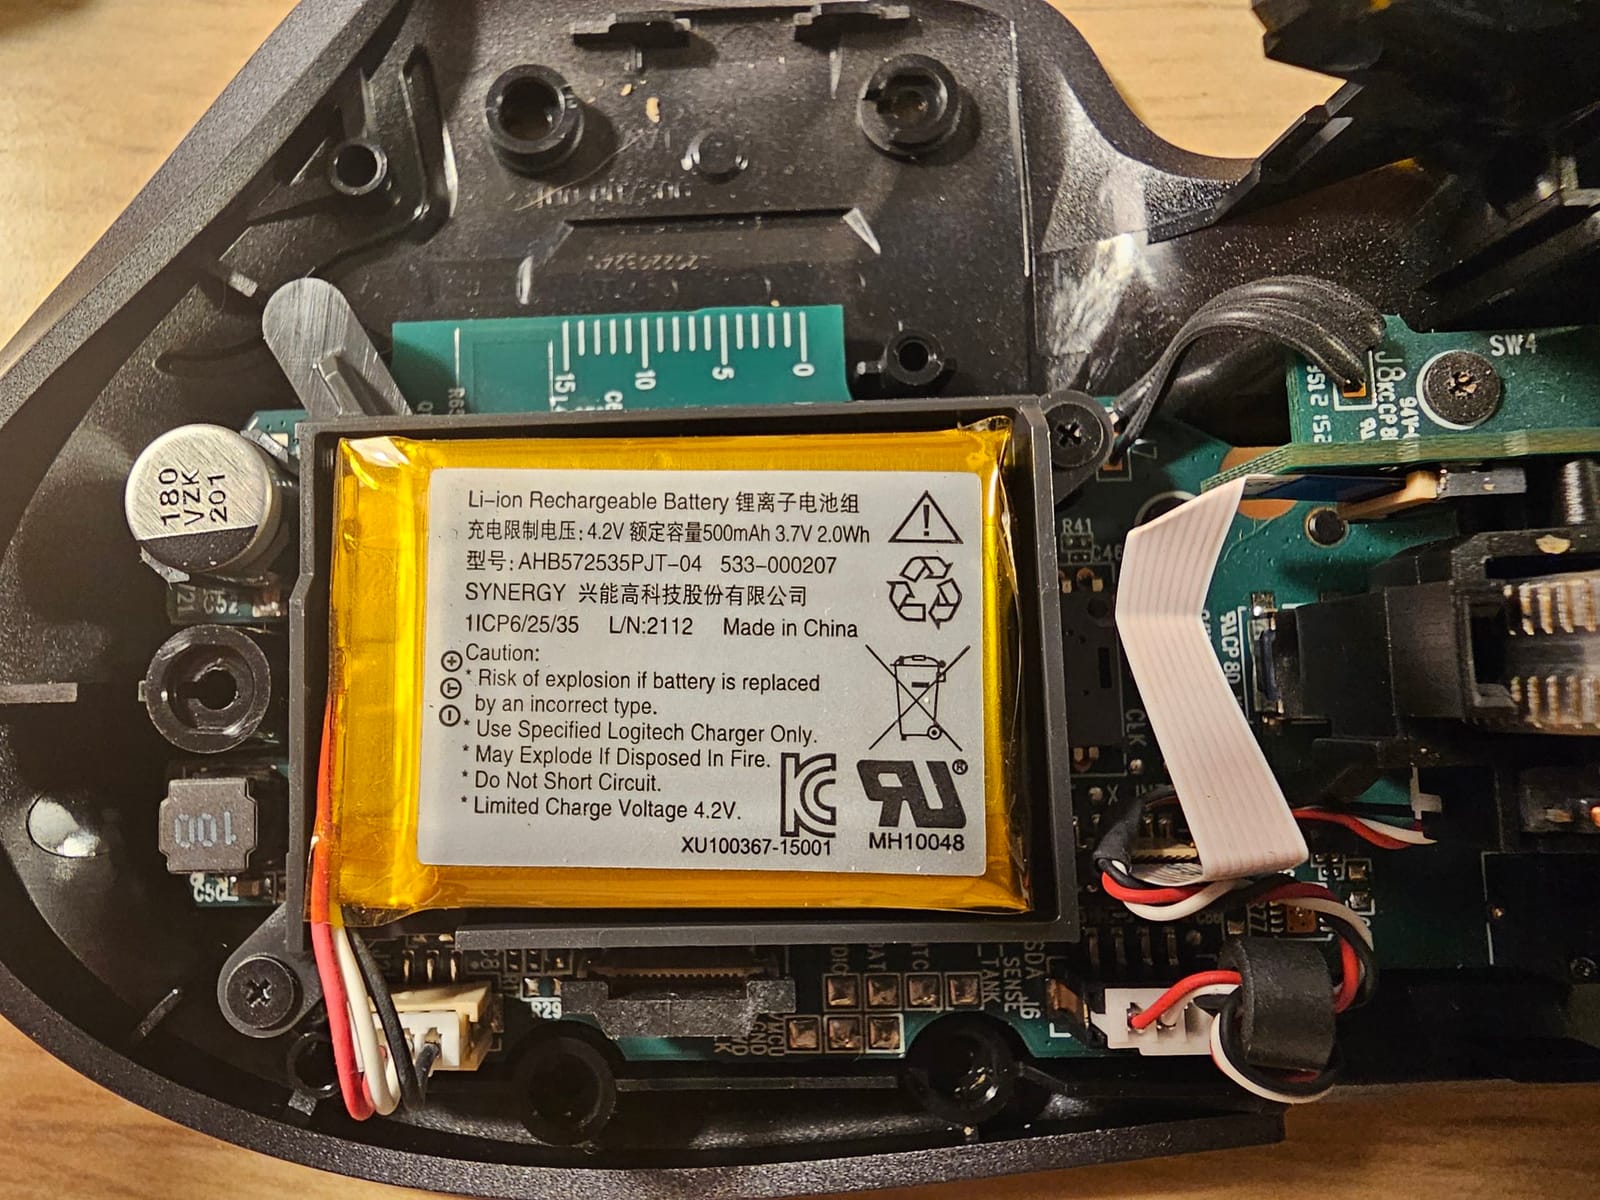
So, this is using a beefy 500mAh battery, which makes for most of its heft. The label reads 3.7V, 2.0Wh, model AHB572535PJT-04. Thankfully, the battery looks in great condition. I wasn’t expecting a spicy pillow here anyways, as the battery life on this mouse is so good that I maybe charge it once in 3 to 4 weeks. And yes, that’s as a daily driver!
Battery replacement looks pretty straightforward too, in case I ever need to do it.
The scroll wheel is the cool part
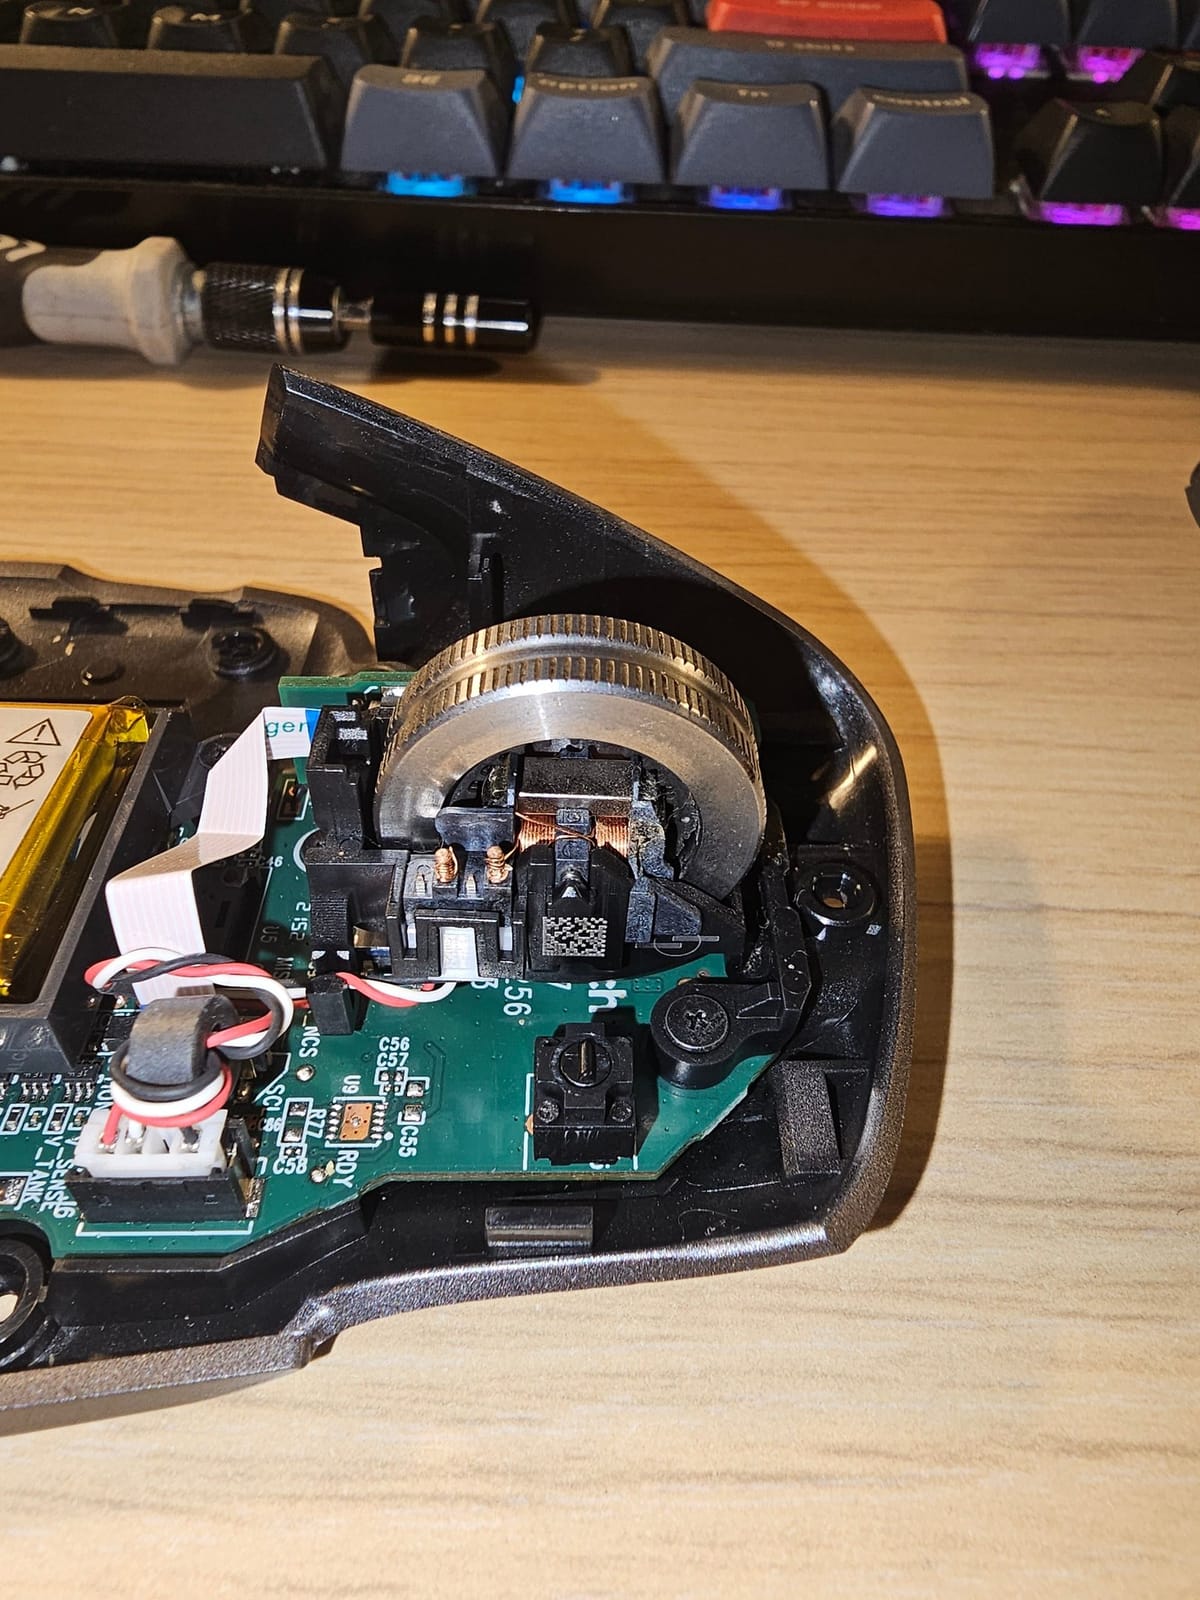
The scroll wheel design is quite fascinating, as it uses electromagnets to switch between its two scrolling modes: the ratchet mode with haptic feedback and the smooth free-spinning one. Can you spot the magnet? 🧲
I took a slo-mo video of the wheel doing ratchet vs smooth scrolling. It’s marvelous to see such engineering in such a confined space!
Side wheel, side buttons and pet hair
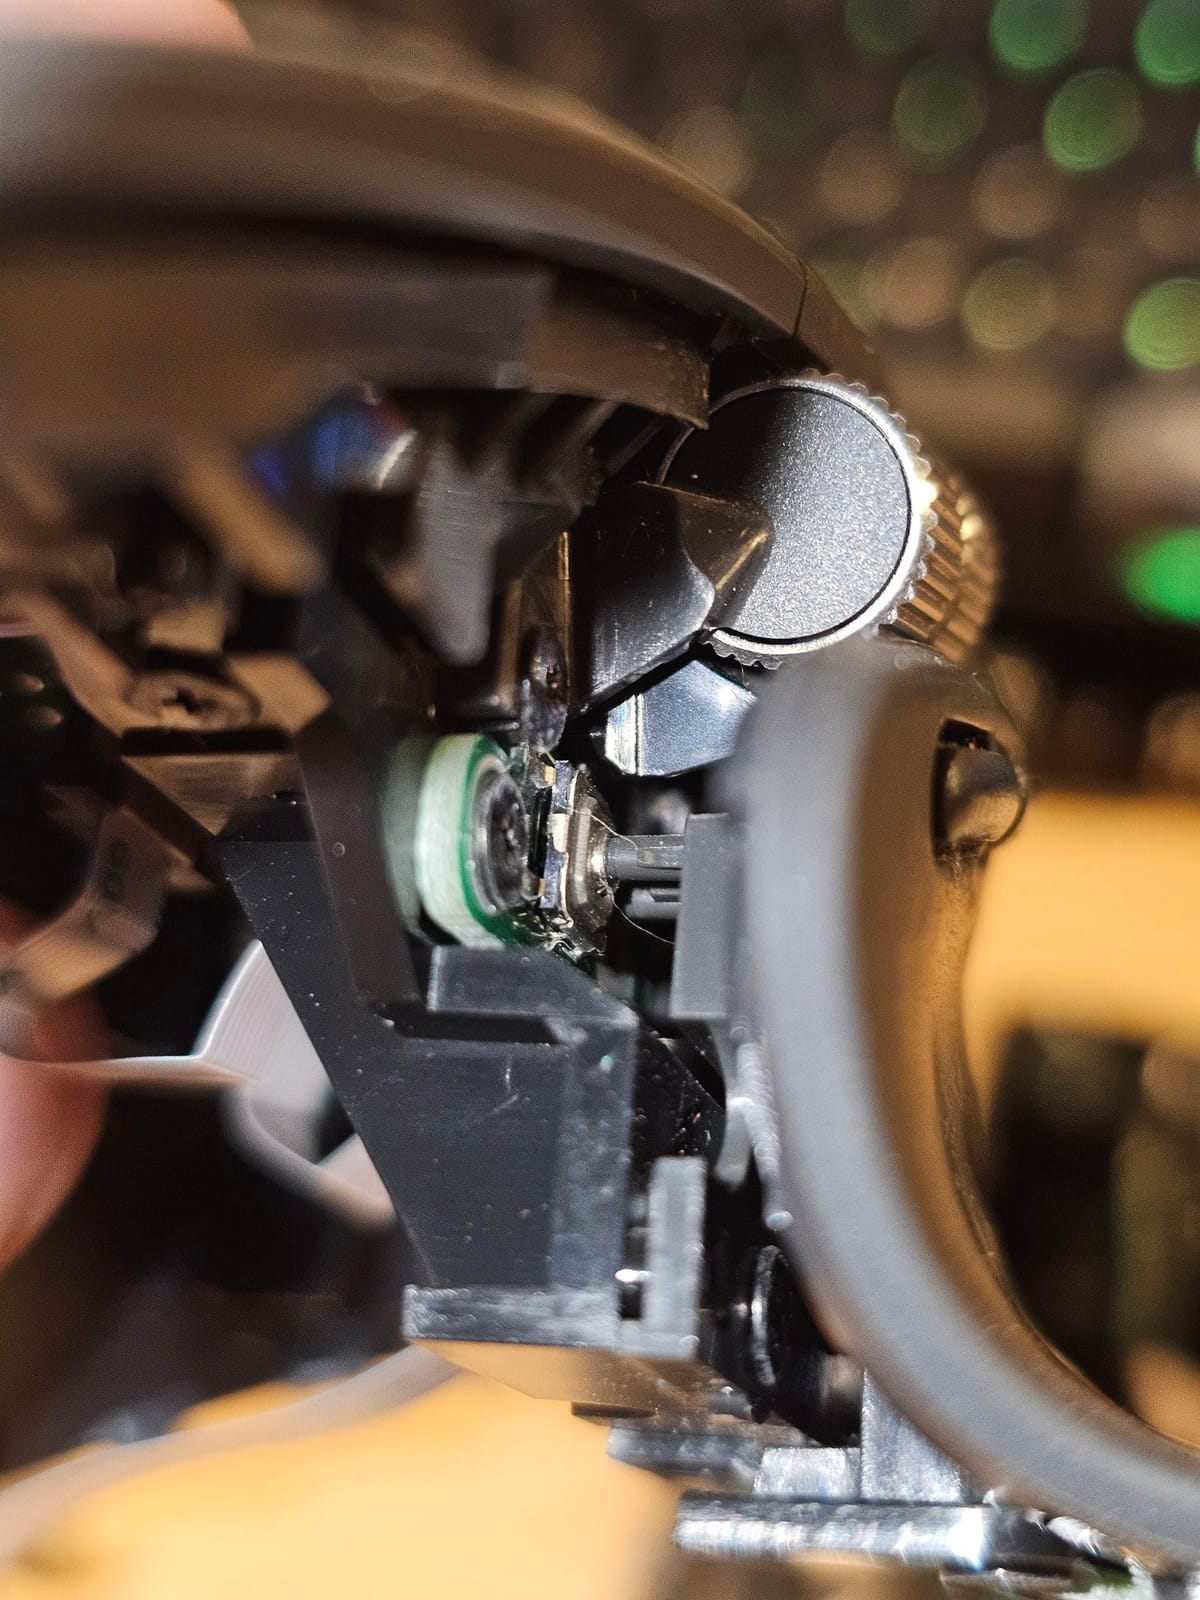
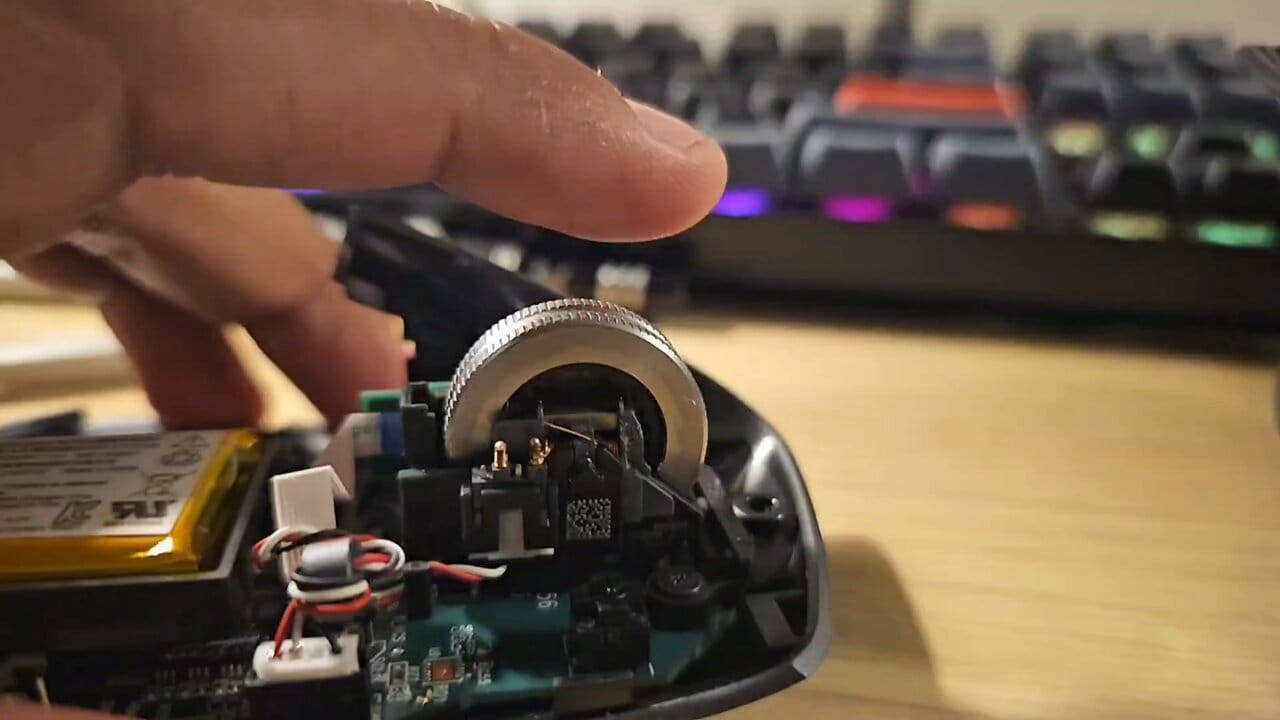
Here’s a close-up of how the side scroll wheel and the side buttons work. And this is where I found the first suspect. My pet’s hair seems to have invaded the insides of my mouse, and I suspect that could be causing the misclicks as well.
The top half
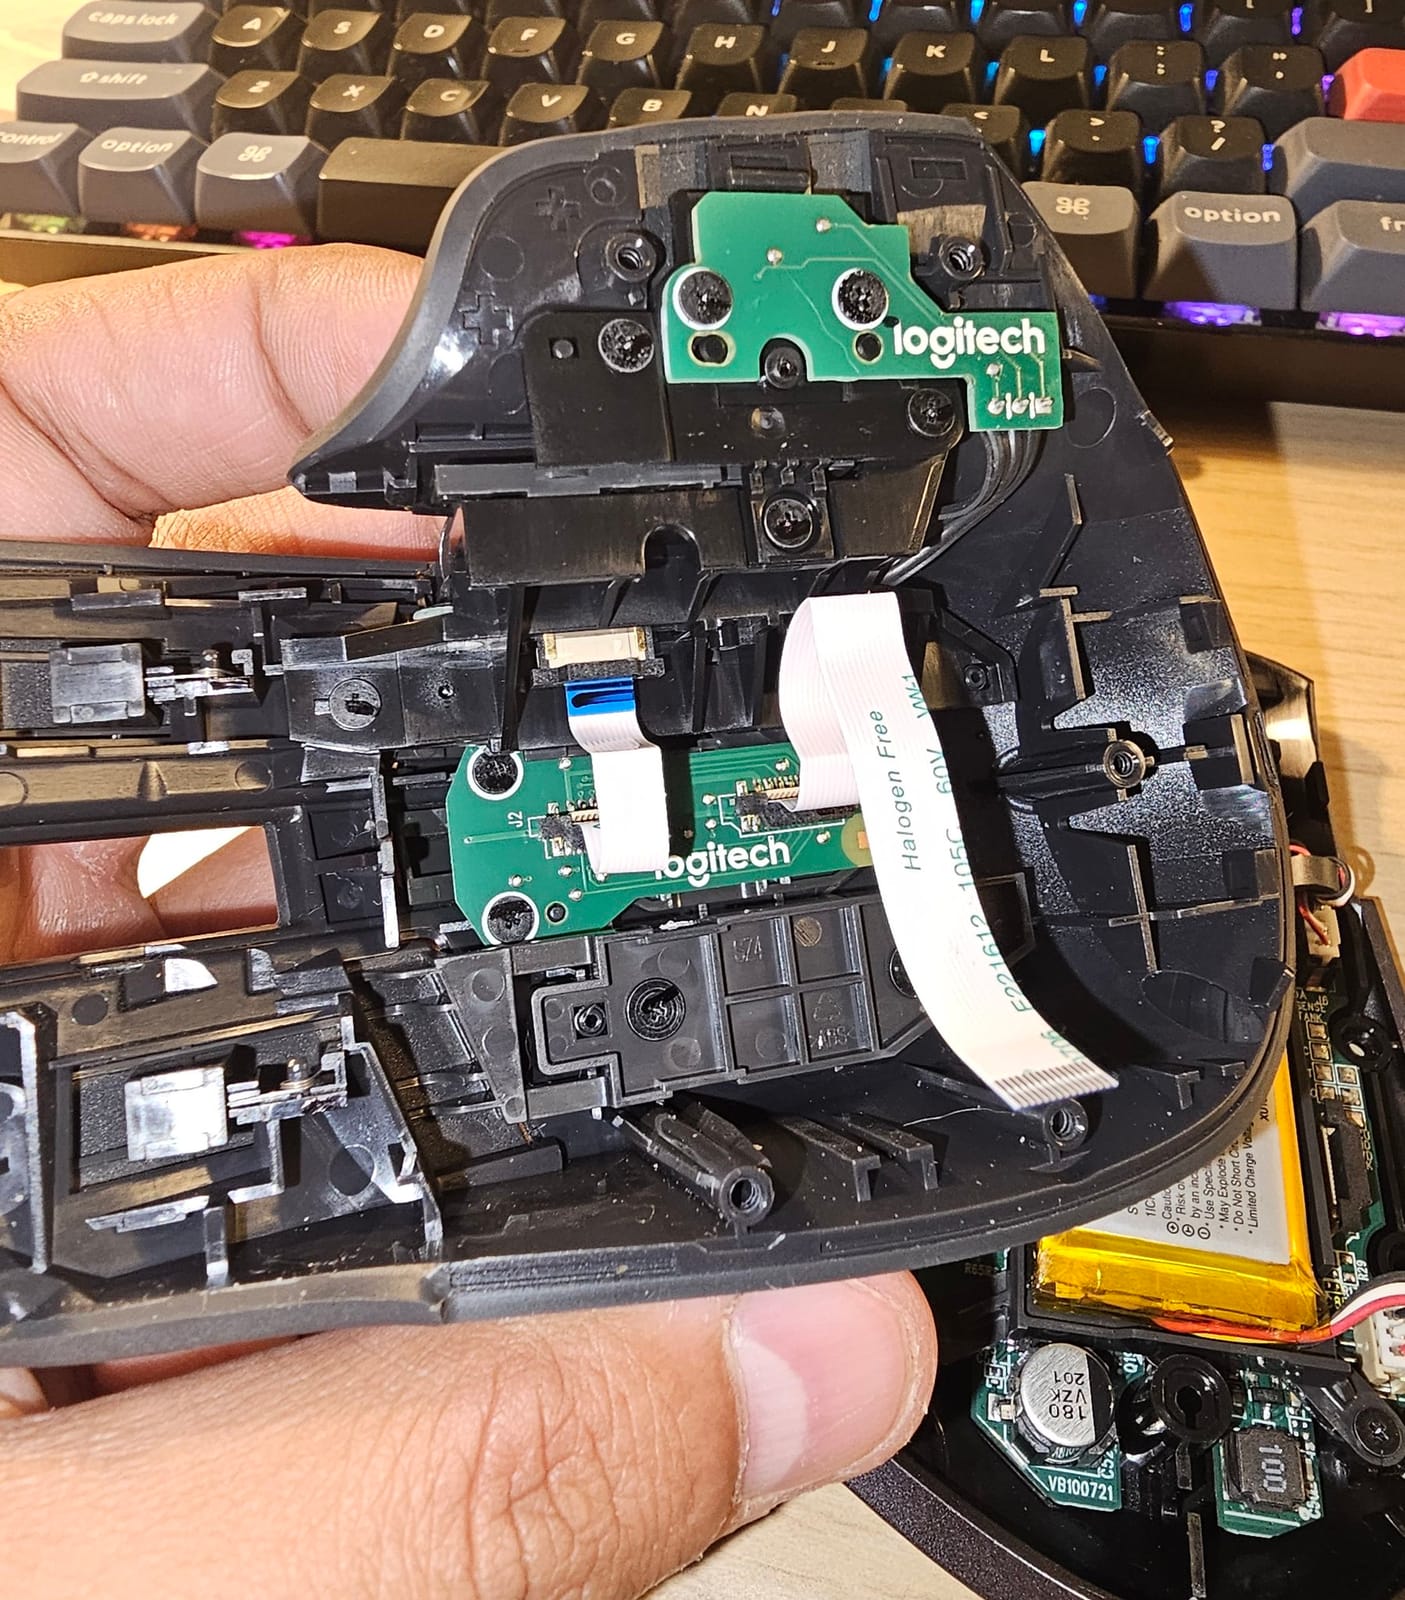
Looking at the top half, everything looks fine. The left and right click buttons’ springs look good and aligned, and the ribbon cable shows no signs of any damage or corrosion. I just see some dust, so it gets a good’ol blow and wipe! Let’s move back to the lower half.
The fix: clean it and test it half open
After a quick inspection, the buttons seem clicky. But I did find some dust and more of my pet’s hair lodged around the clicky bit, so that got a quick blow and a wipe with isopropyl alcohol. I used both: 90% IPA, plus the 70% IPA wipes you can see in the reassembly photo.
Before closing anything up, I switched the mouse on in this Frankenstein position, both halves open and still connected, and tried the left and right clicks. Worked without missing a beat!
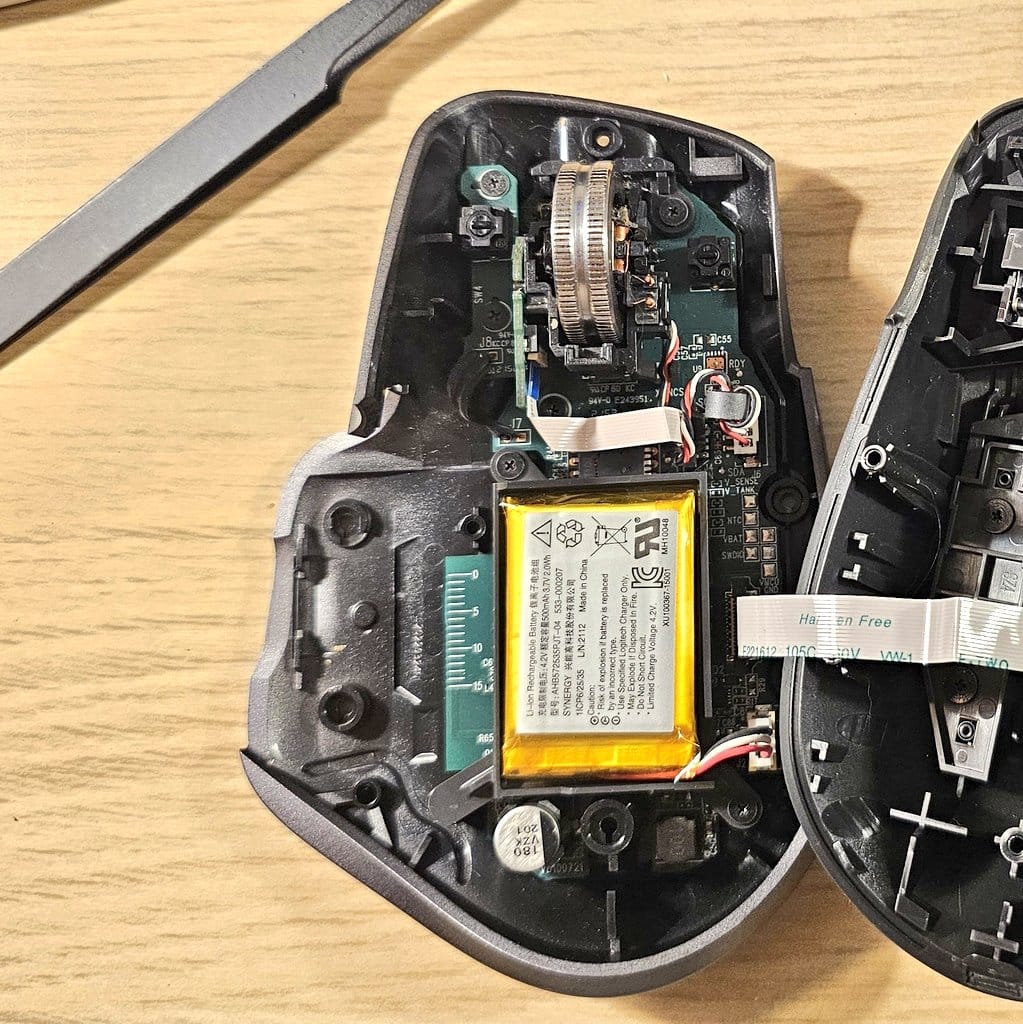
Yes!! After testing it like this for a few minutes, the click errors have gone back to 0%. Absolute bliss!
Putting it back together
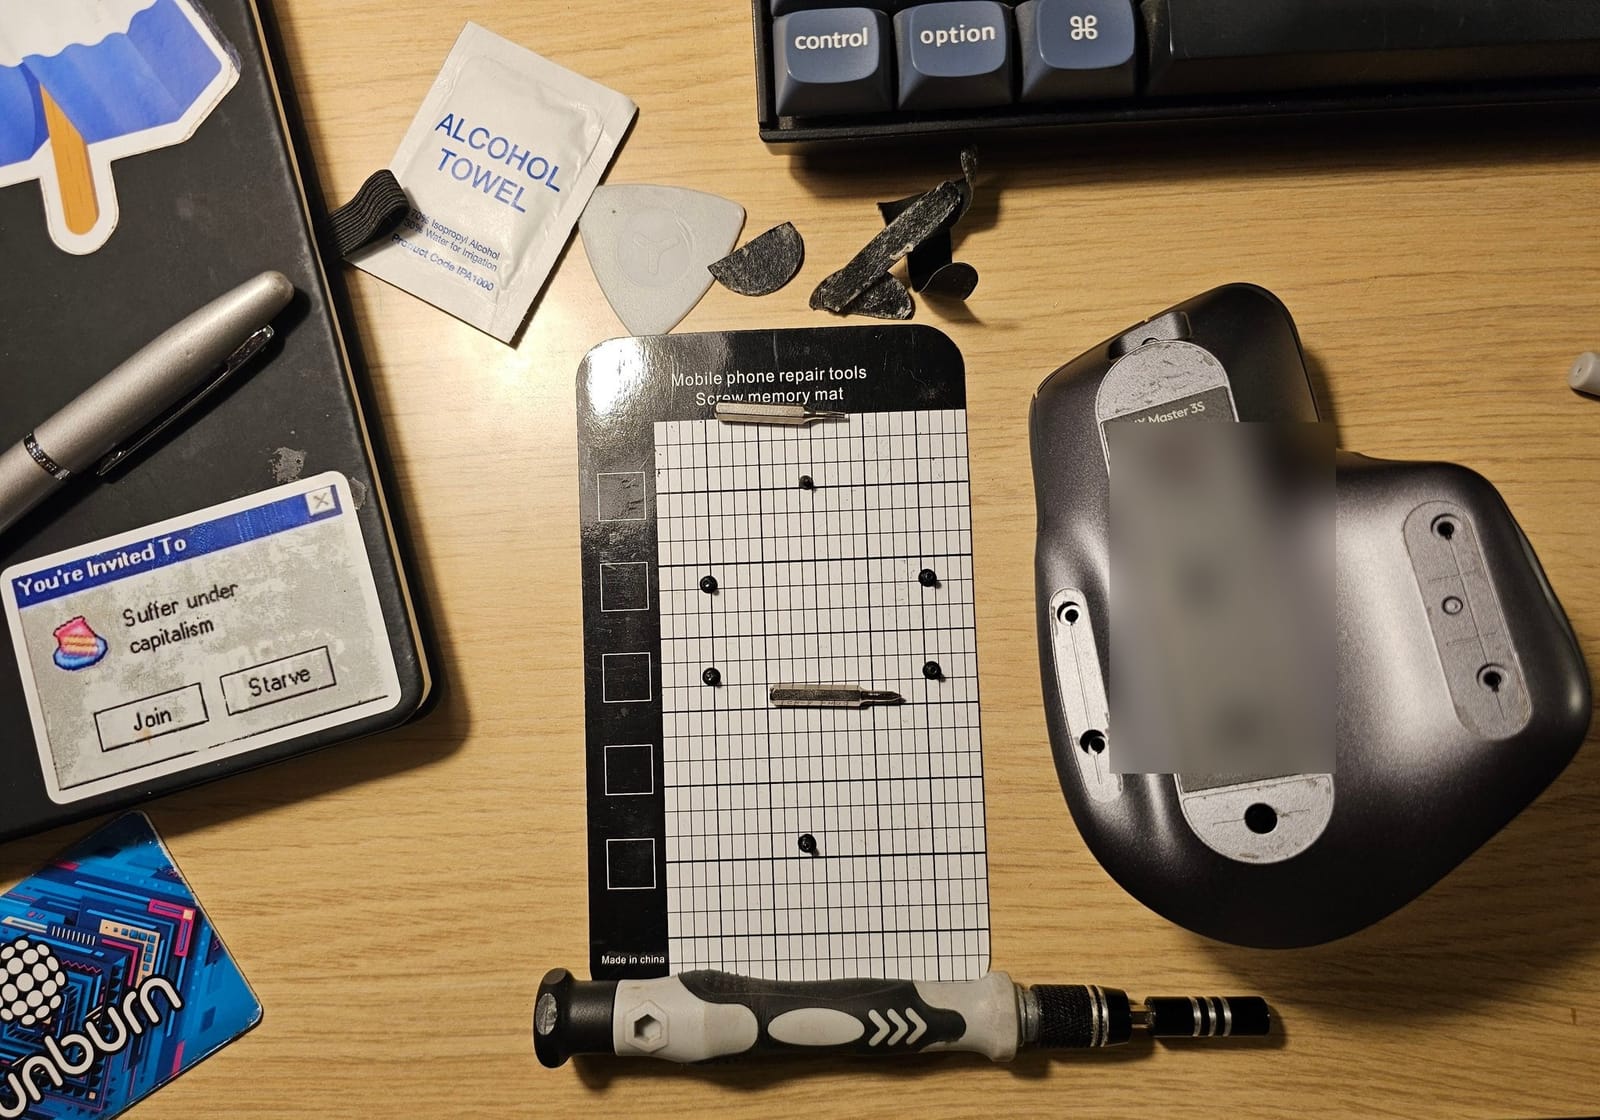
Now, time to screw it all back together and put the gliding stickers back on. I reused the old ones. And all done! ✅
Is it worth the money?
Someone in the replies asked about the price. If you can get it expensed from work, it’s a no-brainer. If you’re a student spending your own money, there are a couple of great options that won’t break the bank and still give you about 80% of what this one does.
Another reply brought up the polling rate. It’s certainly not a gaming mouse, but it works well for productivity apps on my 120Hz MacBook display and 120Hz monitor, and I haven’t really had any trouble with the polling.
If you already own one and it starts double-clicking, it might just need a clean like mine did. Thank you for joining me on this little adventure, hope you learnt something! Fixing your own stuff is how you play your part in keeping it out of a landfill.
Keep reading
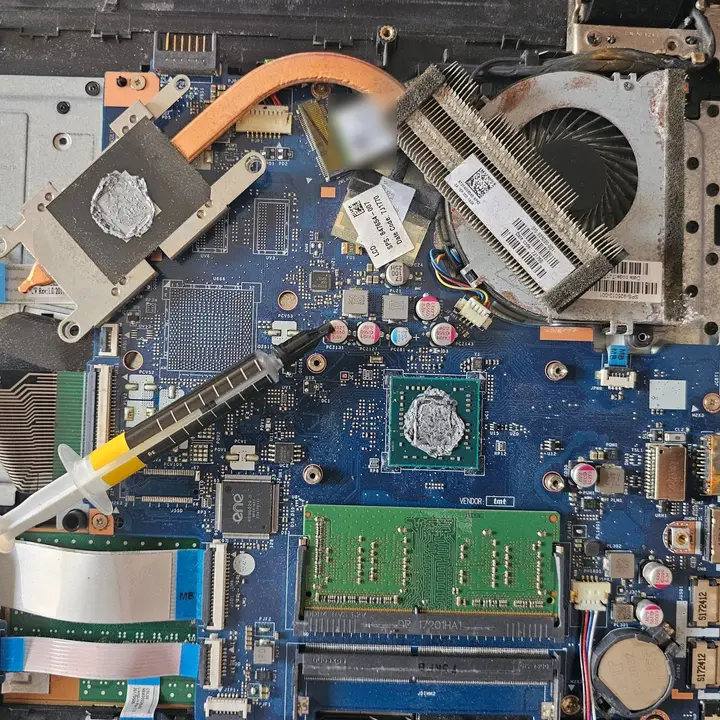
Saving a 7-year-old HP laptop from the landfill with Zorin OS
A laggy HP 15 with an AMD A6 got fresh thermal paste, 4 GB more RAM, a new battery and Zorin OS 17. Here's what I did and what's still on the list.
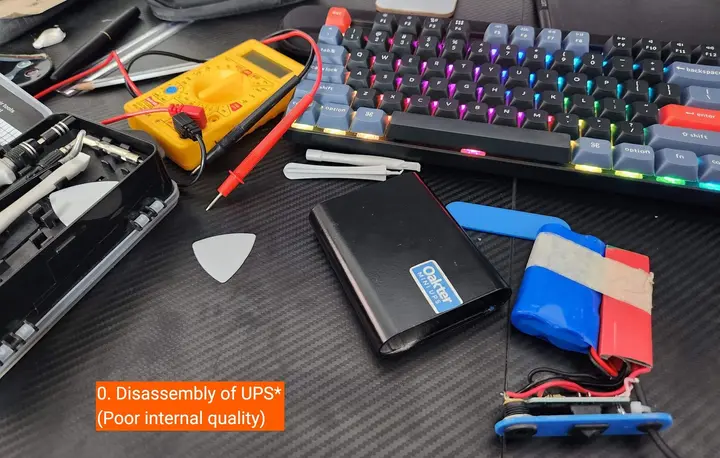
I opened up my Oakter Mini UPS and it's not really a UPS
My router started rebooting at random a year after I bought an Oakter Mini UPS. A multimeter and a teardown showed why it's built to die just after warranty.
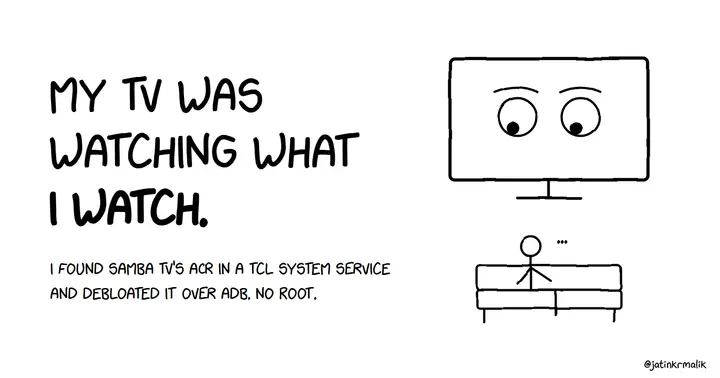
I debloated my TCL Google TV over ADB, found Samba TV’s ACR inside a system service, and replaced the home screen with a 33 KB launcher
Debloating a TCL Google TV over ADB without root: auditing packages, finding Samba TV ACR in a system service, and building a lightweight custom launcher.
Leave a comment