Project #3: Create a PirateBox (BitTorrent) | Raspberry Pi 2
Create your own low-powered always-on PirateBox using your Raspberry Pi. Let storm over the bits & bytes of BitTorrent as we know it. #KeepSeeding
 Jatin Kumar Malik First published on
 BitSnapper
Hello Folks,
It’s been a while since I posted a new Raspberry Pi project. Well, to be honest, I got busy with a few new gaming titles and was in a quest to finish them. Now that I am back to DIY mind, I will be sharing how can we create an always on BitTorrent PirateBox (pirate for name sake) :P
Despite my rant in past about how BitTorrent as we know it is dying, We all love torrents (legit or not). But most of the times when one wants to download a huge OS Live disc image like Ubuntu Server or maybe even Kali Linux when size is in a couple of Gigabytes, we have to leave a PC/Laptop switched on overnight for it to complete. We all do it, I am sure you can relate to it.
But what if I tell you that you can make an always running Torrent box which will work 24/7 and download all the stuff in your network attached storage for you to get and stream? All that by just using your good old trust Raspberry Pi. Too good to be true huh?
What is a PirateBox?
Well, a Raspberry Pi Torrent Box, or as I like to call it, Piratebox, is a great way to have a cheap affordable always on torrent machine. Doesn’t matter whether you’re a heavy or light torrent user, it still works pretty well for both! It is your automated torrent downloading solution which will use a negligible amount of electricity and will require no attention when once setup. You can access it from anywhere and add more stuff to download anytime (Yes! Even when you are en route to work).
What do I need?
- A Raspberry Pi
- Raspbian installed and booted up in an SD card.
- An HDD or Thumb drive setup as a NAS.
- Access to the Terminal via SSH.
- <30 minutes of your time.
Let’s begin!
I am assuming you are all setup with OS installation and logged in to the shell (terminal).
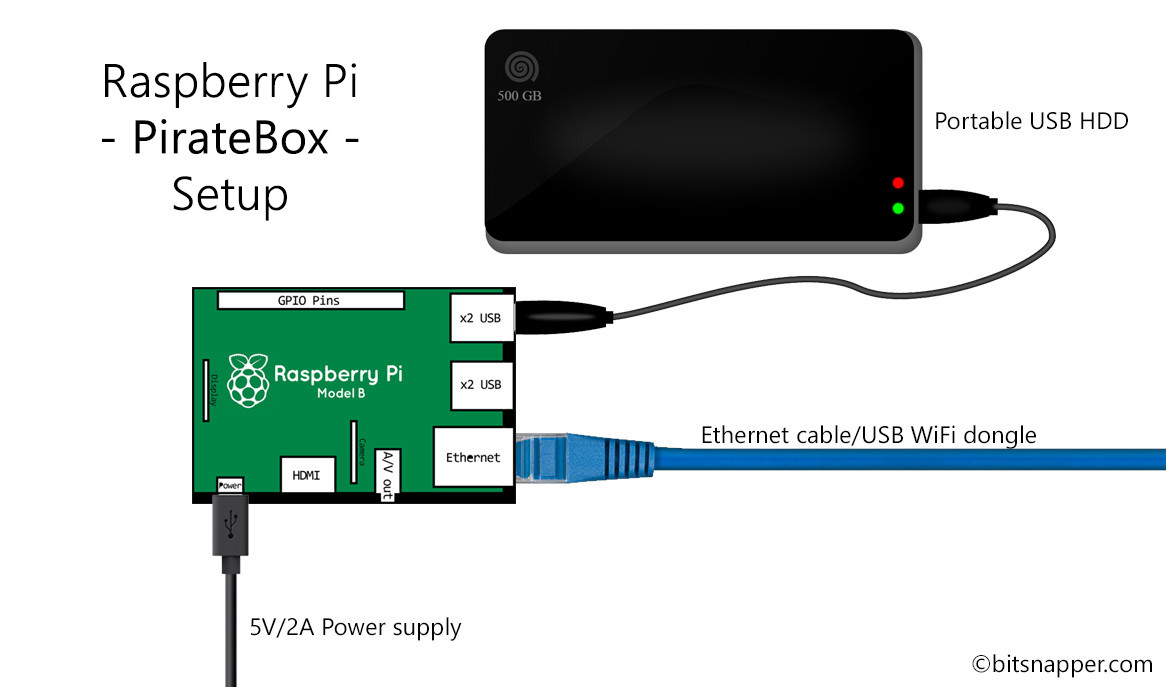
The setup.
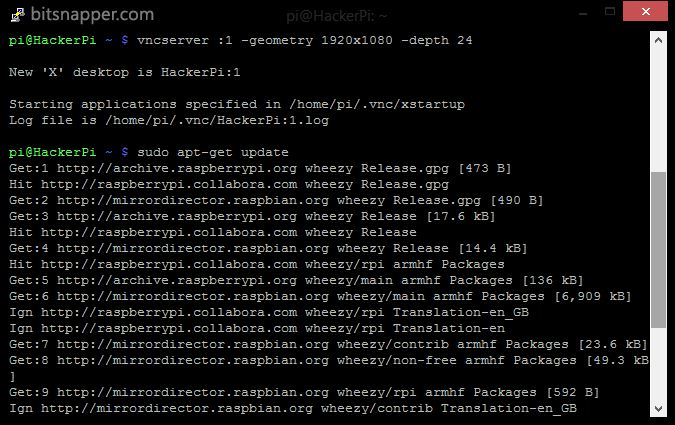
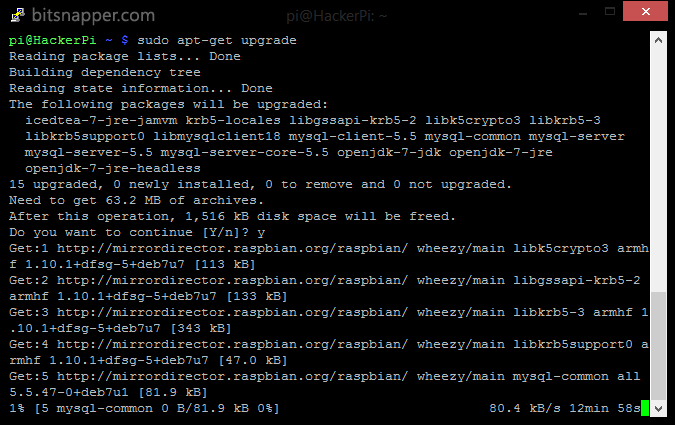
Step #1: Update ‘n’ Upgrade?!
Update your software repositories and upgrade the existing software(s) using the following command(s):
sudo apt-get update
sudo apt-get upgrade
Step #2: Installing Transmission daemon
Transmission - A native multi-platform BitTorrent client
sudo apt-get install transmission-daemon
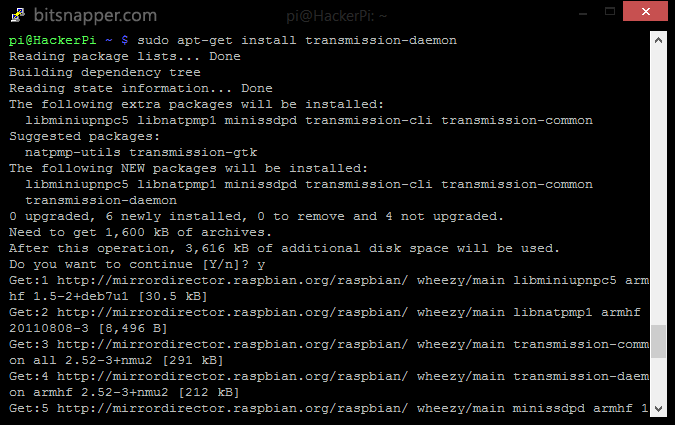
Installing Transmission-daemon
Step #3: Mount your network attached storage
Project NAS - Read here to configure.
Also, create 2 directories on your storage via
sudo mkdir -p /media/PirateBox/downloading
sudo mkdir -p /media/PirateBox/completed
These directories will act as suggested by their names. Downloading will contain the incomplete files and Completed will have the downloaded files.
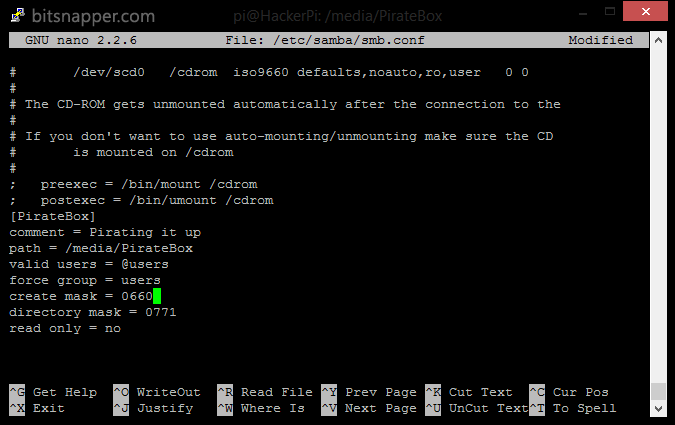
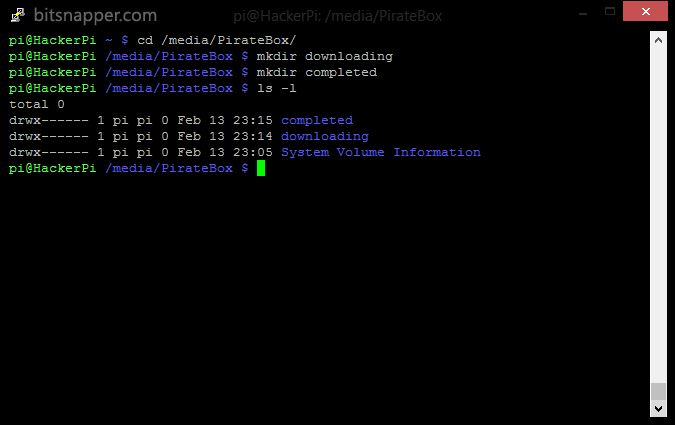
Step #4: Configure your Transmission settings
After the storage is set up, we will configure the Transmission daemon. First, open the settings.json file in nano using the command:
sudo nano /etc/transmission-daemon/settings.json
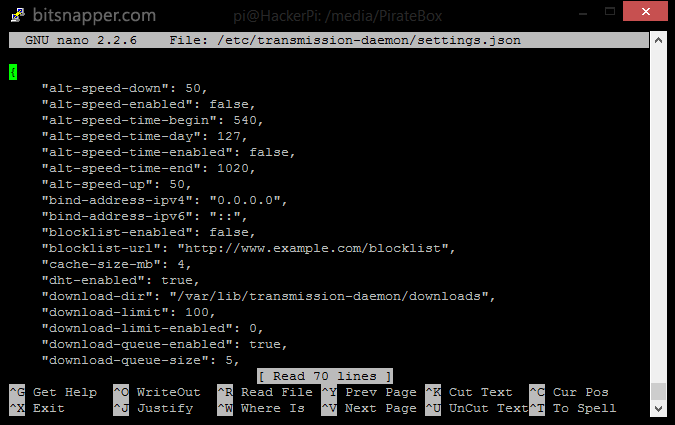
Configuring Transmission daemon
I recommended making the following changes but there are other settings you may want to update depending on your preference. You can also change other flags, to read about them click here.
"incomplete-dir": "/media/PirateBox/downloading",
"incomplete-dir-enabled": true,
"download-dir": "/media/PirateBox/completed",
"rpc-password": "piratesftw",
"rpc-username": "piratesftw",
"rpc-whitelist": "192.168.*.*", "10.0.*.*"
"rpc-port": 9999,
You can set the rpc-username and rpc-password as per your liking. It will be used to authenticate the user so not everyone can see your torrent(s) and stuff. ;)
Make sure you add your local IP address pool to rpc-whitelist. It will prevent devices not on your network to use the PirateBox.
Step #5: Reload the transmission-daemon to apply changes
sudo service transmission-daemon reload
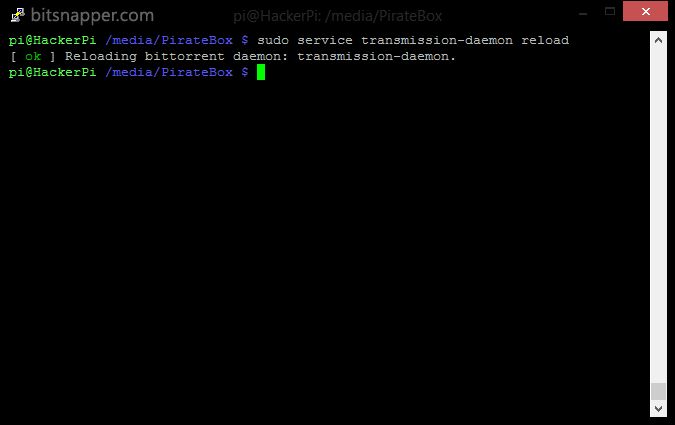
Reload
Note: Remember to not restart the service as it will factory restore the default configuration.
Step #6: Time to set up some permissions, configuration and a user.
We need to set up some configurations to make sure that transmission runs as the correct user. If we don’t do the steps below, we will run into lots of errors.
First, let’s stop the transmission service by entering the following command:
sudo service transmission-daemon stop
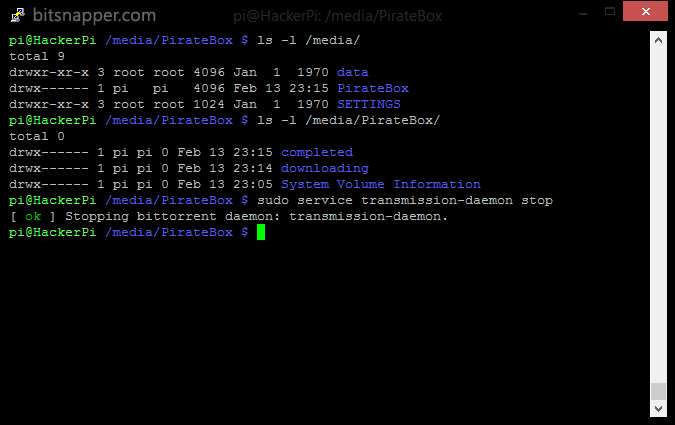
Stop! Time for some serious stuff.
Now we need to edit the daemon so it launches as the user who owns the directory we wish to store in. Let’s open the file by entering the following command:
sudo nano /etc/init.d/transmission-daemon
To check who owns the folder use
ls -l /media/PirateBox/downloading
In the daemon configuration here, edit the user so it runs as the user who owns the directory we’re storing our downloads in. In my case, it is pi instead of the default debian-transmission. We need do this because the folder we are going to store our torrents is likely to be owned by a different user than the default transmission.
USER=pi
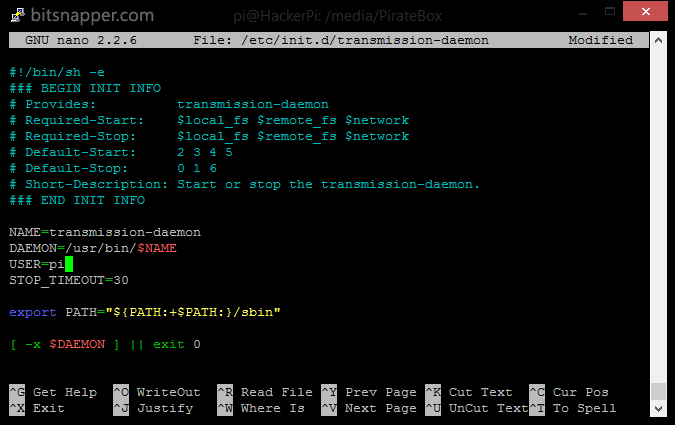
User access.
After we set up the user, we need to give read/write permissions to the same user for the following directories via command(s):
sudo chown -R pi:pi /etc/transmission-daemon
sudo chown -R pi:pi /etc/init.d/transmission-daemon
sudo chown -R pi:pi /var/lib/transmission-daemon
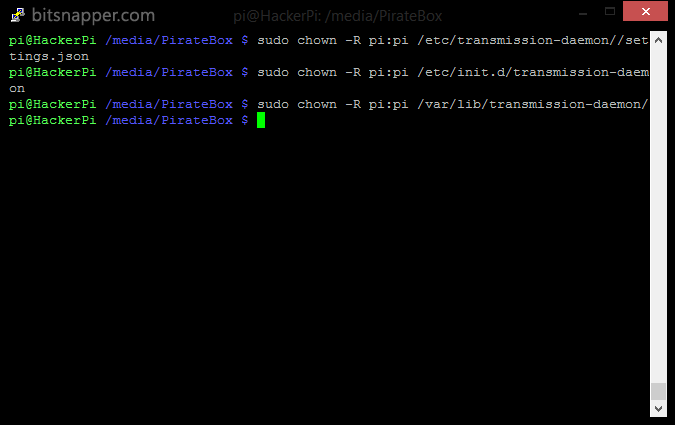
Owning the directories
This is an important step, do not skip it else you won’t be able to launch transmission-daemon and download stuff.
After setting the required permissions and the user, now it’s time to start the transmission-daemon:
sudo service transmission-daemon start
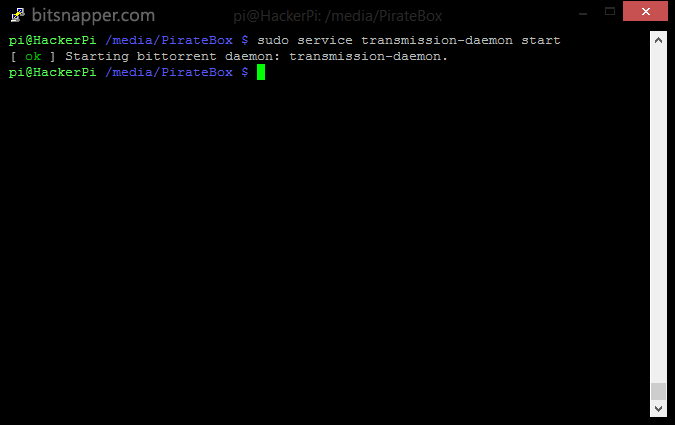
Kickstarting it back up!
Step 7: Profit!
So, now to see all the action, just put the IP address or hostname.local of your RasPi in your web browser and voila!
To get your IP address on local server, use command:
hostname -I
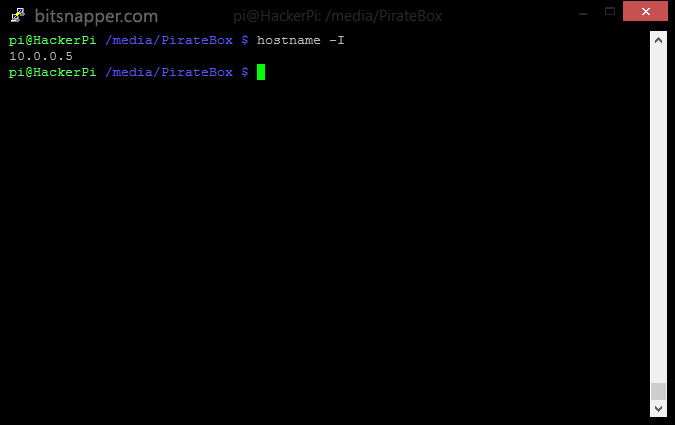
Your IP address on network
Put that in a web browser and you will be greeted with a login alert. Enter the rpc-username & rpc-password we configured in step #4.
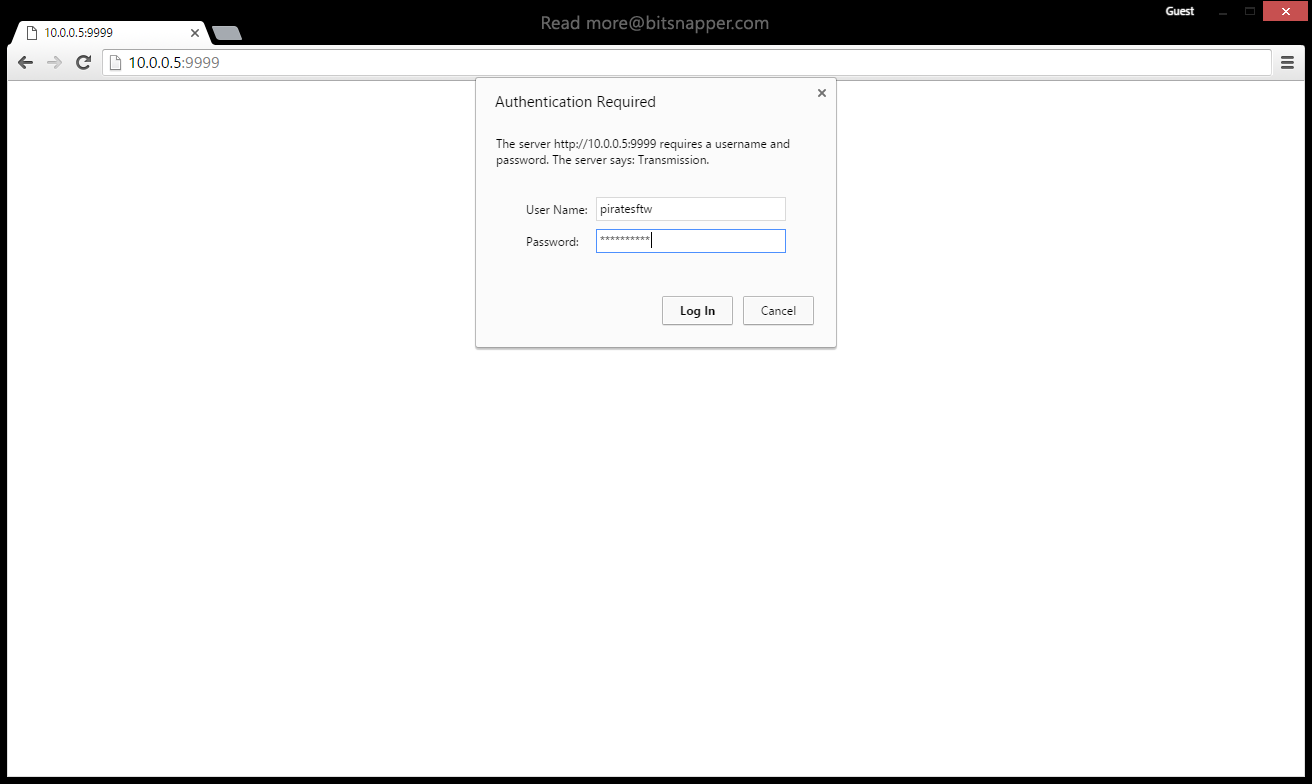
Log me in!
Note that, I am running the transmission-daemon on port 9999 since I modified the default in the configuration. The default port is 9091.
We can use both .torrent file or magnet URL to add torrent. Let’s see how we can download Ubuntu iso via BitTorrent below:
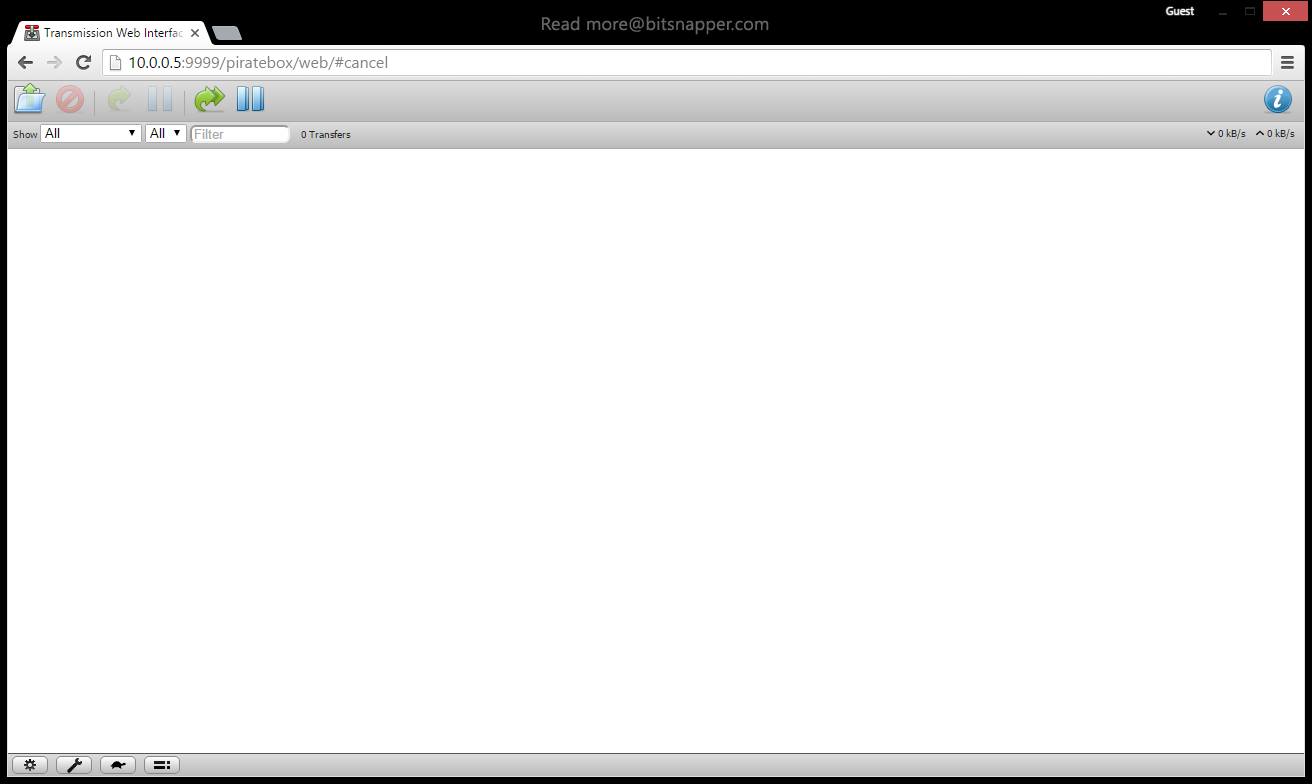
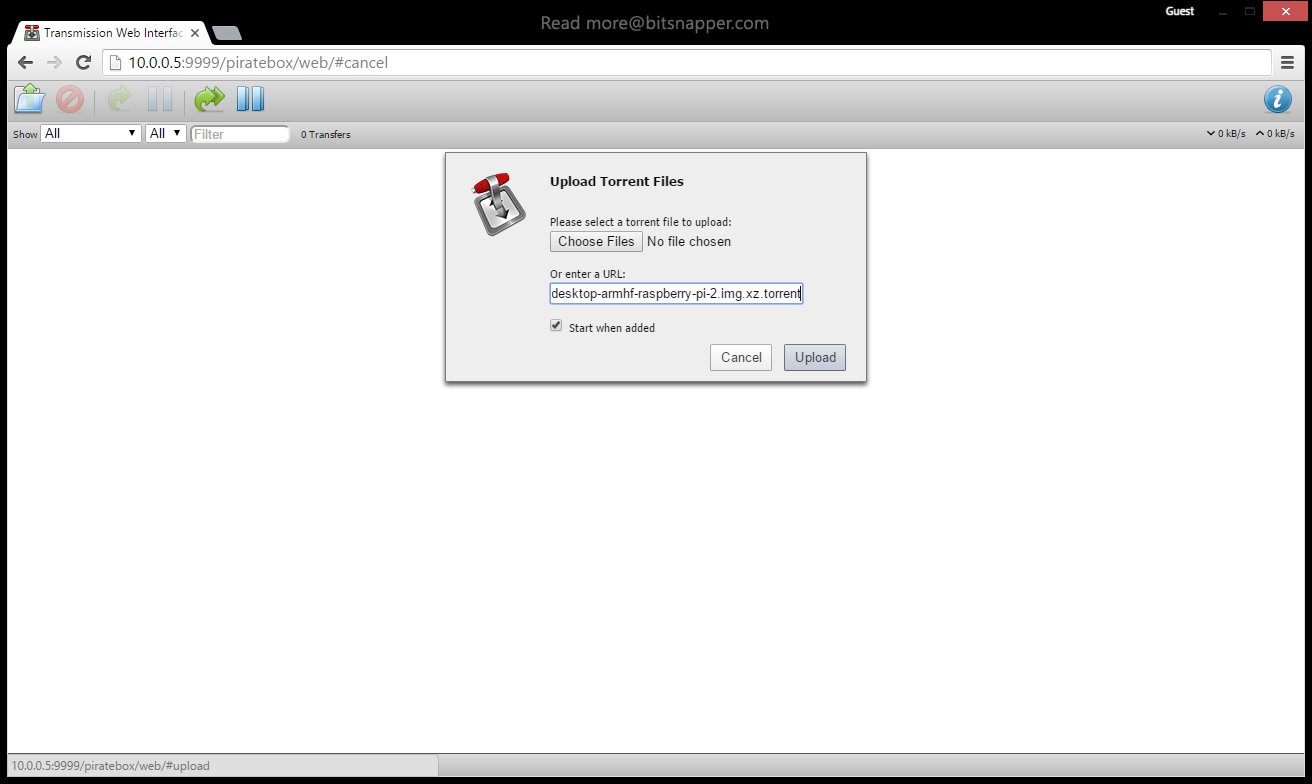
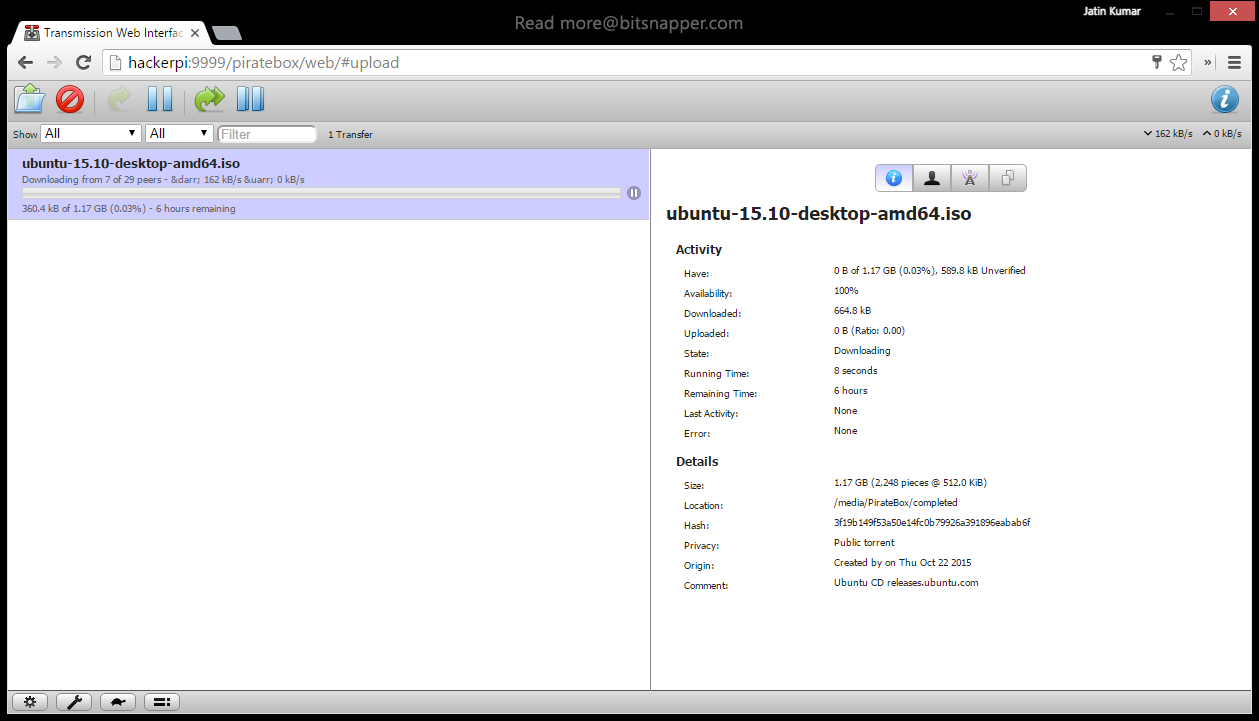
So, this is how we do it. You now have an always running low powered BitTorrent machine aka PirateBox at your disposal (it’s cooler this way). ;)
Let us know how was your experience building this project. Also, do share how much you were able to utilize your ISP’s poor post FUP bandwidth? Here’s my personal record for reference, Good luck! 😎
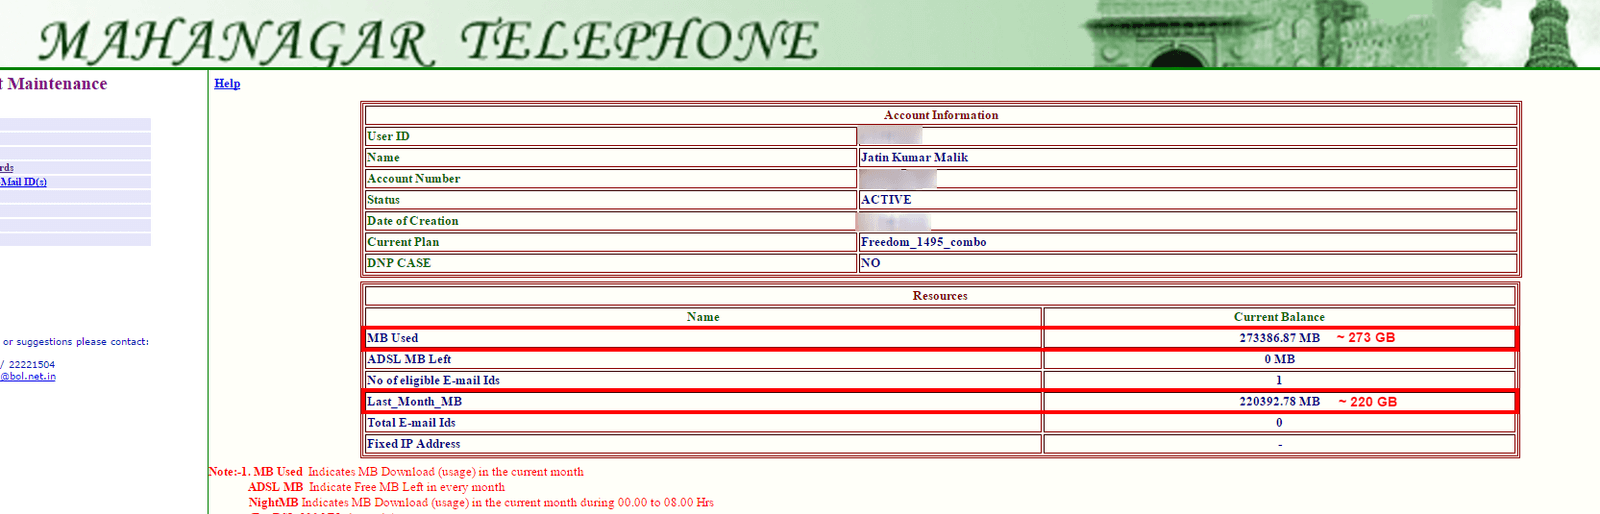
Well..
Keep reading
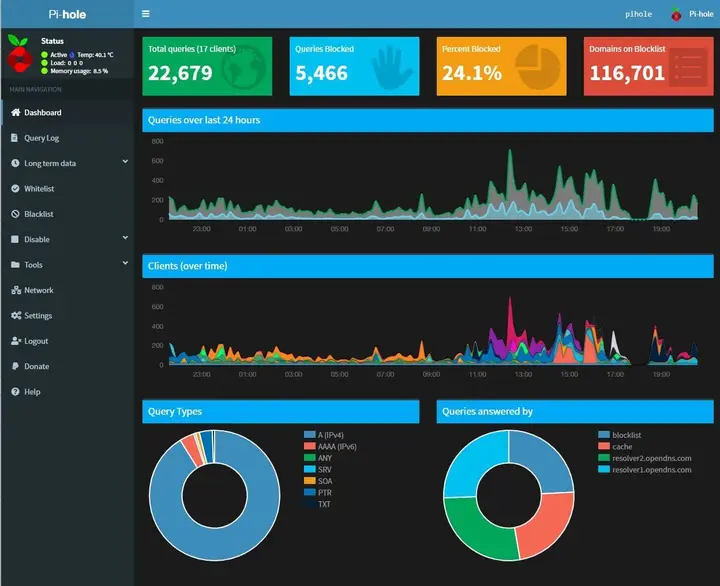
Pi-hole on a 4-year-old Raspberry Pi 2: no ads on the whole network
I finally set up Pi-hole on my old Raspberry Pi 2, powered off the modem's USB port. A month later, 24% of the DNS queries on my network were ad-related.
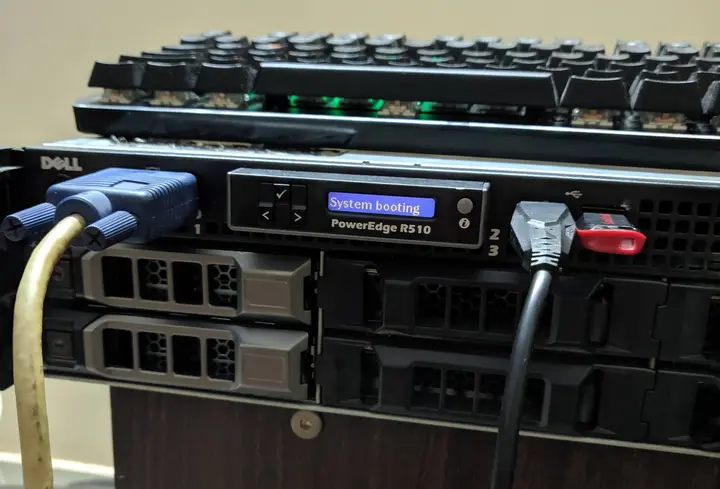
A rack server with no rack: my Dell PowerEdge R510
Two Xeon X5675s, 64 GB of ECC RAM, a PERC H310 crossflashed to IT mode and a CRT for a console. My first month with a Dell R510.
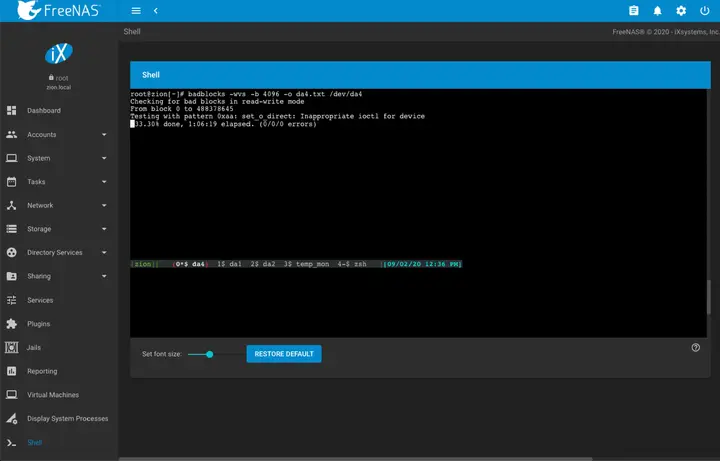
My new hard drive ritual: badblocks, TLER and the SMR check
What a new hard drive goes through before it joins my NAS: a badblocks burn-in in tmux, TLER via smartctl, and the CMR, SMR and shucking checks.
1 commentfrom BitSnapper
Carried over from the original post and read-only. Add a new comment below.
OH GREAT MAN
APP BITTORRENT + RASPI + NAS
ROCK THE SOUND
Leave a comment