My new hard drive ritual: badblocks, TLER and the SMR check
What a new hard drive goes through before it joins my NAS: a badblocks burn-in in tmux, TLER via smartctl, and the CMR, SMR and shucking checks.
 Jatin Kumar Malik From my notes in
 Obsidian
So the Dell R510 is now running FreeNAS as zion, and it has 12 drive bays waiting to be filled. But no drive goes near a ZFS pool before it goes through a ritual. A new drive has nothing of mine on it yet, which makes this the one time I can be as mean to it as I like!
Three drives have been through it this month: a 2TB one from late morning on 2 September, and two 4TB ones side by side from about 1:35 AM on 8 September (yes, AM). The 4TB pair came out of WD external drives that I shucked, more on that at the end. I’m writing the whole thing down so I do it the same way next time, along with a setting that matters just as much for a NAS drive: TLER.
Step 1: the burn-in with badblocks
I didn’t come up with this one. I’m following IronicBadger’s New Hard Drive rituals on linuxserver.io (October 2018). The idea is simple. Assume every new drive is going to fail, and make it fail now, while you can still return it, instead of six months later with your photos on it. Drives tend to die either very early or very late, and a burn-in shakes out the early ones.
The tool is badblocks. Here’s the exact command I ran on the 2TB drive:
badblocks -wvs -b 4096 -o da4.txt /dev/da4What the flags do:
-wis the destructive write test. It writes a pattern over the whole disk, reads it all back and compares, and it does that four times, with0xaa,0x55,0xffand0x00. It WIPES the drive, so only ever run it on an empty disk, and check the device name twice.-sshows progress and-vis verbose.-b 4096sets the block size to 4 KB. badblocks counts blocks in 32 bits, so with its default 1 KB blocks it runs out of numbers on a big enough drive. 4096 keeps you clear of that and matches the physical sectors on modern drives anyway.-o da4.txtwrites any bad blocks it finds to a file, so there’s a record.
On FreeNAS the disks show up as /dev/da0, /dev/da1 and so on, not the /dev/sdX names you’d see on Linux. The H310 is crossflashed to IT mode, so badblocks is talking to the real disks and not some RAID volume.
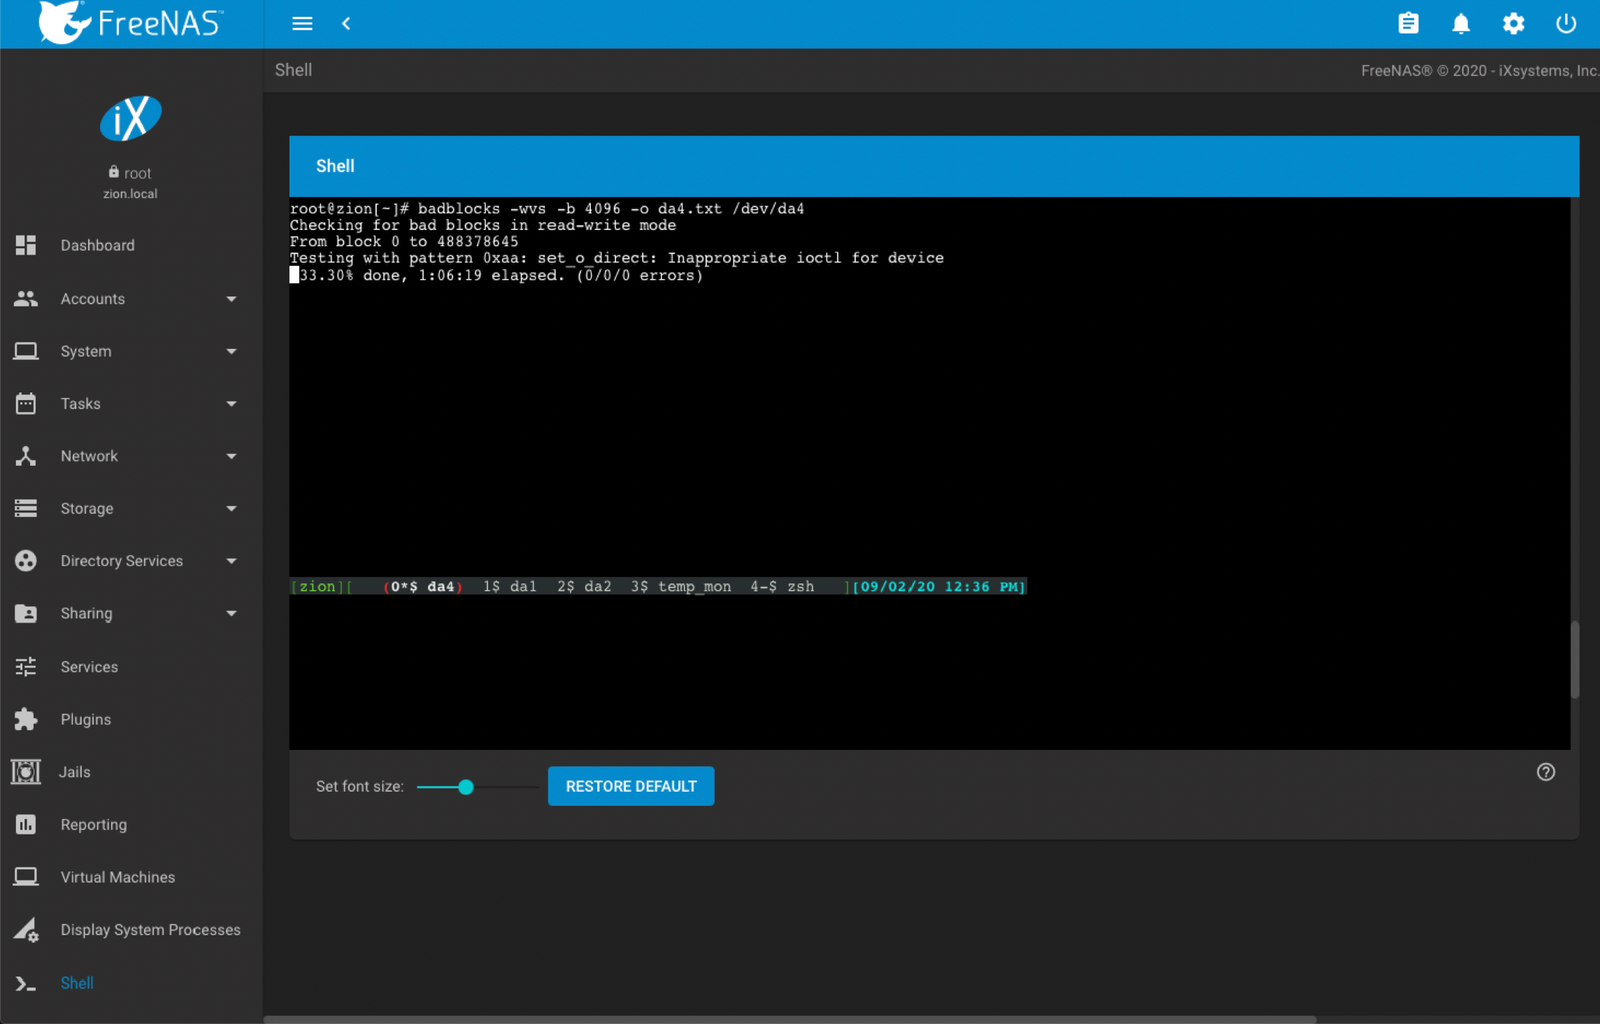 The 2TB drive on 2 September, a third of the way through the first pattern after an hour. I cropped out the browser bar.
What the output means:
From block 0 to 488378645is 488 million 4 KB blocks, i.e. the 2TB drive. The 4TB drives say 976754645.set_o_direct: Inappropriate ioctl for deviceshows up because badblocks comes from Linux and that call doesn’t work on FreeBSD. It prints the warning and carries on, as you can see from the progress line under it. Nothing to worry about.(0/0/0 errors)is read errors, write errors and corruption errors (data that read back different from what was written). All three should stay at zero for the whole run.- The percentage is per pass, not for the whole test. It goes back to zero for every write and every read of every pattern, so eight passes in total.
Use tmux, and be patient
The article’s other tip is to run it inside tmux. A burn-in takes days, and in a plain SSH session or the FreeNAS web shell, closing the tab or one Wi-Fi blip kills it. In tmux you detach with Ctrl-B then d, close everything, and come back later with tmux a.
Each drive gets its own tmux window named after it, plus a window called temp_mon for keeping an eye on temperatures, since a drive that’s being hammered for days runs warm. The article does the same thing with hddtemp.
For the two 4TB drives I split one window into two panes, so both progress lines sit on one screen:
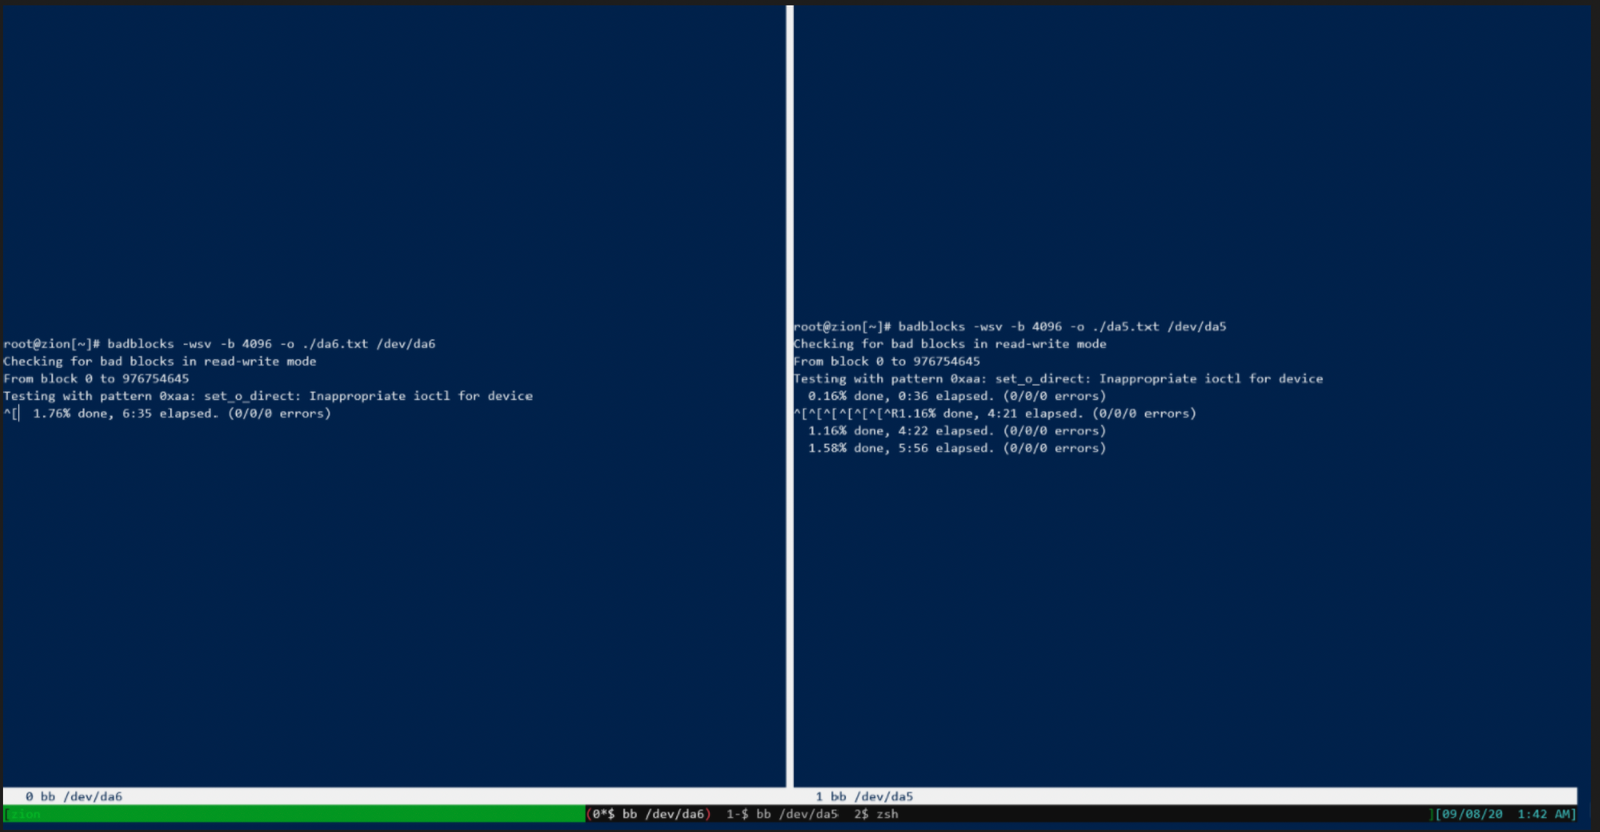 The two 4TB drives side by side at 1:42 AM on 8 September.
How long does it take? The 2TB drive was 33.30% through the first pass after 1 hour 6 minutes, so roughly 3 hours 20 minutes per pass. The 4TB drives were at 1.76% and 1.58% after about six minutes, which works out to around six hours per pass. Eight passes makes that a bit over a day for the 2TB drive and about two days for the 4TB ones. The article says an 8TB drive can take about a week! Start it and go do something else.
All three of mine finished with 0/0/0 errors.
Step 2: look at SMART before and after
badblocks tells you whether the drive can hold data. SMART tells you what the drive thinks about itself. The article wraps the burn-in in a script that runs smartctl tests before and after. By hand it looks like this:
smartctl -a /dev/da5          # note the counters before you start
smartctl -t long /dev/da5     # extended self-test, takes hours
smartctl -a /dev/da5          # compare after the burn-in
The attributes to watch are Reallocated_Sector_Ct, Current_Pending_Sector and Offline_Uncorrectable. On a new drive they should all be zero, and still zero after the burn-in. If any of them moved during the test, the drive goes back. Simple.
Step 3: turn on TLER
TLER stands for Time-Limited Error Recovery. That’s WD’s name for it. Seagate calls it ERC, and the generic name is SCT Error Recovery Control. When a drive hits a sector it can’t read, it retries. A desktop drive assumes it holds the only copy of your data, so it can keep trying for a minute or more before it gives up. A NAS drive gives up after a few seconds and reports the error, because it expects RAID or ZFS above it to have another copy and fix it.
While a desktop drive is busy retrying, it doesn’t answer anything else, and the whole array waits on it. A hardware RAID controller may decide the drive is dead and kick it out. With ZFS the pool can just hang. Worst case, you lose the array. Best case, troubleshooting is hell, because the box keeps freezing and it’s not obvious which drive is doing it. That’s the real reason people say to keep cheap desktop drives out of a RAID. The problem is how they behave when they hit a bad sector.
Thing is, a lot of drives do support it and just ship with it turned off. You check with smartctl:
smartctl -l scterc /dev/da5You’ll get one of three answers:
SCT Error Recovery Control command not supportedmeans the drive can’t do it. Think twice before putting it in an array.Read: DisabledandWrite: Disabledmeans it’s supported but off. This is the common case.SCT (Get) Error Recovery Control command failedmeans something is off with the connection to the drive. Check the cabling and the controller.
To turn it on with a 7-second limit for reads and writes:
smartctl -l scterc,70,70 /dev/da5The values are in tenths of a second, so 70 means 7.0 seconds. Run the check again and it should say Read: 70 (7.0 seconds) and Write: 70 (7.0 seconds). Seven is the usual pick because RAID controllers commonly give up on a drive at around eight.
All three of this month’s drives support it, and I set every one of them to 70,70.
The catch is that on most drives this setting is lost when the drive loses power. Shut the NAS down, or pull the drive out of the bay, and it’s back to Disabled, so it has to run on every boot. On FreeNAS that goes in Tasks > Init/Shutdown Scripts: add a Command, set When to Post Init, and put in one smartctl -l scterc,70,70 line per drive.
Step 4: CMR or SMR?
This check happens before you even buy the drive: is it CMR (conventional) or SMR (shingled)? SMR drives overlap their tracks like roof shingles to squeeze in more data. Reads are fine, but once the drive’s cache fills up, sustained writes slow to a crawl, because rewriting one track means rewriting the ones overlapping it. And a ZFS resilver is exactly that kind of long, heavy write job.
This year it came out that some WD Red drives, which are literally sold for NAS use, were SMR, and the drive makers hadn’t made that easy to find. So don’t trust the label or the “NAS” on the box. Look the exact model number up in the manufacturer’s CMR/SMR lists before you buy.
Bonus: shucking
The two 4TB drives are shucked. Shucking means buying an external USB hard drive (WD’s Elements and My Book are the usual ones), opening the enclosure and pulling out the bare SATA drive inside. The external version is often a lot cheaper than the same drive sold bare. According to the Reddit answer I saved in my notes, the bare enterprise drive can cost about twice as much. Crazy, right?
If you’re going to shuck:
- Open the enclosure carefully and keep it intact, in case you ever need to put the drive back in it.
- You don’t fully control which drive you get. Check the model with
smartctl -ibefore you open it (over USB it may need-d sat), then look that model up for CMR/SMR and TLER support. - Some shucked drives won’t spin up in some systems. Newer SATA drives use the 3.3V pin as a power-disable signal, and an older PSU or backplane that puts 3.3V on that pin keeps the drive off. The usual fix is a bit of Kapton tape over those pins, or a Molex to SATA adapter.
- After that, a shucked drive gets the same burn-in, SMART check and TLER as any other.
The ritual, short version
- Look up the exact model: CMR, not SMR, if it’s going into ZFS.
smartctl -aand note the counters. Run a long self-test.badblocks -wvs -b 4096 -o daX.txt /dev/daXin tmux, on an empty drive only. Wait days. Watch the temperature.smartctl -aagain. Nothing should have moved.smartctl -l scterc,70,70on every boot, if the drive supports it.- Only then give it to ZFS.
Yes, it’s slow, and the R510 has spent a good chunk of this month just writing patterns to drives. But I’d much rather a drive die now, empty, than in the middle of a resilver.
Do you burn in your drives, or plug them in and go? Tell me in the comments!
Keep reading
Project #3: Create a PirateBox (BitTorrent) | Raspberry Pi 2
Create your own low-powered always-on PirateBox using your Raspberry Pi. Let storm over the bits & bytes of BitTorrent as we know it. #KeepSeeding
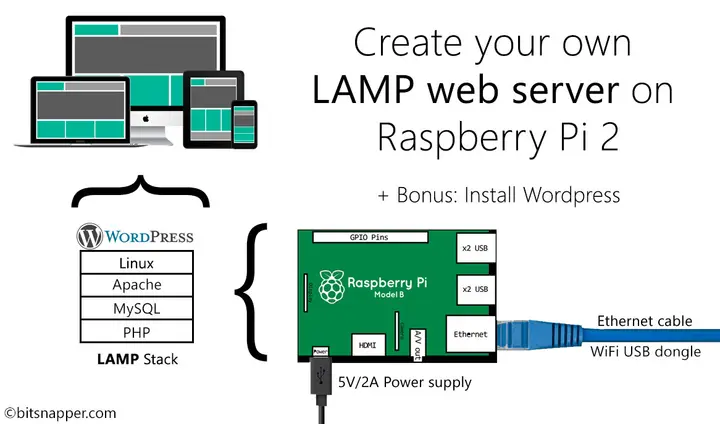
Project #2: Create your own LAMP web server | Raspberry Pi 2
Discover how can you setup your own LAMP stack on your Raspberry Pi 2 & host your personal website or blog for the world to marvel at? Just dive in!
Project #1: Create a Network attached storage | Raspberry Pi 2
Discover how you can create your own Network Attached storage (NAS) within 30 minutes using a Raspberry Pi 2. Say goodbye to intranetwork data sharing woes!
Leave a comment